Early History
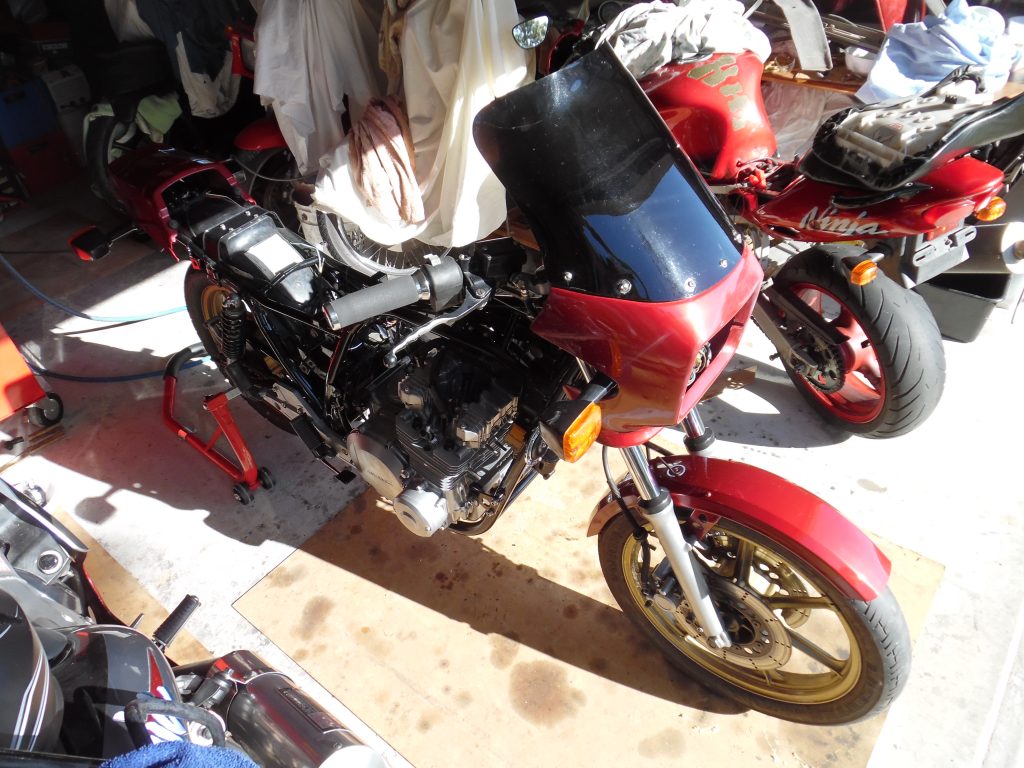
I purchase my 1982 GPz1100B2 in February 2008 for $2000.
It was up for auction on eBay but I missed getting to a computer in time and the auction ended, lucky for me there were no bids as the model was not popular despite it being in my opinion the most reliable Zed ever built prior to the GPz900R coming out.
I contacted the seller and he agreed to let me have it, subject to inspection, for the offer price. The owner had it for 16 years but had only ridden it a few times in the last couple of years and due to a lack of maintenance the brakes were seized and the clutch often locked up when the lever was pulled in.
The disks were worn but the motor starts first go and purrs as it had just been rebuilt with a 1175 kit and a bit of extra work. I had no way of confirming the large pistons but in the future when the engine was eventually stripped down I was in for a surprise.
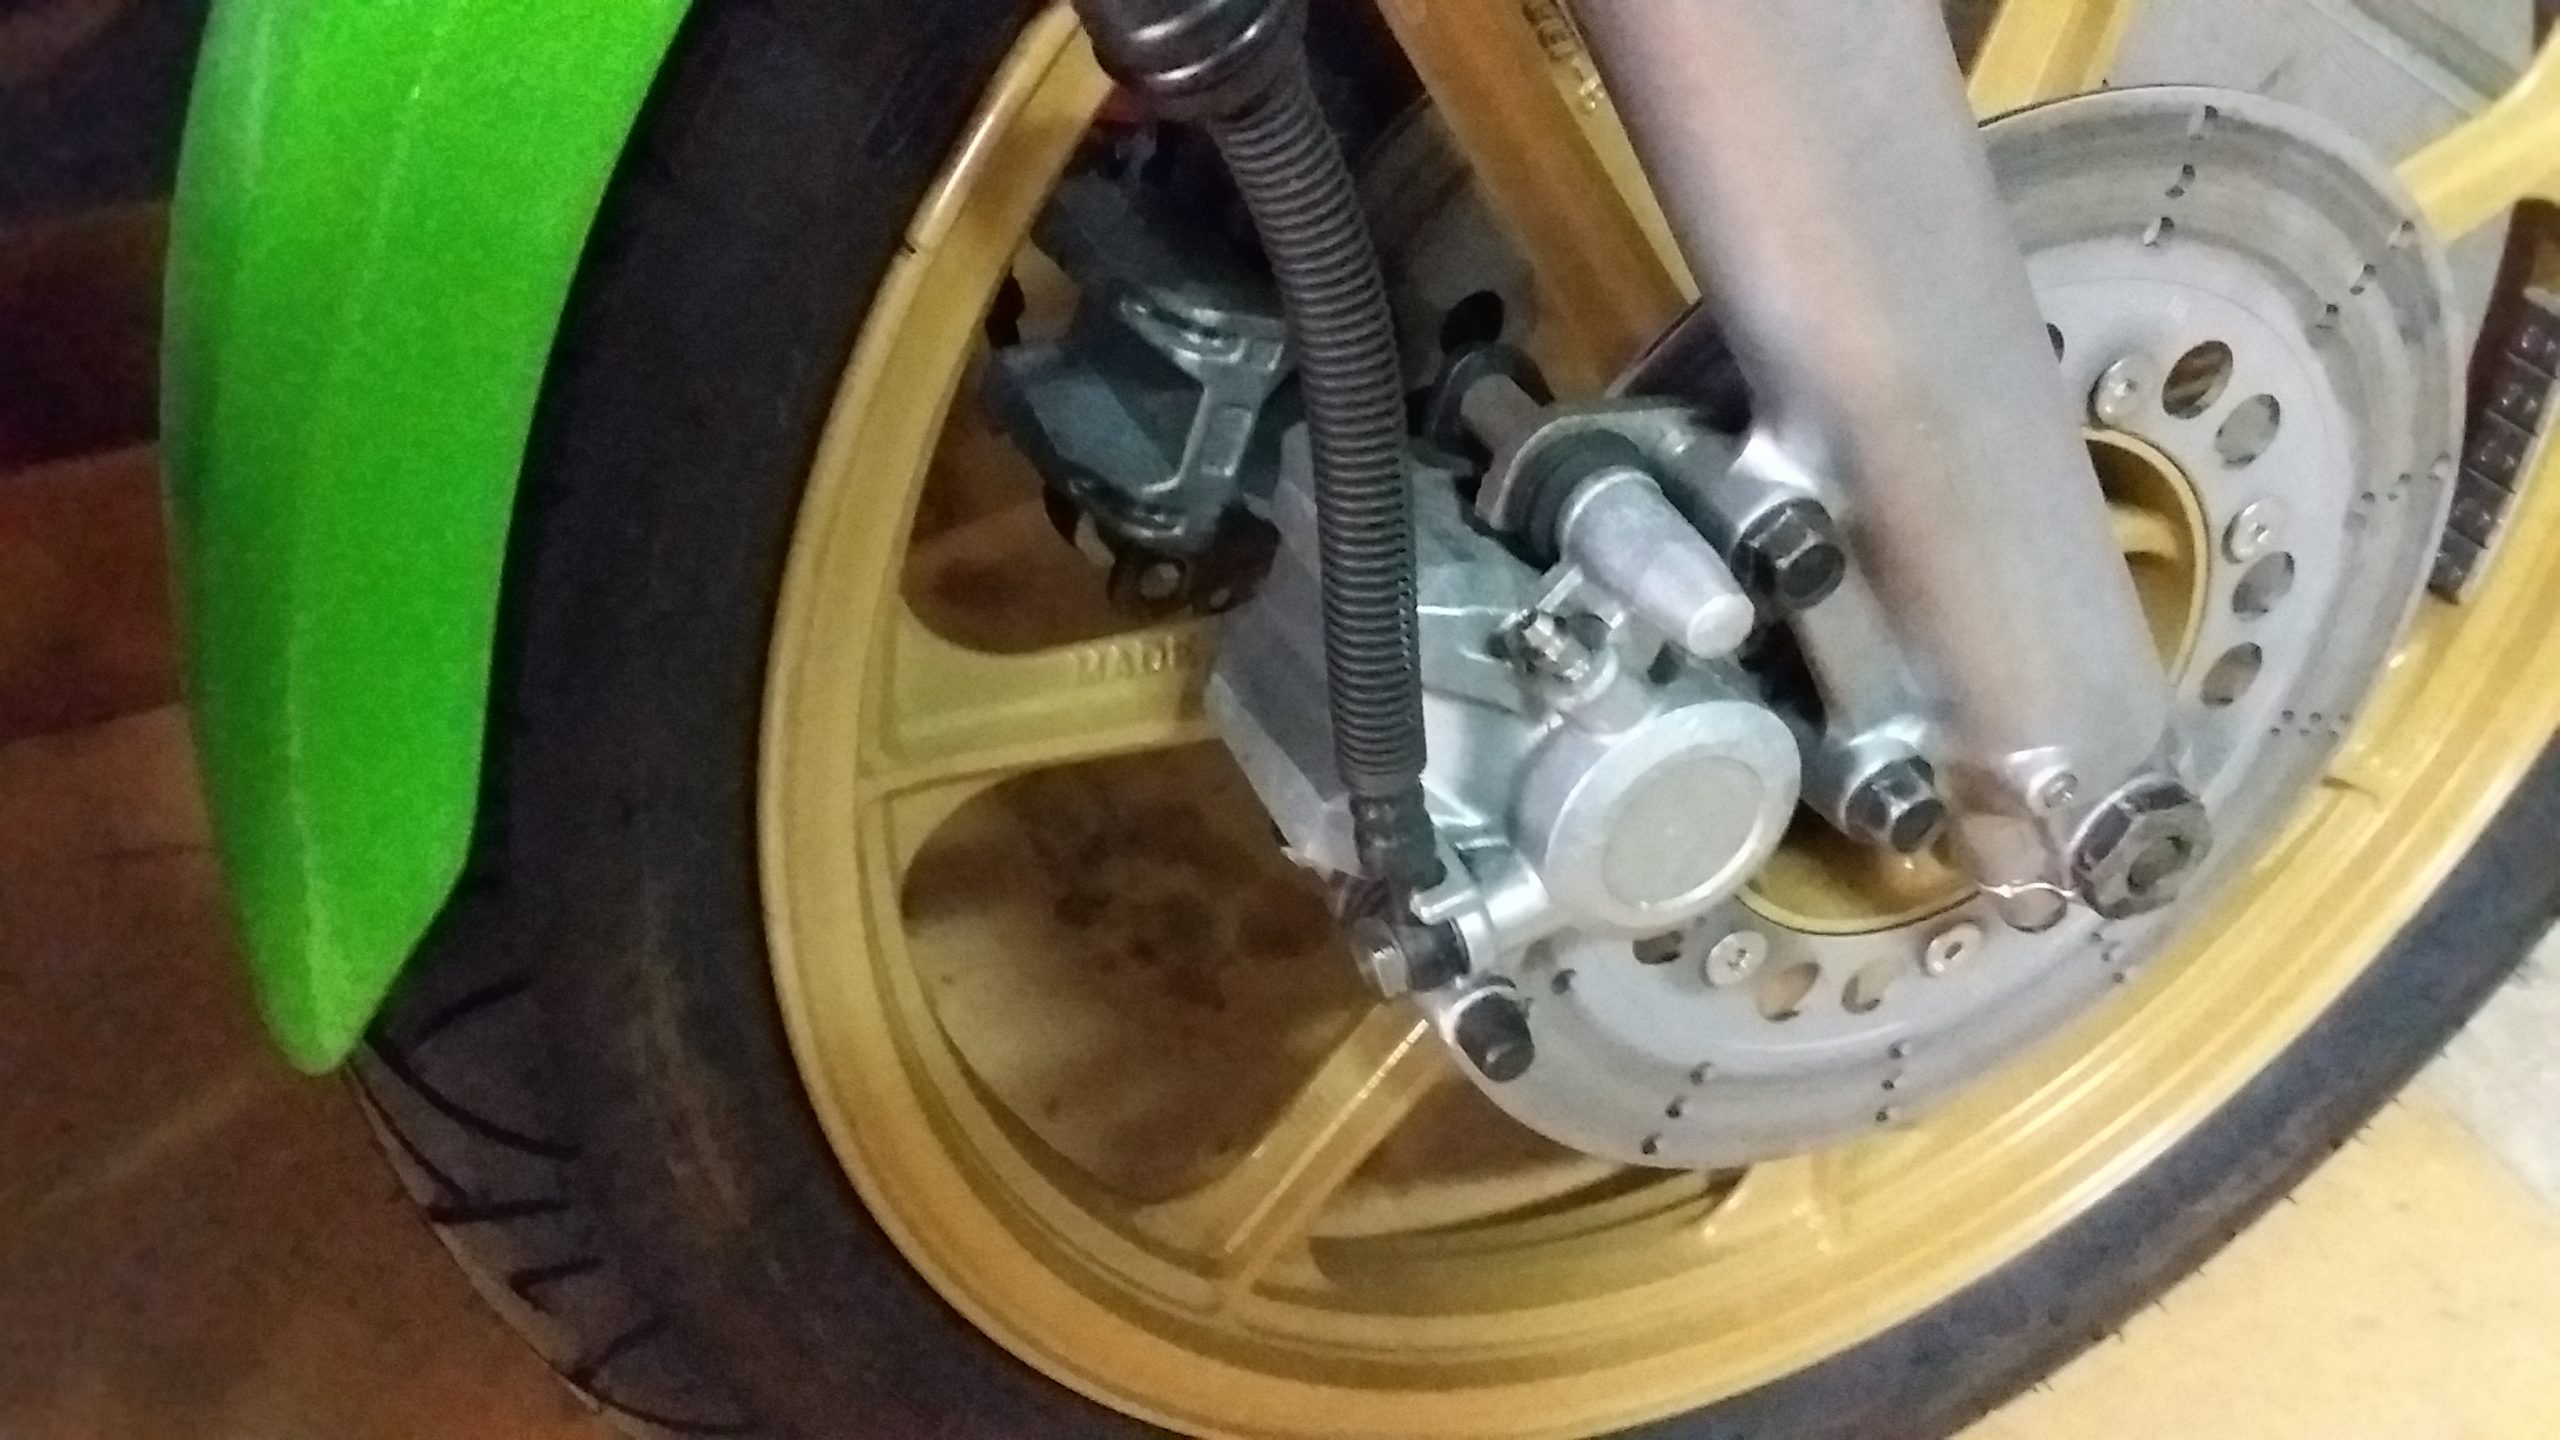
Other points to note are that the calipers were full of crap and needed a good clean up to remove the build up of grime that often occurs around the seal.
I cleaned up everything on the bike and registered it, for the first 3 years it was great riding it around, smooth and went like a rocket.

2011
In 2011 my then girlfriend dropped the 1100 and bent the rear sub-frame, I rode it for a while but decided it needed some serious maintenance as oil was leaking from a few places. Thinking I could quickly turn the bike around I took it off the road.
August 2011
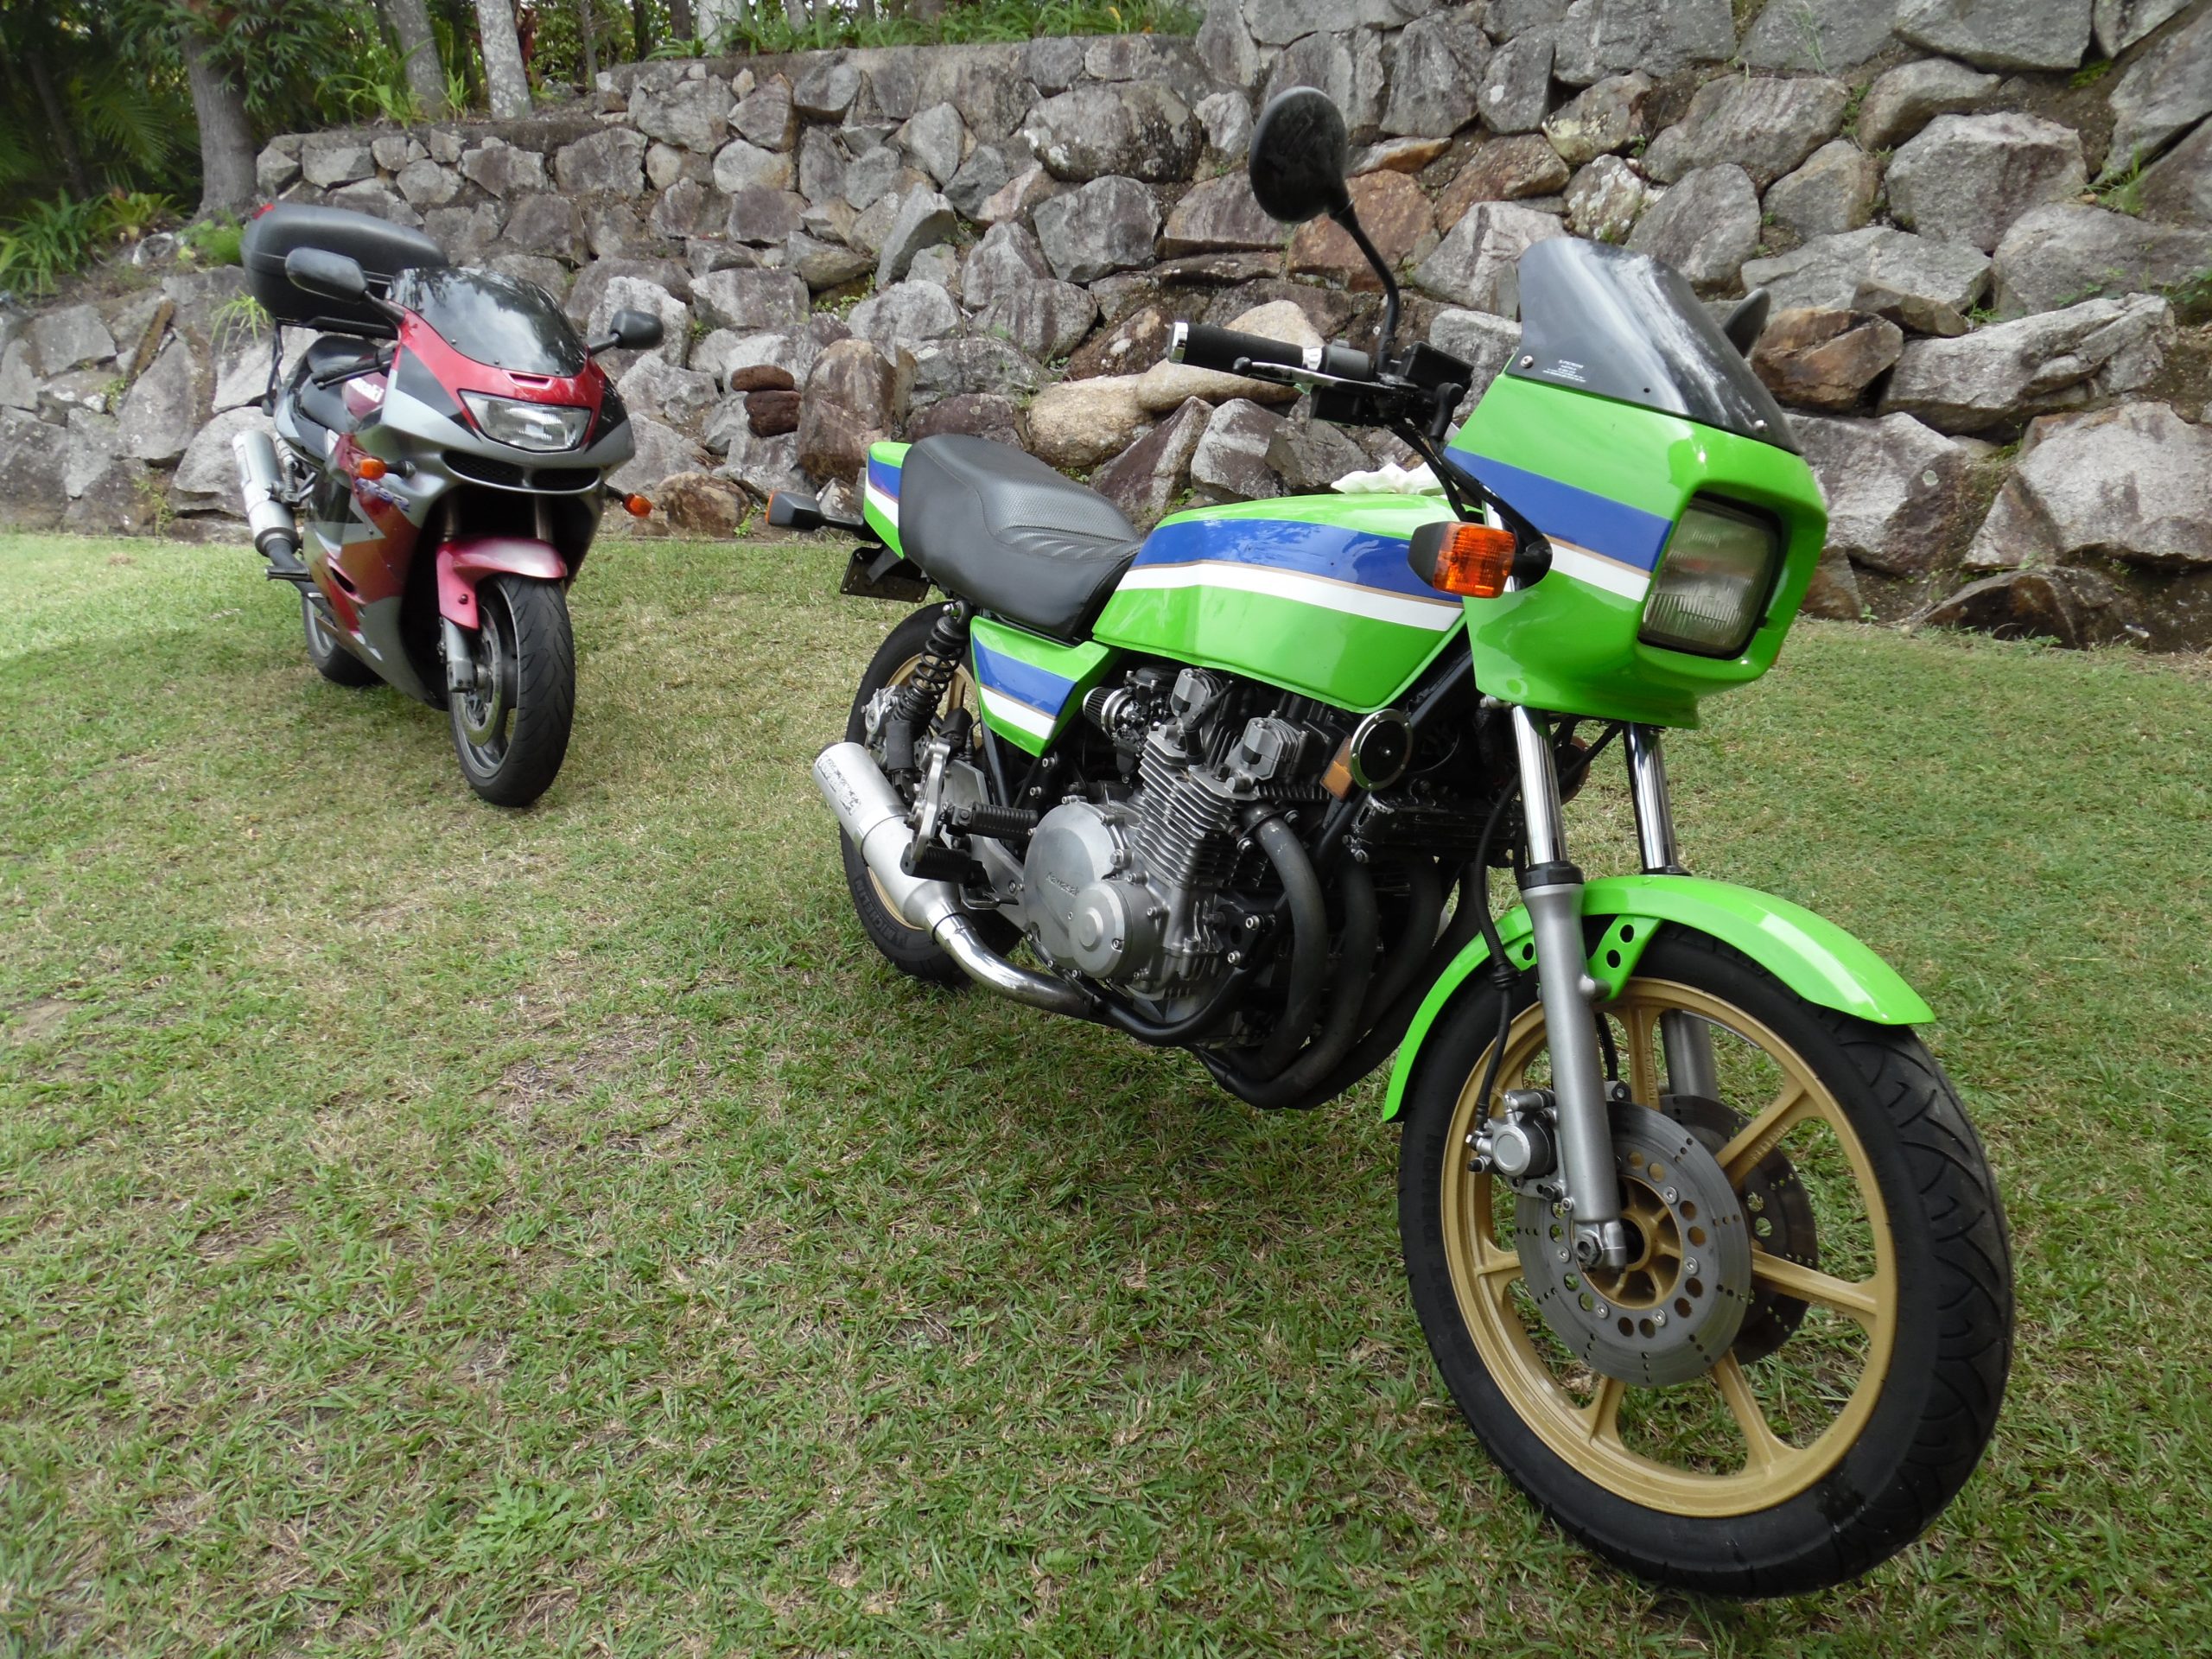
In August I decided to overhaul the 1100, starting with gettig the frame straightened by Dave Kellet, then fitt new wheel and swingarm bearings, clean up all of the alloy components, re-paint/powder coat all the metal parts and a complete new paint job. The goal is to have a new bike that looks and handles like an Eddie Lawson Replica (ELR) since they are in fact almost the same bike but with different brakes, instrument cluster and different handlebars. The B1 is a much closer match to the ELR as it features 7/8″ handlebars as standard.
Stripped bike ready to get straightened – it appears to have been in a head on crash at some point prior to my purchase of it as the frame head stem is bent back by 1 degree, which explains why it handles so well, it has quicker steering!
As the bike is used for touring I need to get some new solid mounts for the gear sack rack on the rear fabricated and welded in and two mounting plates onto the front down tubes to stiffen the frame where the head on smash occurred.
While my frame is in the workshop a genuine ELR arrived and its “totaled” from a smash so I snapped some photos of the paint work so I can get everything perfect. It also confirms my statements on other forums that the ELR is based on the GPz1100 as the frames are almost identical!

The B2’s running frame is complete and I need to do a once over and check every bolt to ensure bits don’t fall off for its maiden ride and registration.
I also need to remove the cam cover and check the shims and oil, there is at least 1 shim that is wrong as I can hear the tap from it. If its covered in oil then I can tick off the oil pump assembly and so the engine should be good to go.
While the frame is in getting work done I used the time to send parts in for powder coating and start to get some of the alloy parts cleaned by Wayne Jacobson at Specialized Blasting Services near Jimboomba in Queensland.
The engine Gasket set has also arrives along with a few odds and ends for the calipers.

October 2011
Restoration work has begun, bike has been fully stripped and the frame sent for straightening and returned, Everything is trued and straight. All metal parts are now powder coated and the bike is ready for reassembly. As the forks where leaking fluid past the seals, I decided to get the forks hardchromed and rebuilt at RAD Hardchroming. I will start the engine strip down and clean when I have rolling frame done.

November 2011
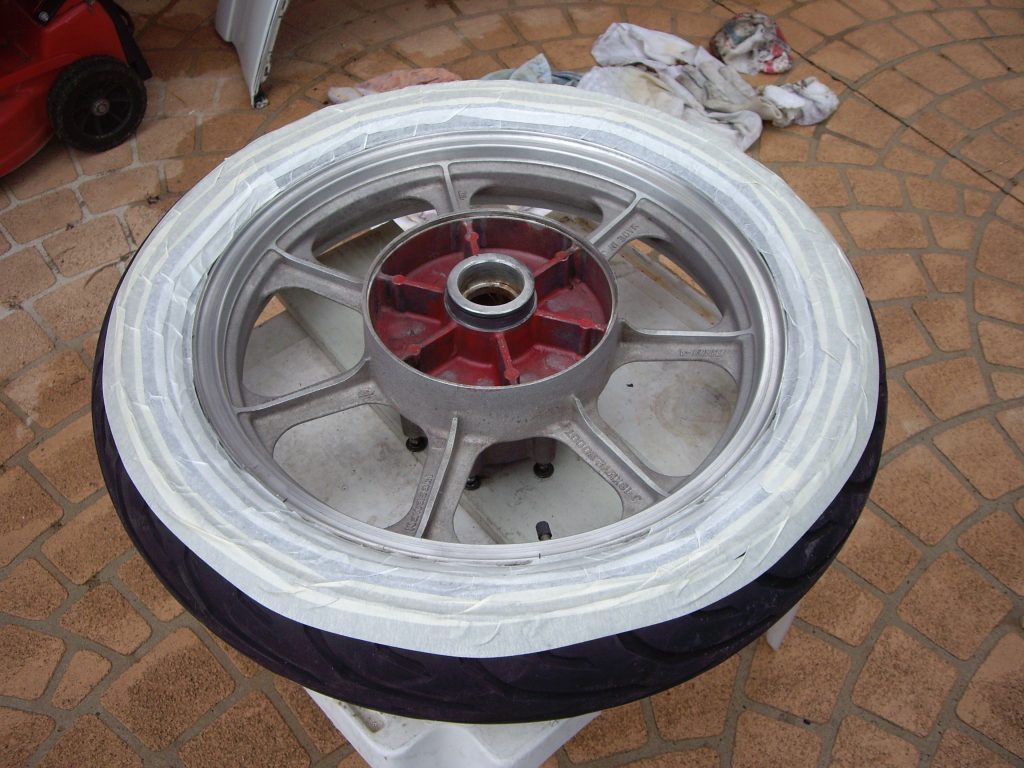
Frame re-assembly in progress, fabricating custom fasteners (cut to correct length) and assembling as many parts as I can to achieve rolling chassis. Some parts will be renewed in time. Need new front tyre. Wheel rims painted gold earlier in the year and new bearings fitted at the same time so they can just bolt on for the time being. Swingarm bearings and rear end assembled, ready for rear wheel.
Masked, Cleaned and ready for paint!
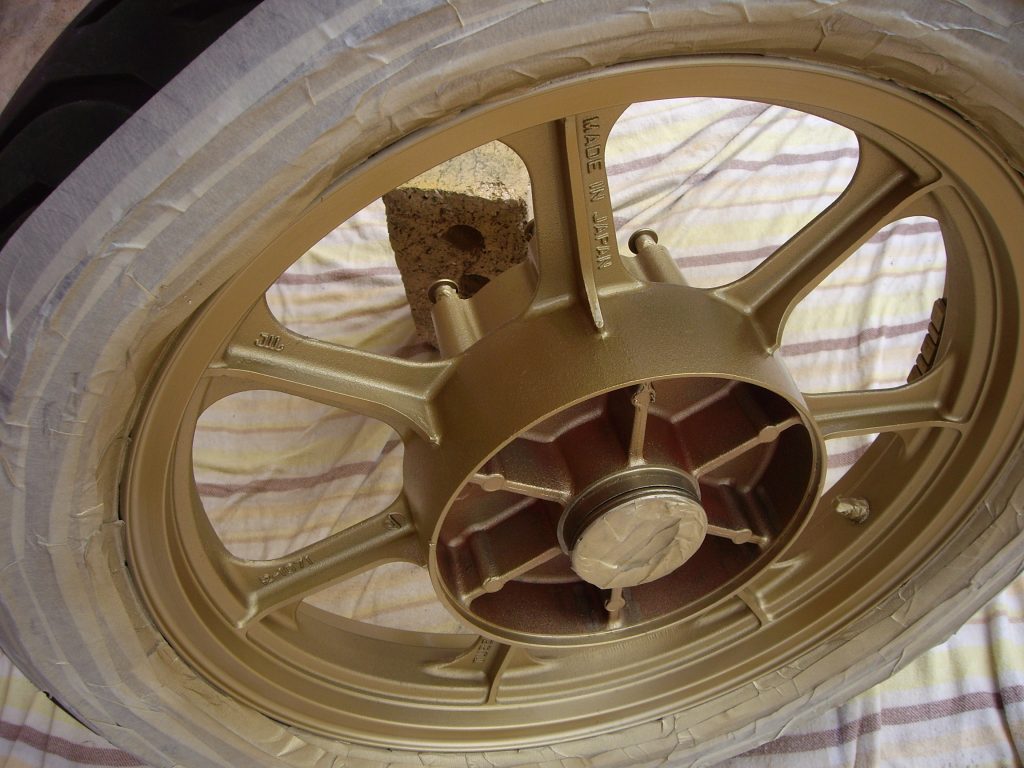
Gold paint done, will eventually redo the paint when I can locate a powder coat that matches and can do the job without ruining the alloy polish on the side of the rims.
Note: In 2018 I redid the wheels in powder coat.
Paint and Body Work
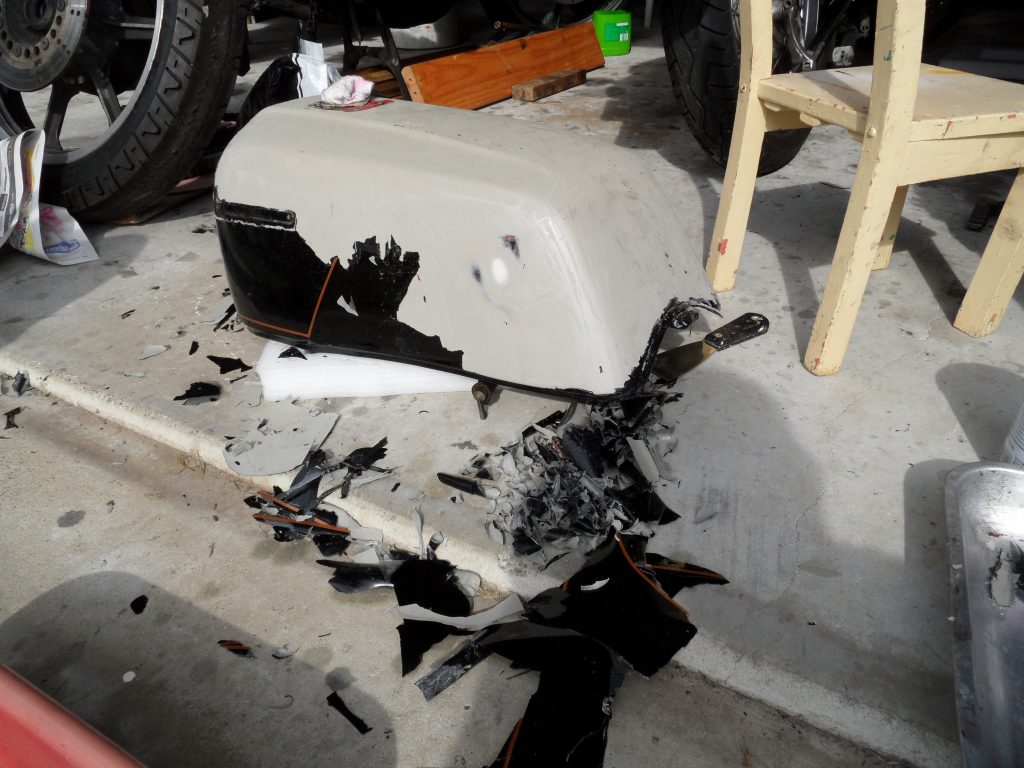
I decided I would see how much effort it would take to prep and paint the tank in an ELR colour scheme so I used the B1 bike as a test bed. I put the tank in molasses and then using the Gurnie I remove the remaining paint from the tank.
The tank has sat in Molasses for two weeks. With a little work the tank is bare of paint!

The B1 Tank undergoes a clean up after being removed from the molasses tank. I used the B1 tank to develop my skills in painting before I touch the B2 tank.
The front guard is primed with etch primer, next to do is the tank, but first the old body filler must come out and the dents repaired or refilled.

Bare tank with bog showing and primed front fender ready for colour.
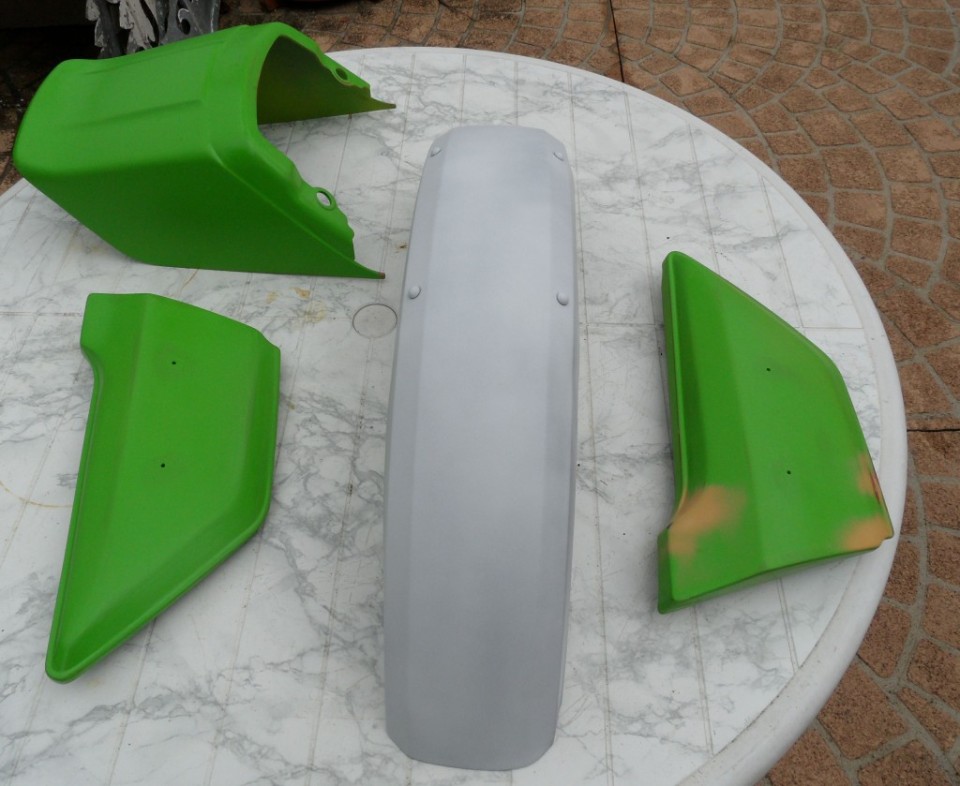
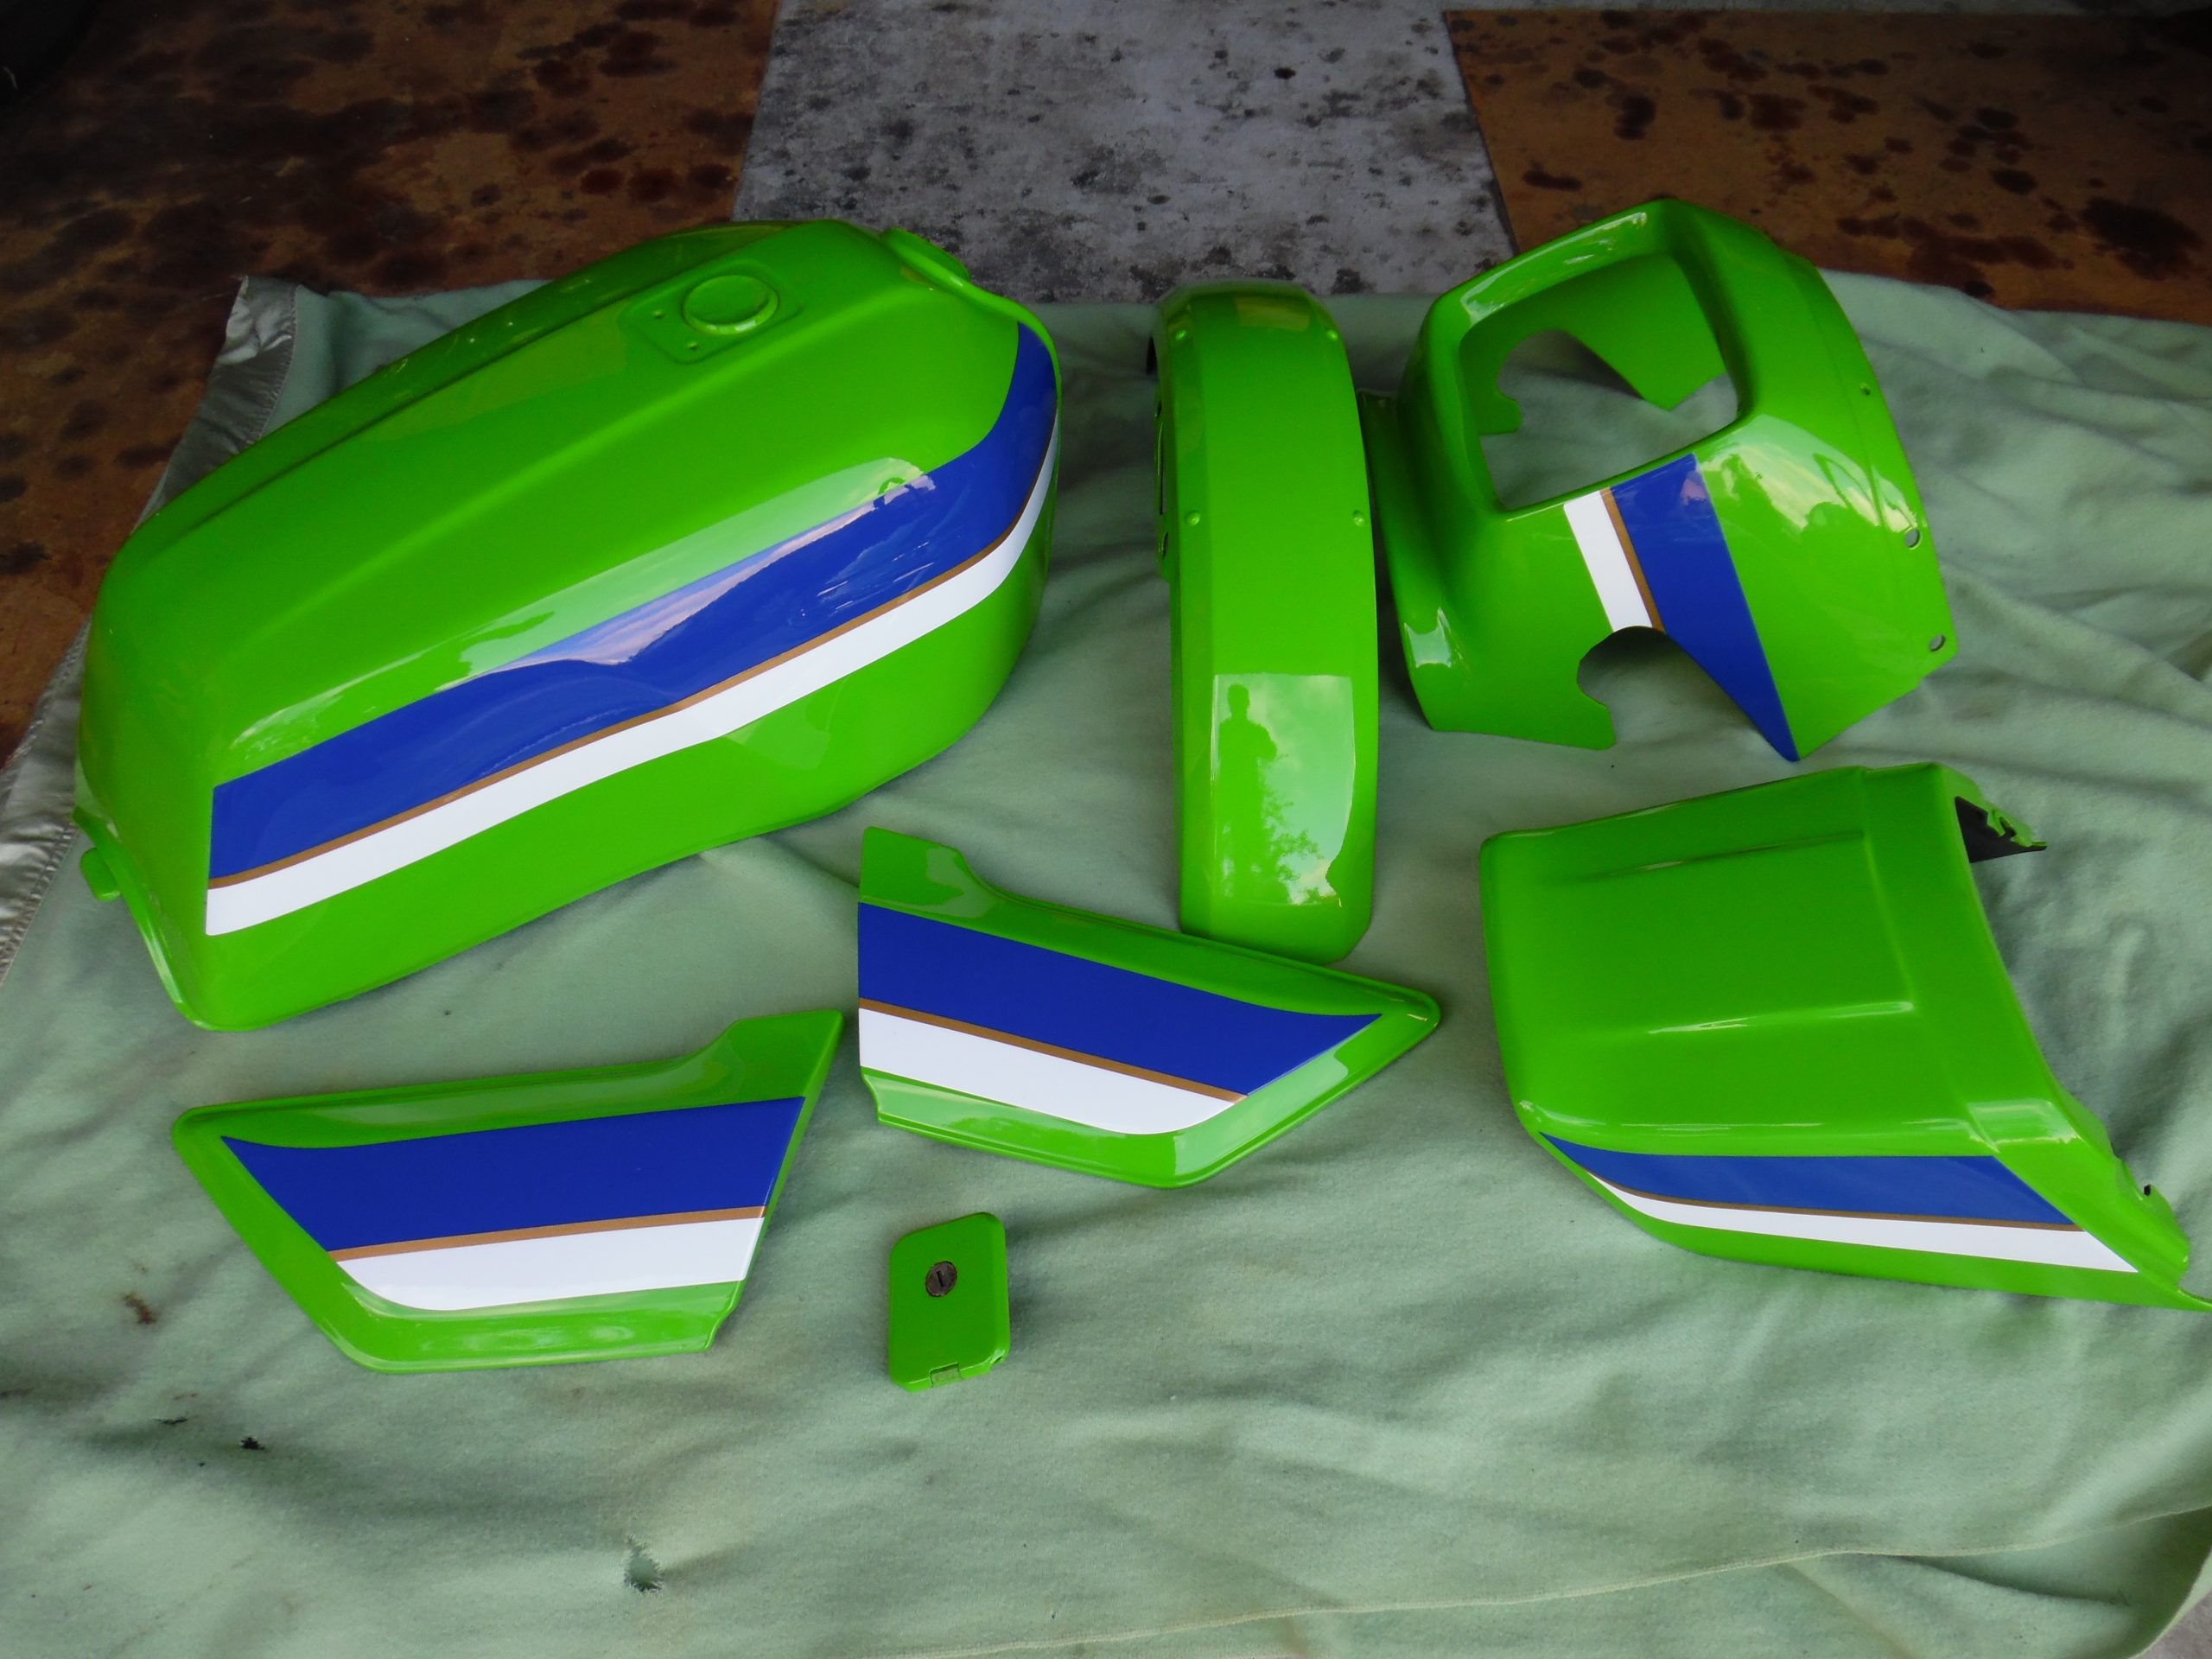
Side covers and duck tail undergo initial painting in ELR green base colour.
My initial experiments in the body work show that there is a lot of work needed to finish the tank before the base paint can be applied. Side covers and duck tail are done in the base paint colour. Front guard is still in etch primer, next object to get solid colour. I also need to start prepping the side covers and tail section for Blue and White strips over the green base colour.
B1 Tank with base colour down but in need of some 800+ Wet and Dry sanding.
Interesting side note: Found an article from a Kawasaki dealer about front sprocket bolt coming off on its own. This caused the first factory recall for Kawasaki. There is a kit that prevents this so I will look into this and make sure I do something to stop a repeat occurrence after my front sprocket came off after a rear wheel change.
Prior to taking the bike off the road the forks were leaking oil and blowing seals to often as a result of small pits. So I disassembled the forks and took them to RAD suspension to get the hardchrome machined off and the forks recoated, they also replaced the bush at the top and bottom of both legs as they were worn.
2012
April 2012
Frame re-assembly is now completed and the rolling frame has all the bits assembled, just needs some wiring harness repairs, headlight installed, fairing fitted and engine installed with all the bits to make it go. The picture below includes the modified front calipers from the GPz900R and I put the original B2 bodywork back on for the time being. I have learnt to appreciate the amount of work spray painting requires prior to putting down paint so I will take the body parts into Budda’s Motorcycle Paint and get him to have a crack at it. If its good, I’ll get the burgundy/red set done also.
The partially complete rolling frame, I’ve kept the gear sack carrier on the back as I like to use this bike to tour on.
Engine Work
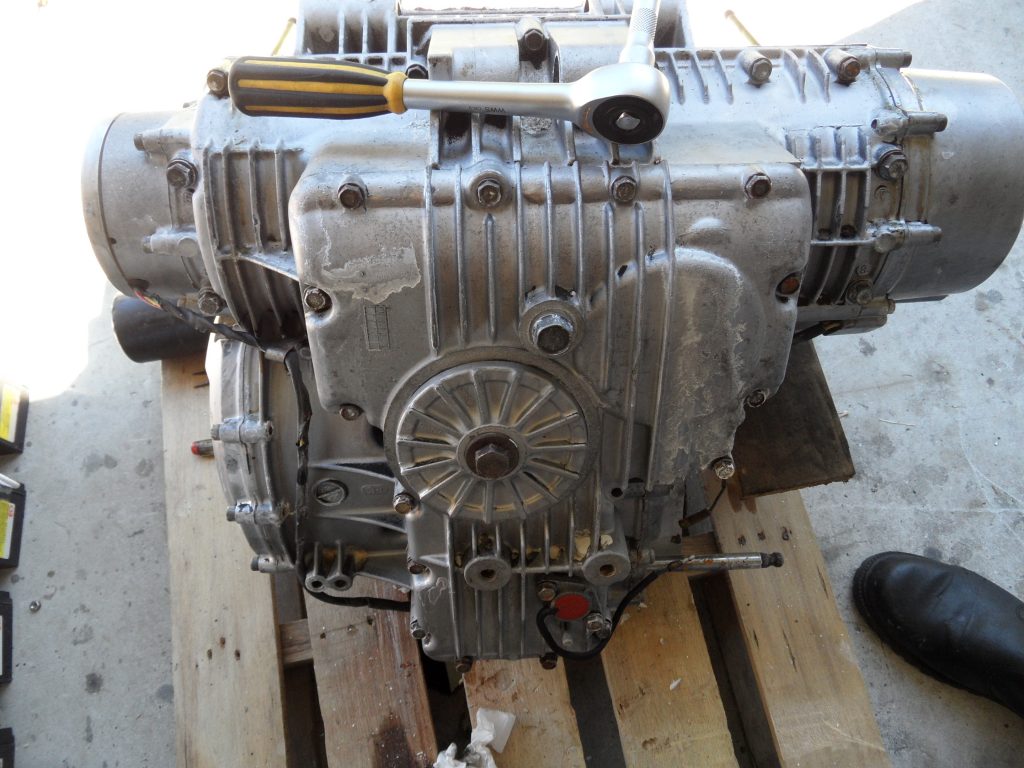
I started to strip paint off the engine starting at the cam cover and decided it would be better to get it removed by a commercial Soda Blaster. To make it easier to transport I strapped it to a pallet and took it over in the ute.
Below is a “BEFORE” picture of the engine, when it comes back I will take an “AFTER” soda blasting picture then strip it down and take the alloy components over to Wayne at Specialized Blasting Services to get those parts water blasted back to new. After that its just a reassembly with new gaskets, seals and a new cam chain.

Ready to get soda blasted (BEFORE shot).
Waiting…waiting….waiting…..
Engine Strip Down
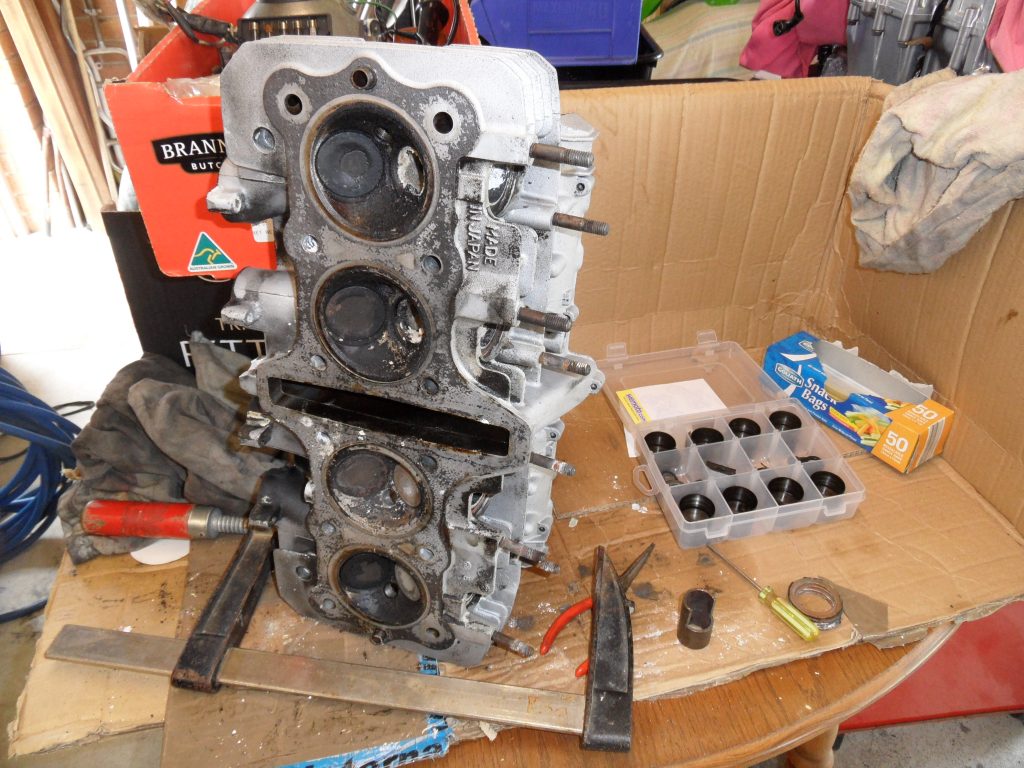
After much procrastination and waiting for my shoulder to heal up after keyhole surgery I finally spent a day stripping the engine down. Getting it soda blasted clean was a great idea, it was so easy to disassemble and separate.
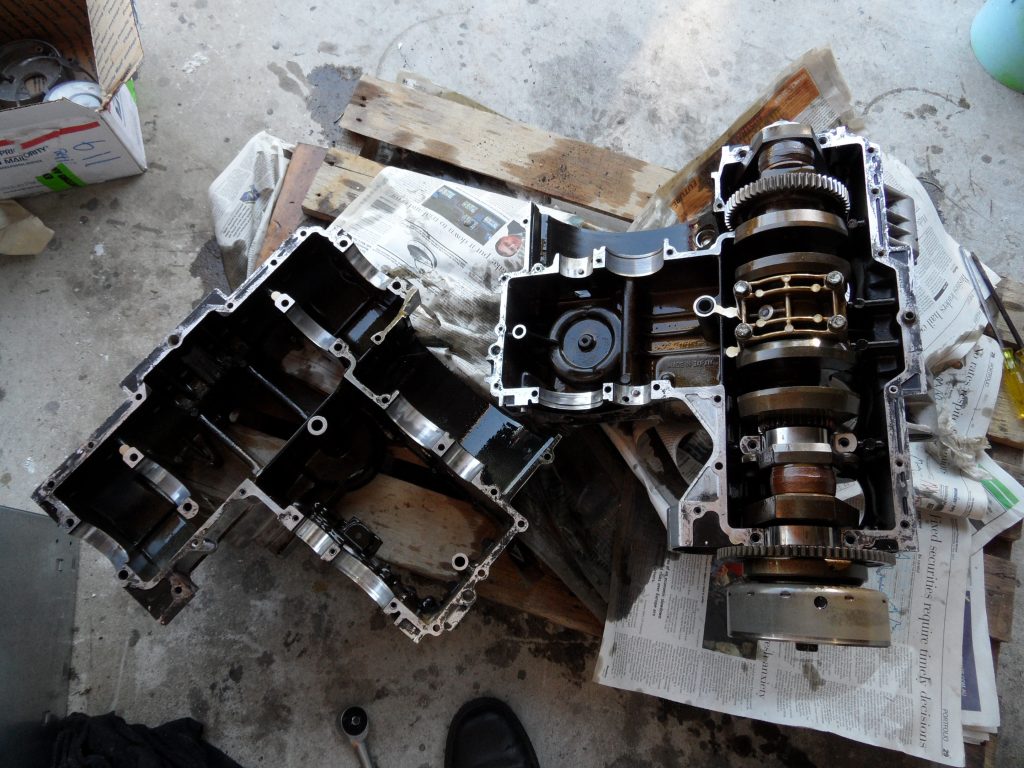
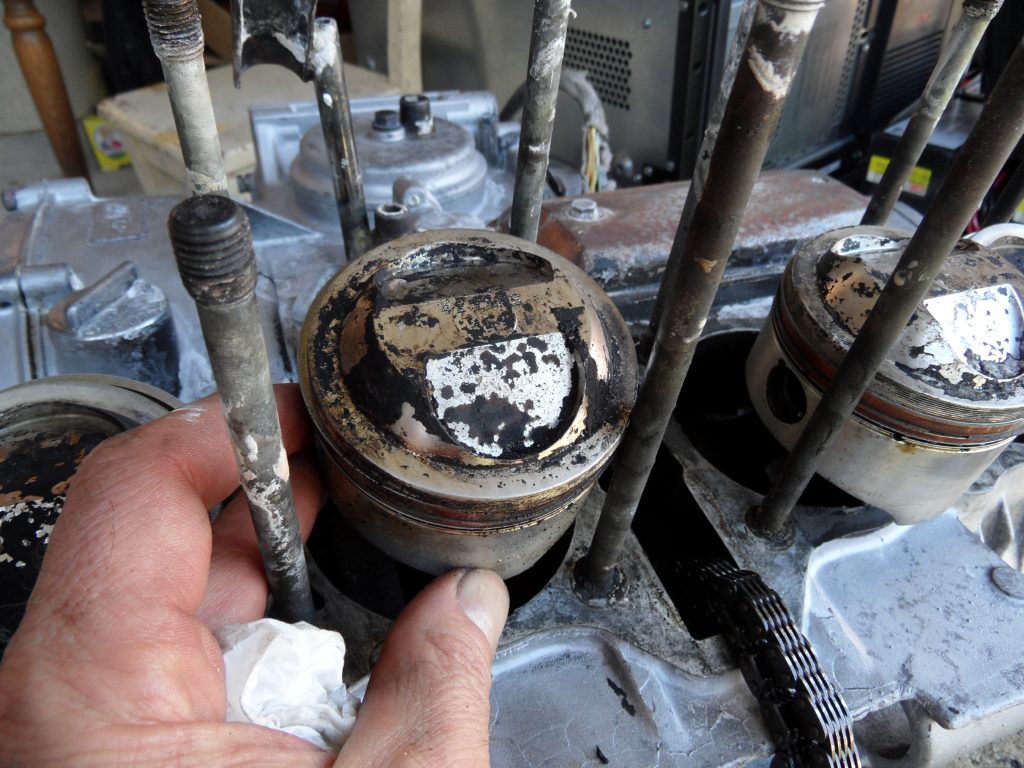
When I open up the head, the high dome pistons stood out, the previous owner had indeed spent some serious bucks on the bike.
2013-2014
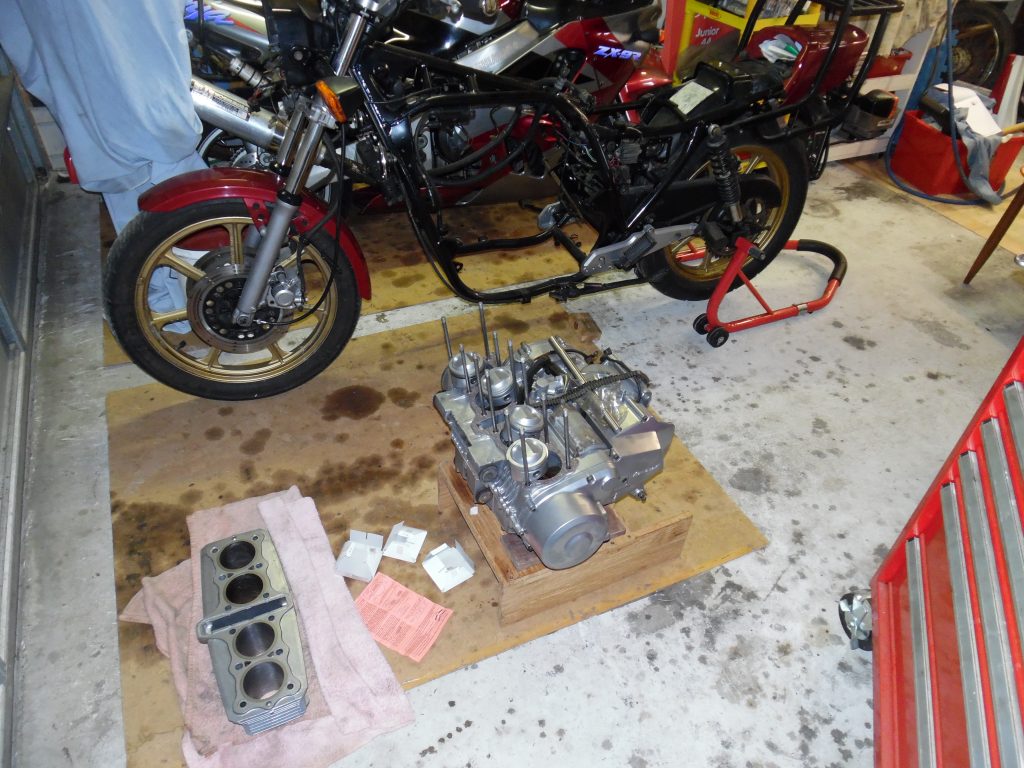
The engine reassembly required every piece to be professionally cleaned first. After it was completed the result had been better than expected resulting in an almost new engine siting on the bench. The head has been repaired where the cam holder bolt snapped. and the head stripped and sent off to get professionally cleaned.
By the end of 2014, the engine is now almost fully re-assembled.
January 2015
Its been a long haul with the GPz1100 neglected for a while due to other bikes but I purchased rings for the Wisco Pistons. I have had the pistons cleaned up and the head is next on the list, its in the shop now and should be ready first week of February.
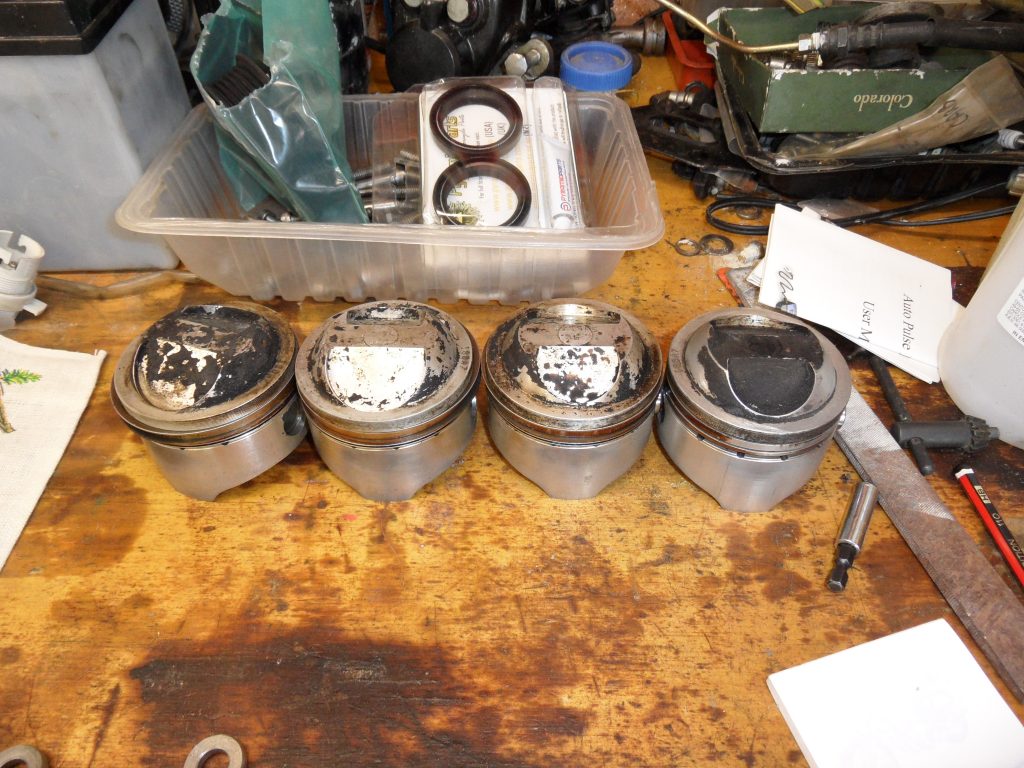
On the left the freshly cleaned piston, the right is about to get done.
All four done and in perfect condition ready to install.
Now to hone some barrels, fit the pistons and complete the engine assembly ready for installation into the frame.
2018
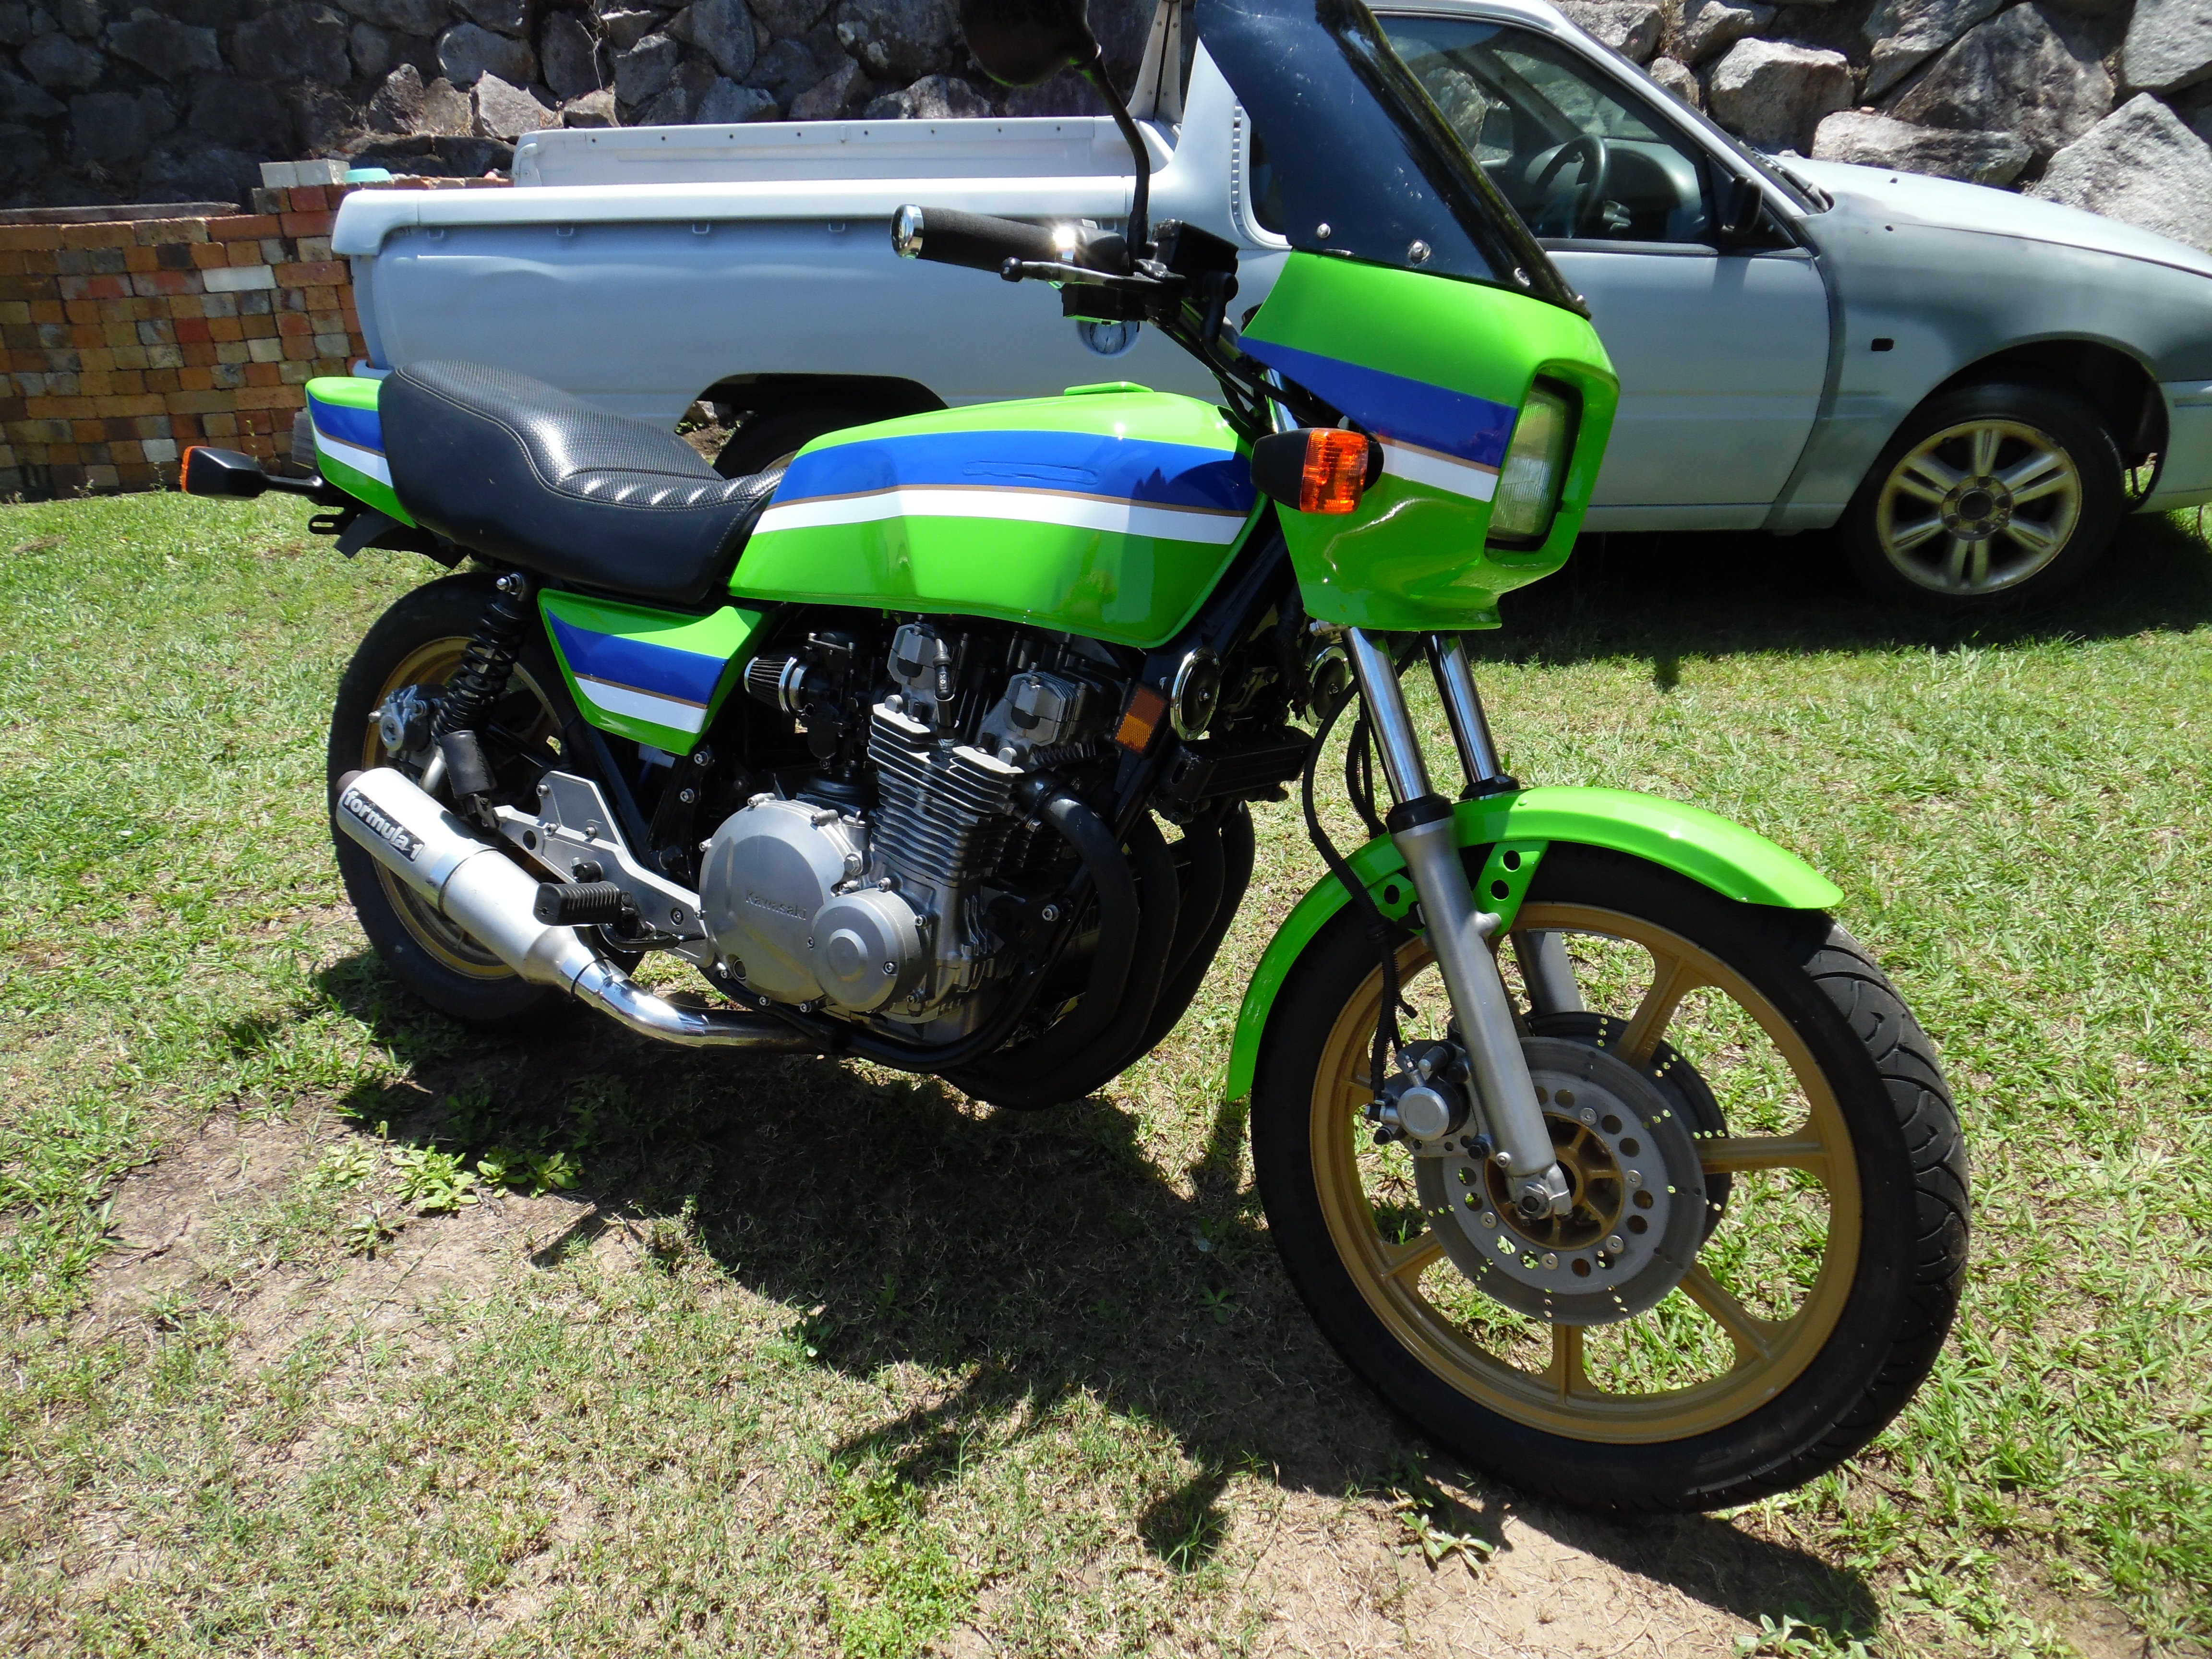
Final Assembly of the bike and road testing in preparation for a planned 6000klm ride to Tassie and back in March 2019.
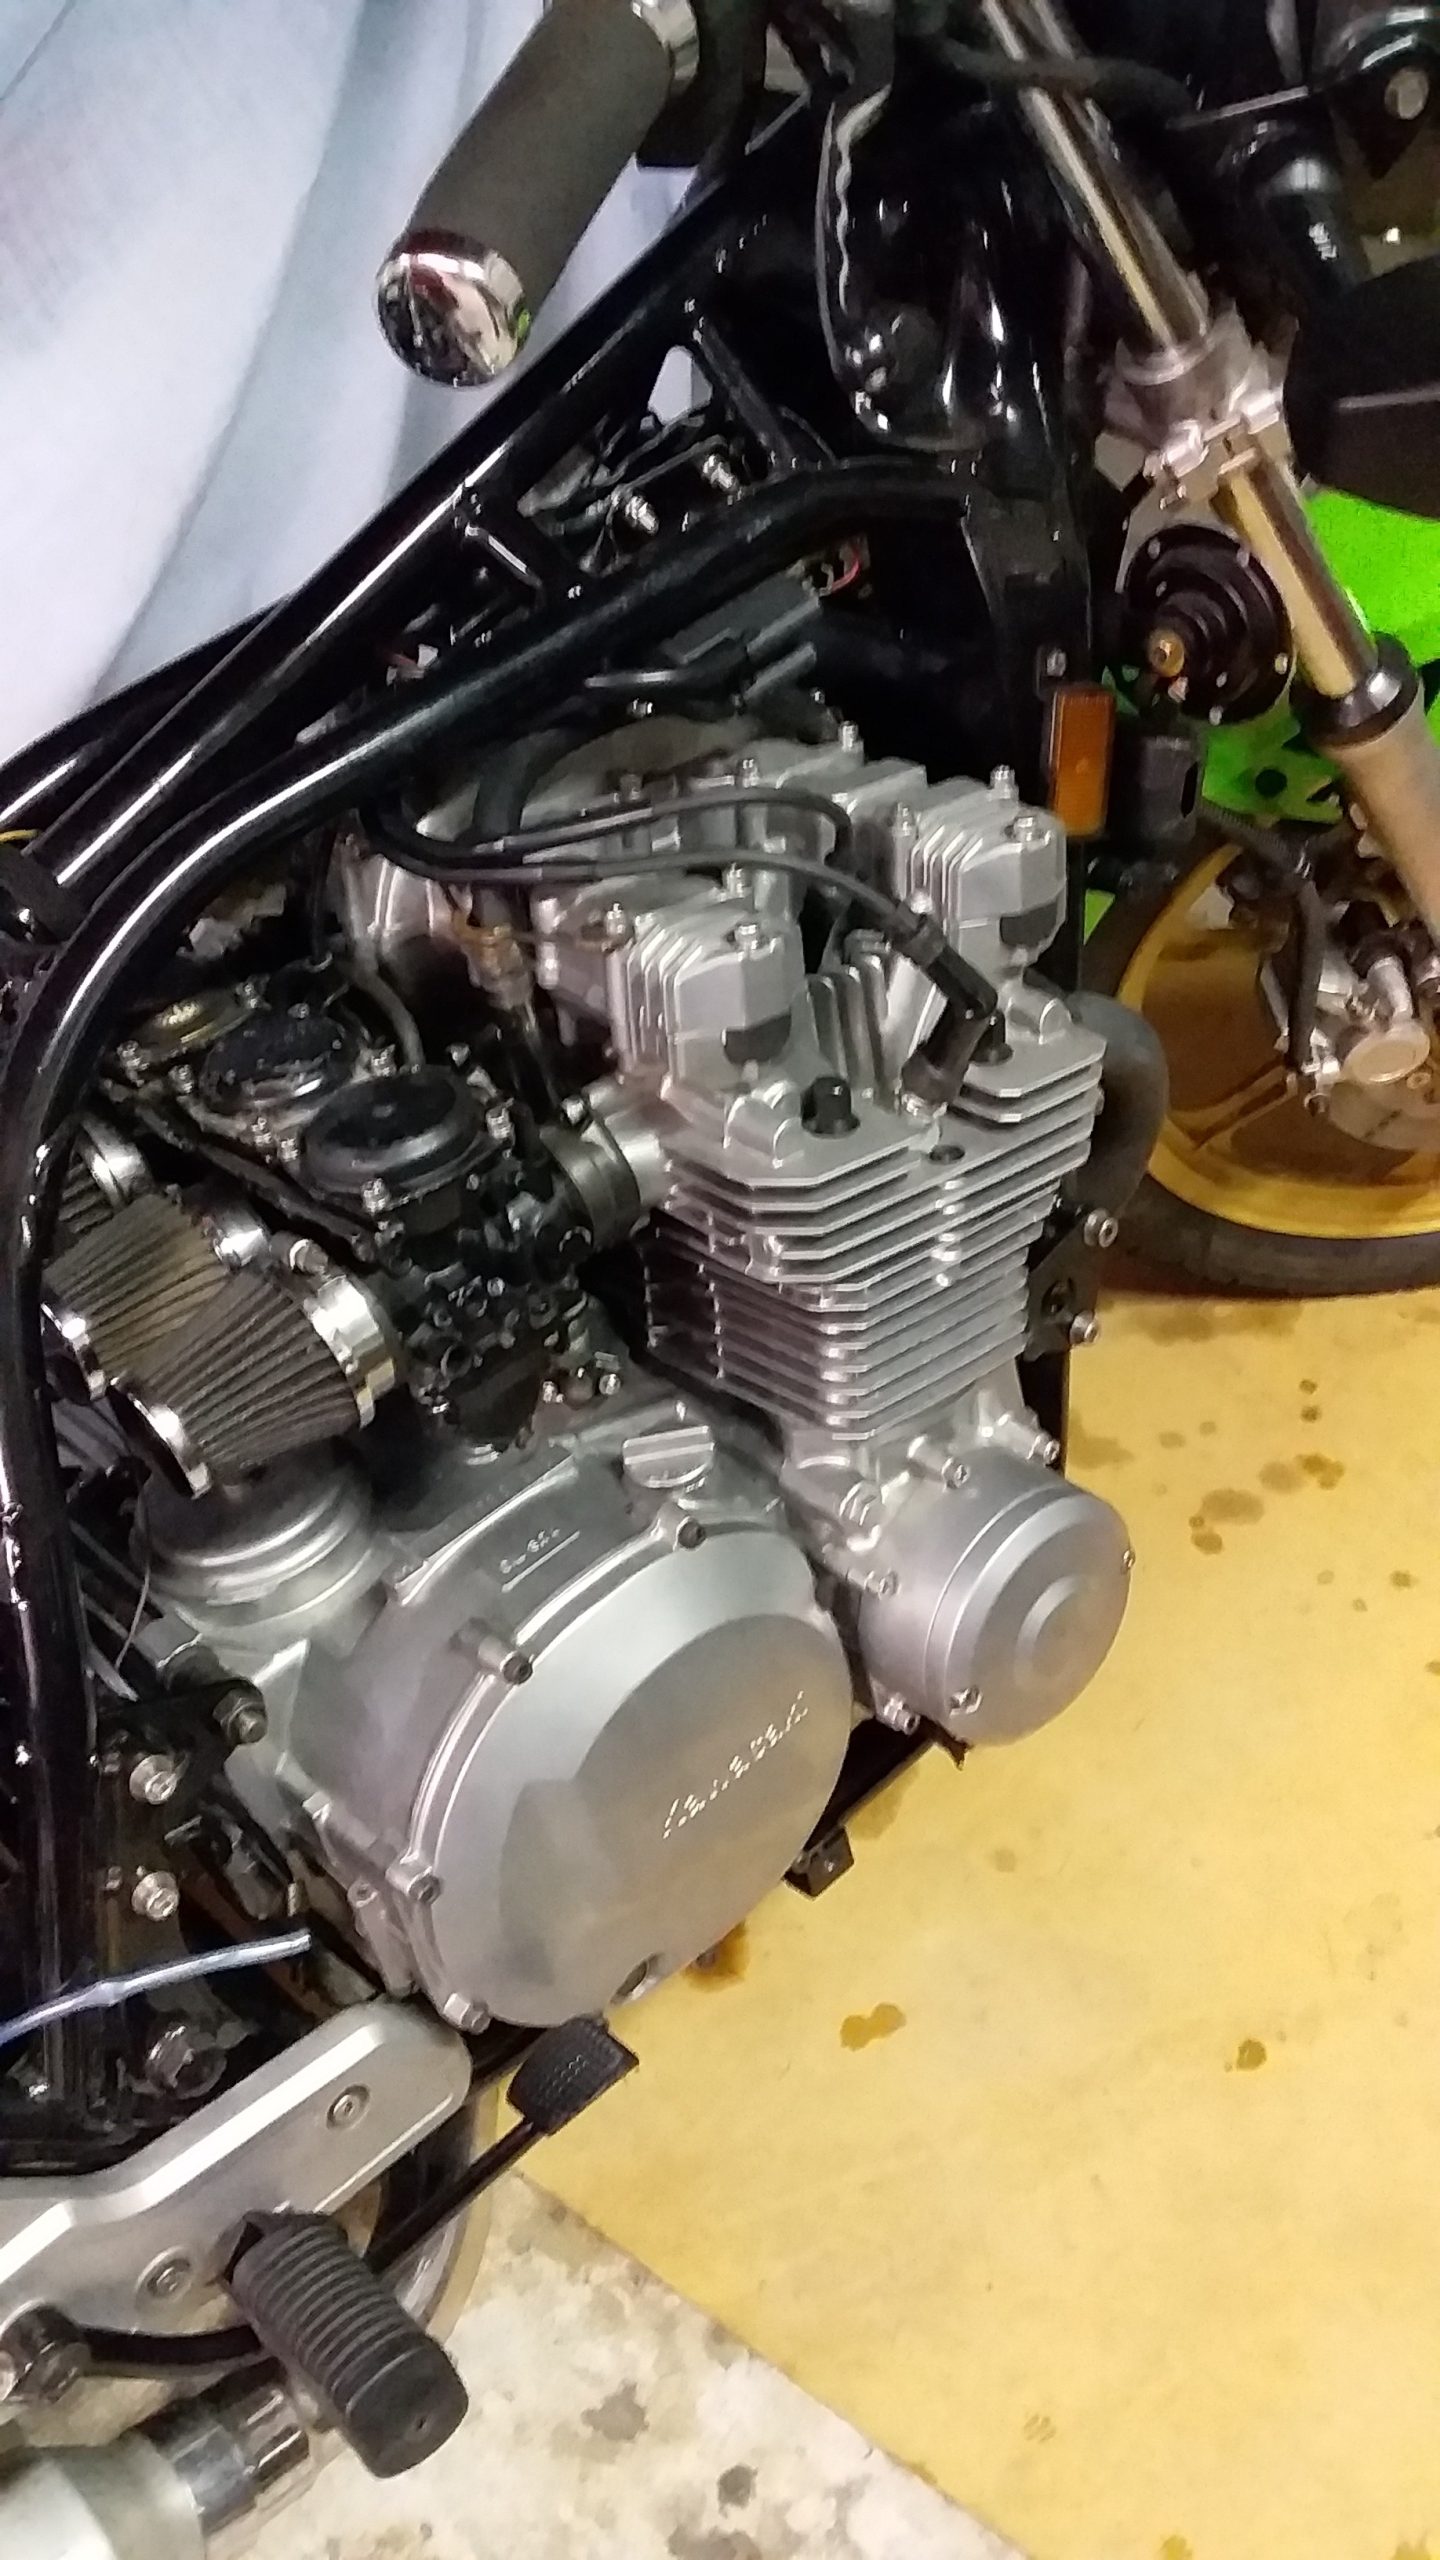
Final addition of ELR body work and the wheels havde had a revamp as well, howeevr I am not happy with them and will try to locate a powder coater who can do the gold colour I am after.
–oOo–