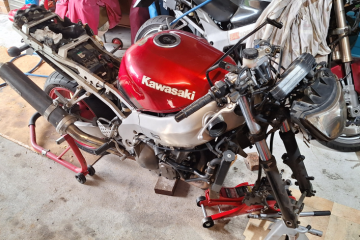
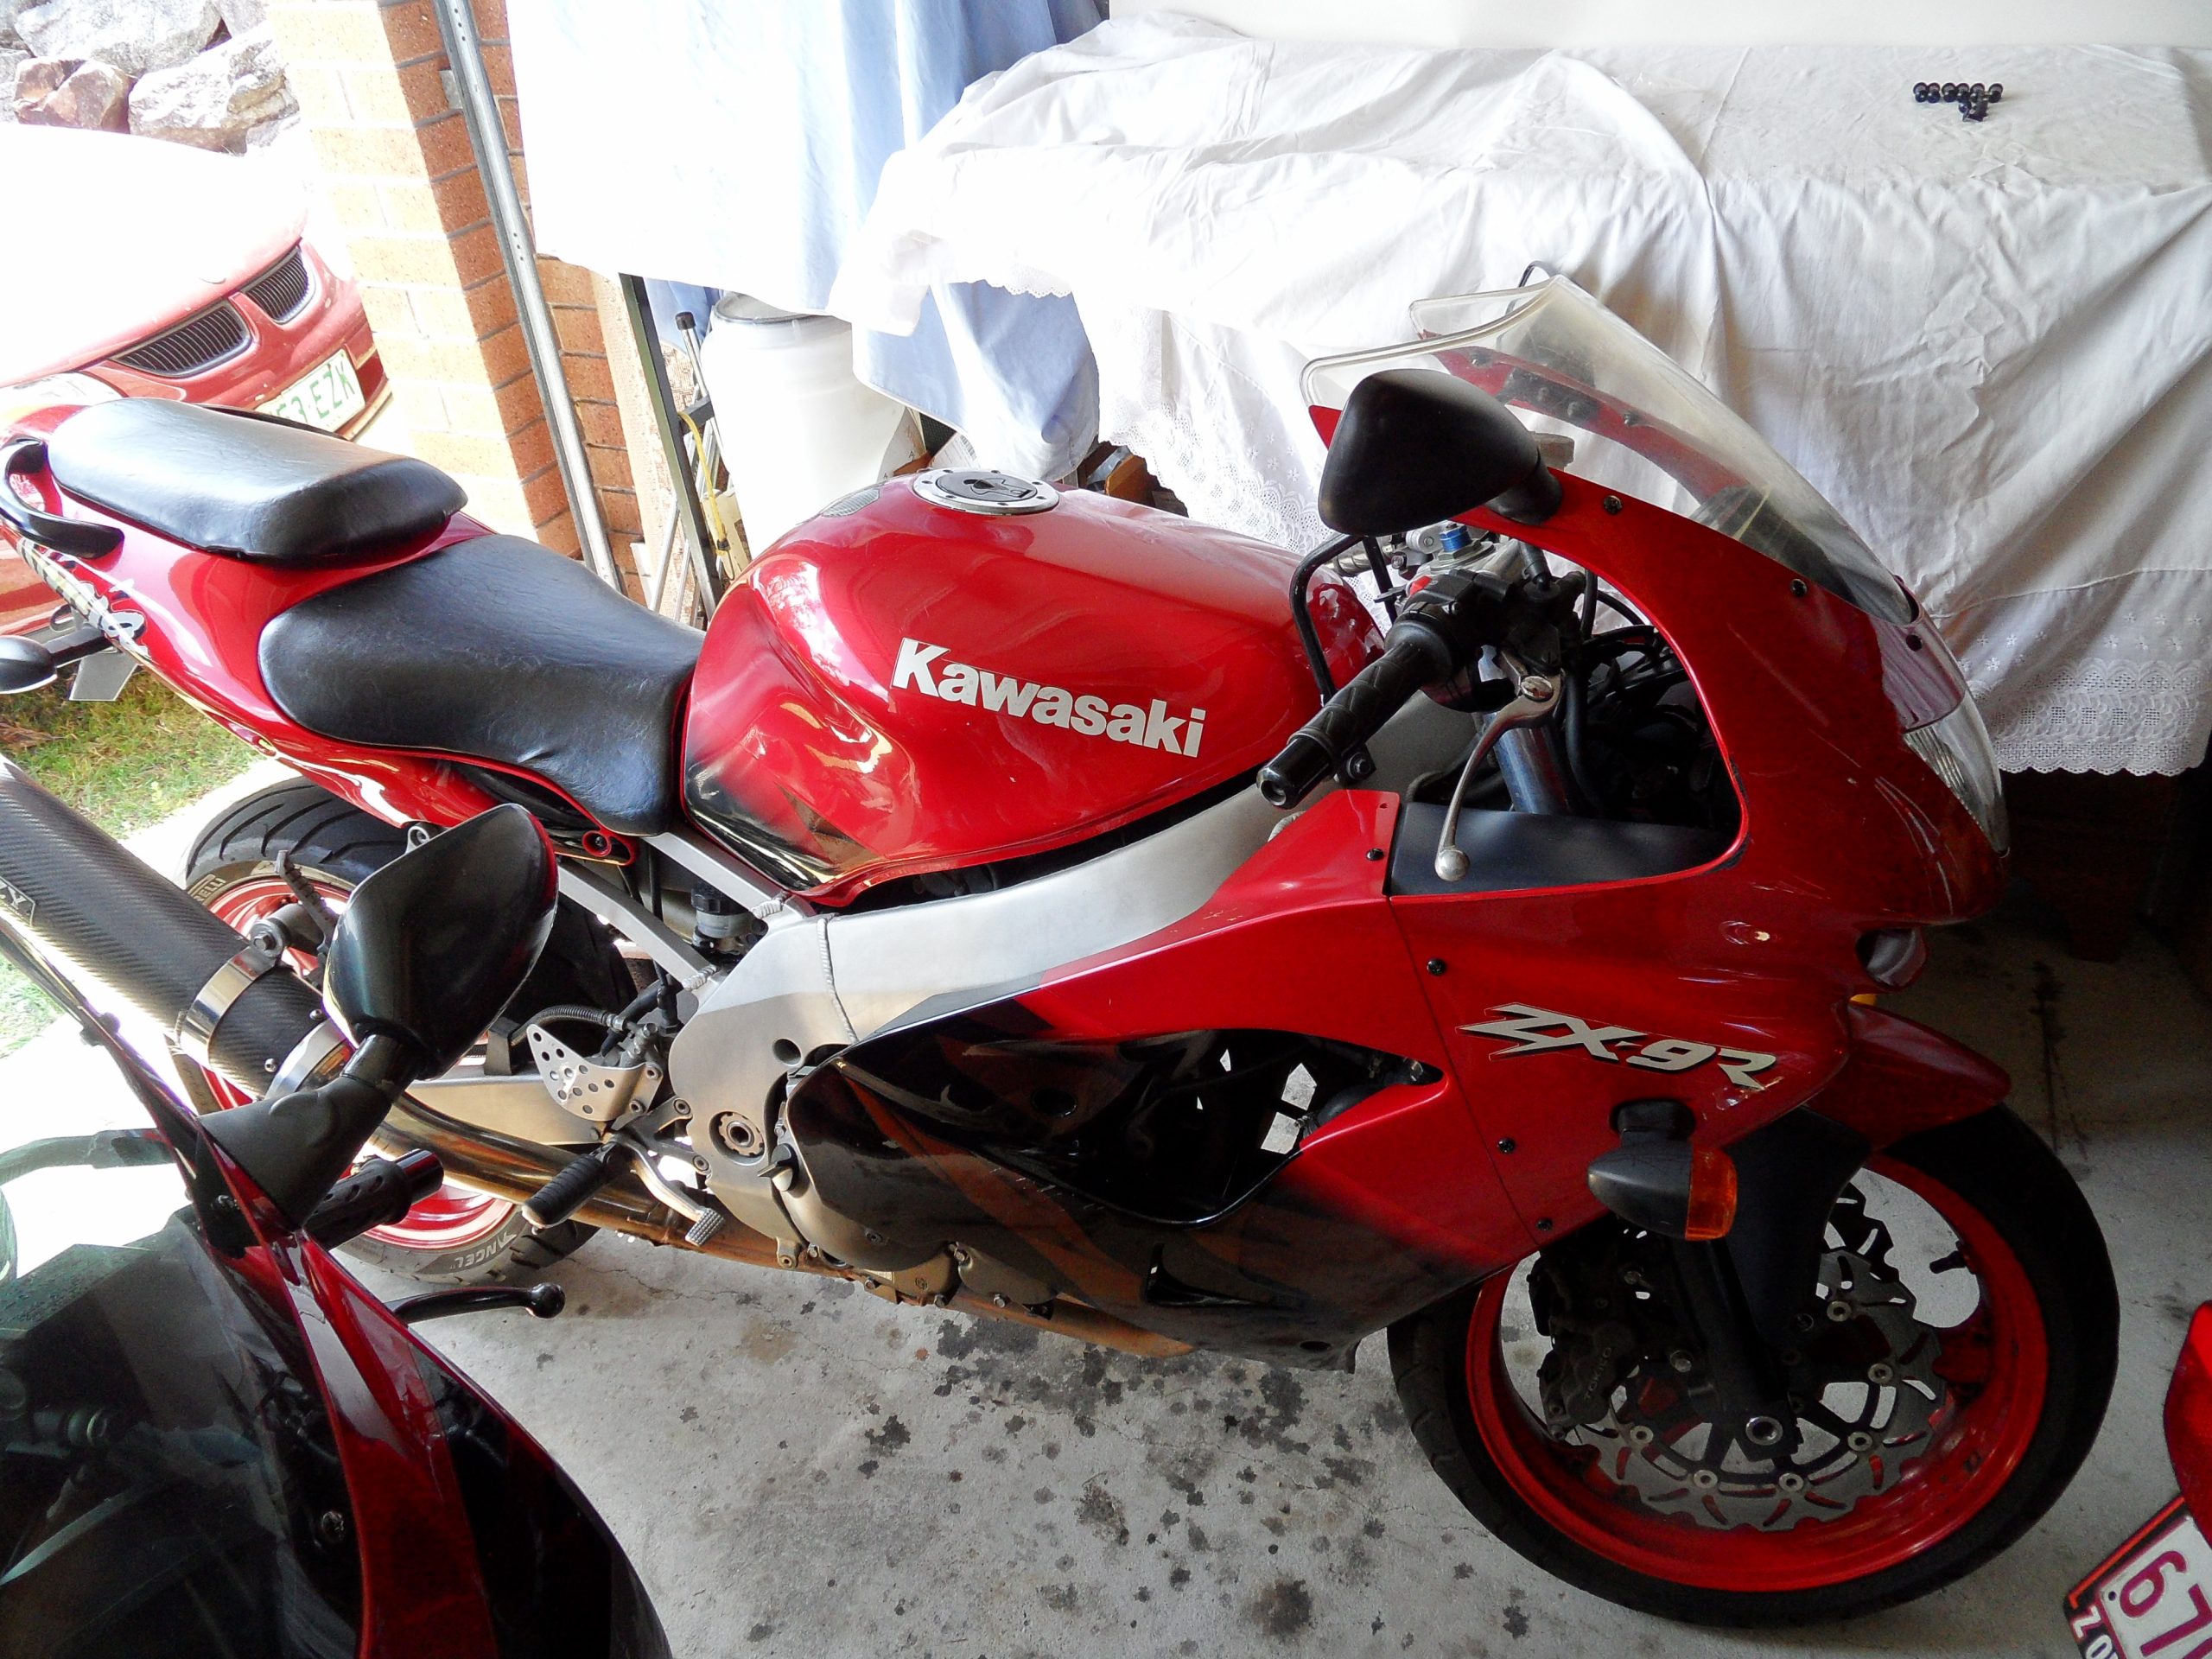
I’ve written a few posts about my GPz1100B2 over the years, the most successful work has been getting it running with a 6000klm ride to Tasmania and back and the 530 chain conversion after the old 630 chain snapped 30klm from home after that ride!
The least successful work has been the rust in the tank. So the saga continues……
Last month I found a leak in the replacement tank I obtained last year. That tank was a GPz1100B1 tank that had been modified and on all accounts appeared to be a viable solution. I had patched the rust holes with solder, cold gal’d the tank and rode it around for a few weeks waiting to see how it held up. Unfortunately a bracket at the rear of the tank was weeping fuel so I decided to get the tanks dipped in acid and soon discovered parts of an old lining inside.
The decision was made to cut open both tanks and burn out the old linings, remove all solder and decide the best course of action.
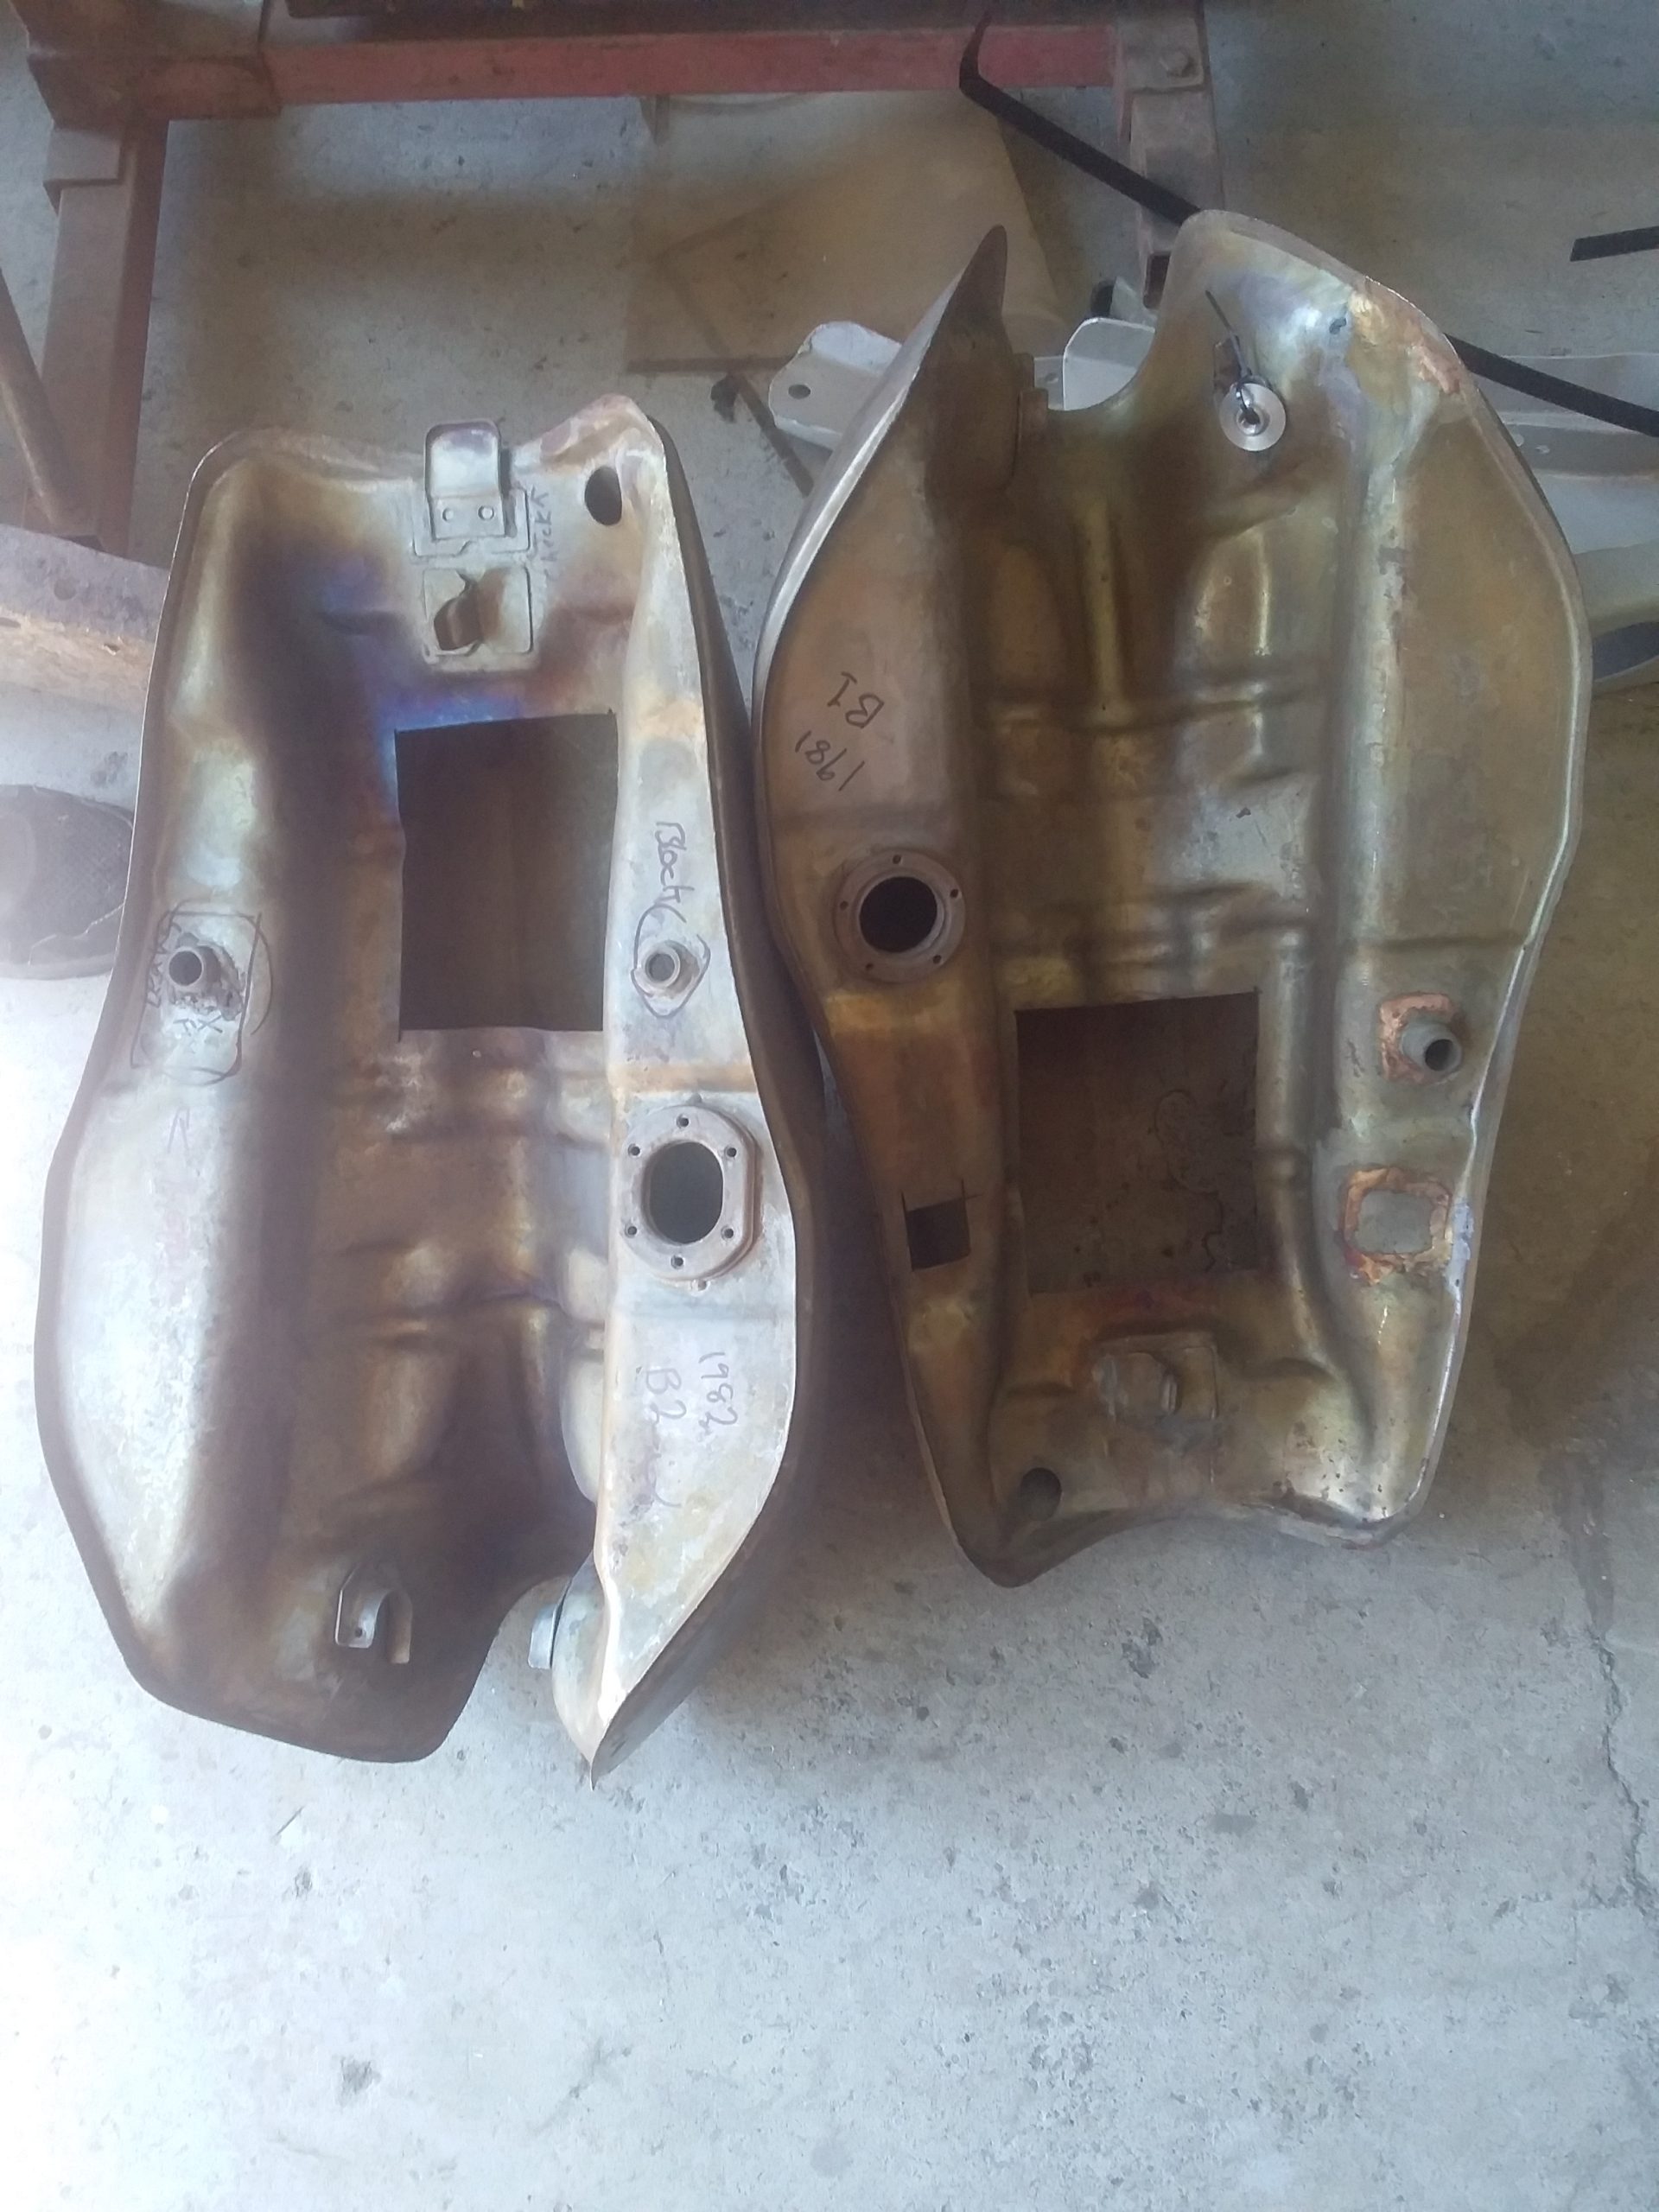
Below is the state of both tanks as delivered to a fabricator who normally specialises in Hot Rod building but was happy to take on the challenge of building one tank from two.
On the left is B2 tank right is B1 tank. From the top they look identical and just as well as the B2 tank has rust pitting right through the top, the B1 tank has a (relatively) good top but damaged sides and base.

With the tanks cut open I gained full access to the inside and a straight forward assessment could be made. It looks savage but a fabricator can make a new piece to fit where the tank has been cut open and TIG the tank back to fuel tight.
A plan is hatched!
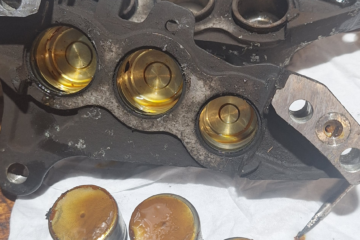
So here is the plan, the B2 base is pretty good but the top is rusted through, the B2 also has the right sensor mounting and I wrote about that previously, the sender unit is still available and I bought one last year. The B1 top is pretty good with a few holes but the base is not so good and has the B1 sensor which is not obtainable. The B1 tank also leaks, so I am going to ditch the B1 base.
The fabricator is going to cut the top of the B1 tank and seamless TIG onto the B2 tank, then TIG a bolt into the fuel return hole and take the good tap fitting and braze/TIG it onto the B2 tank. He will also fill all the holes (braze/TIG) and pressure test it so I should have a take ready to de-rust (mild surface rust) and then seal with a tank liner.
De-rusting
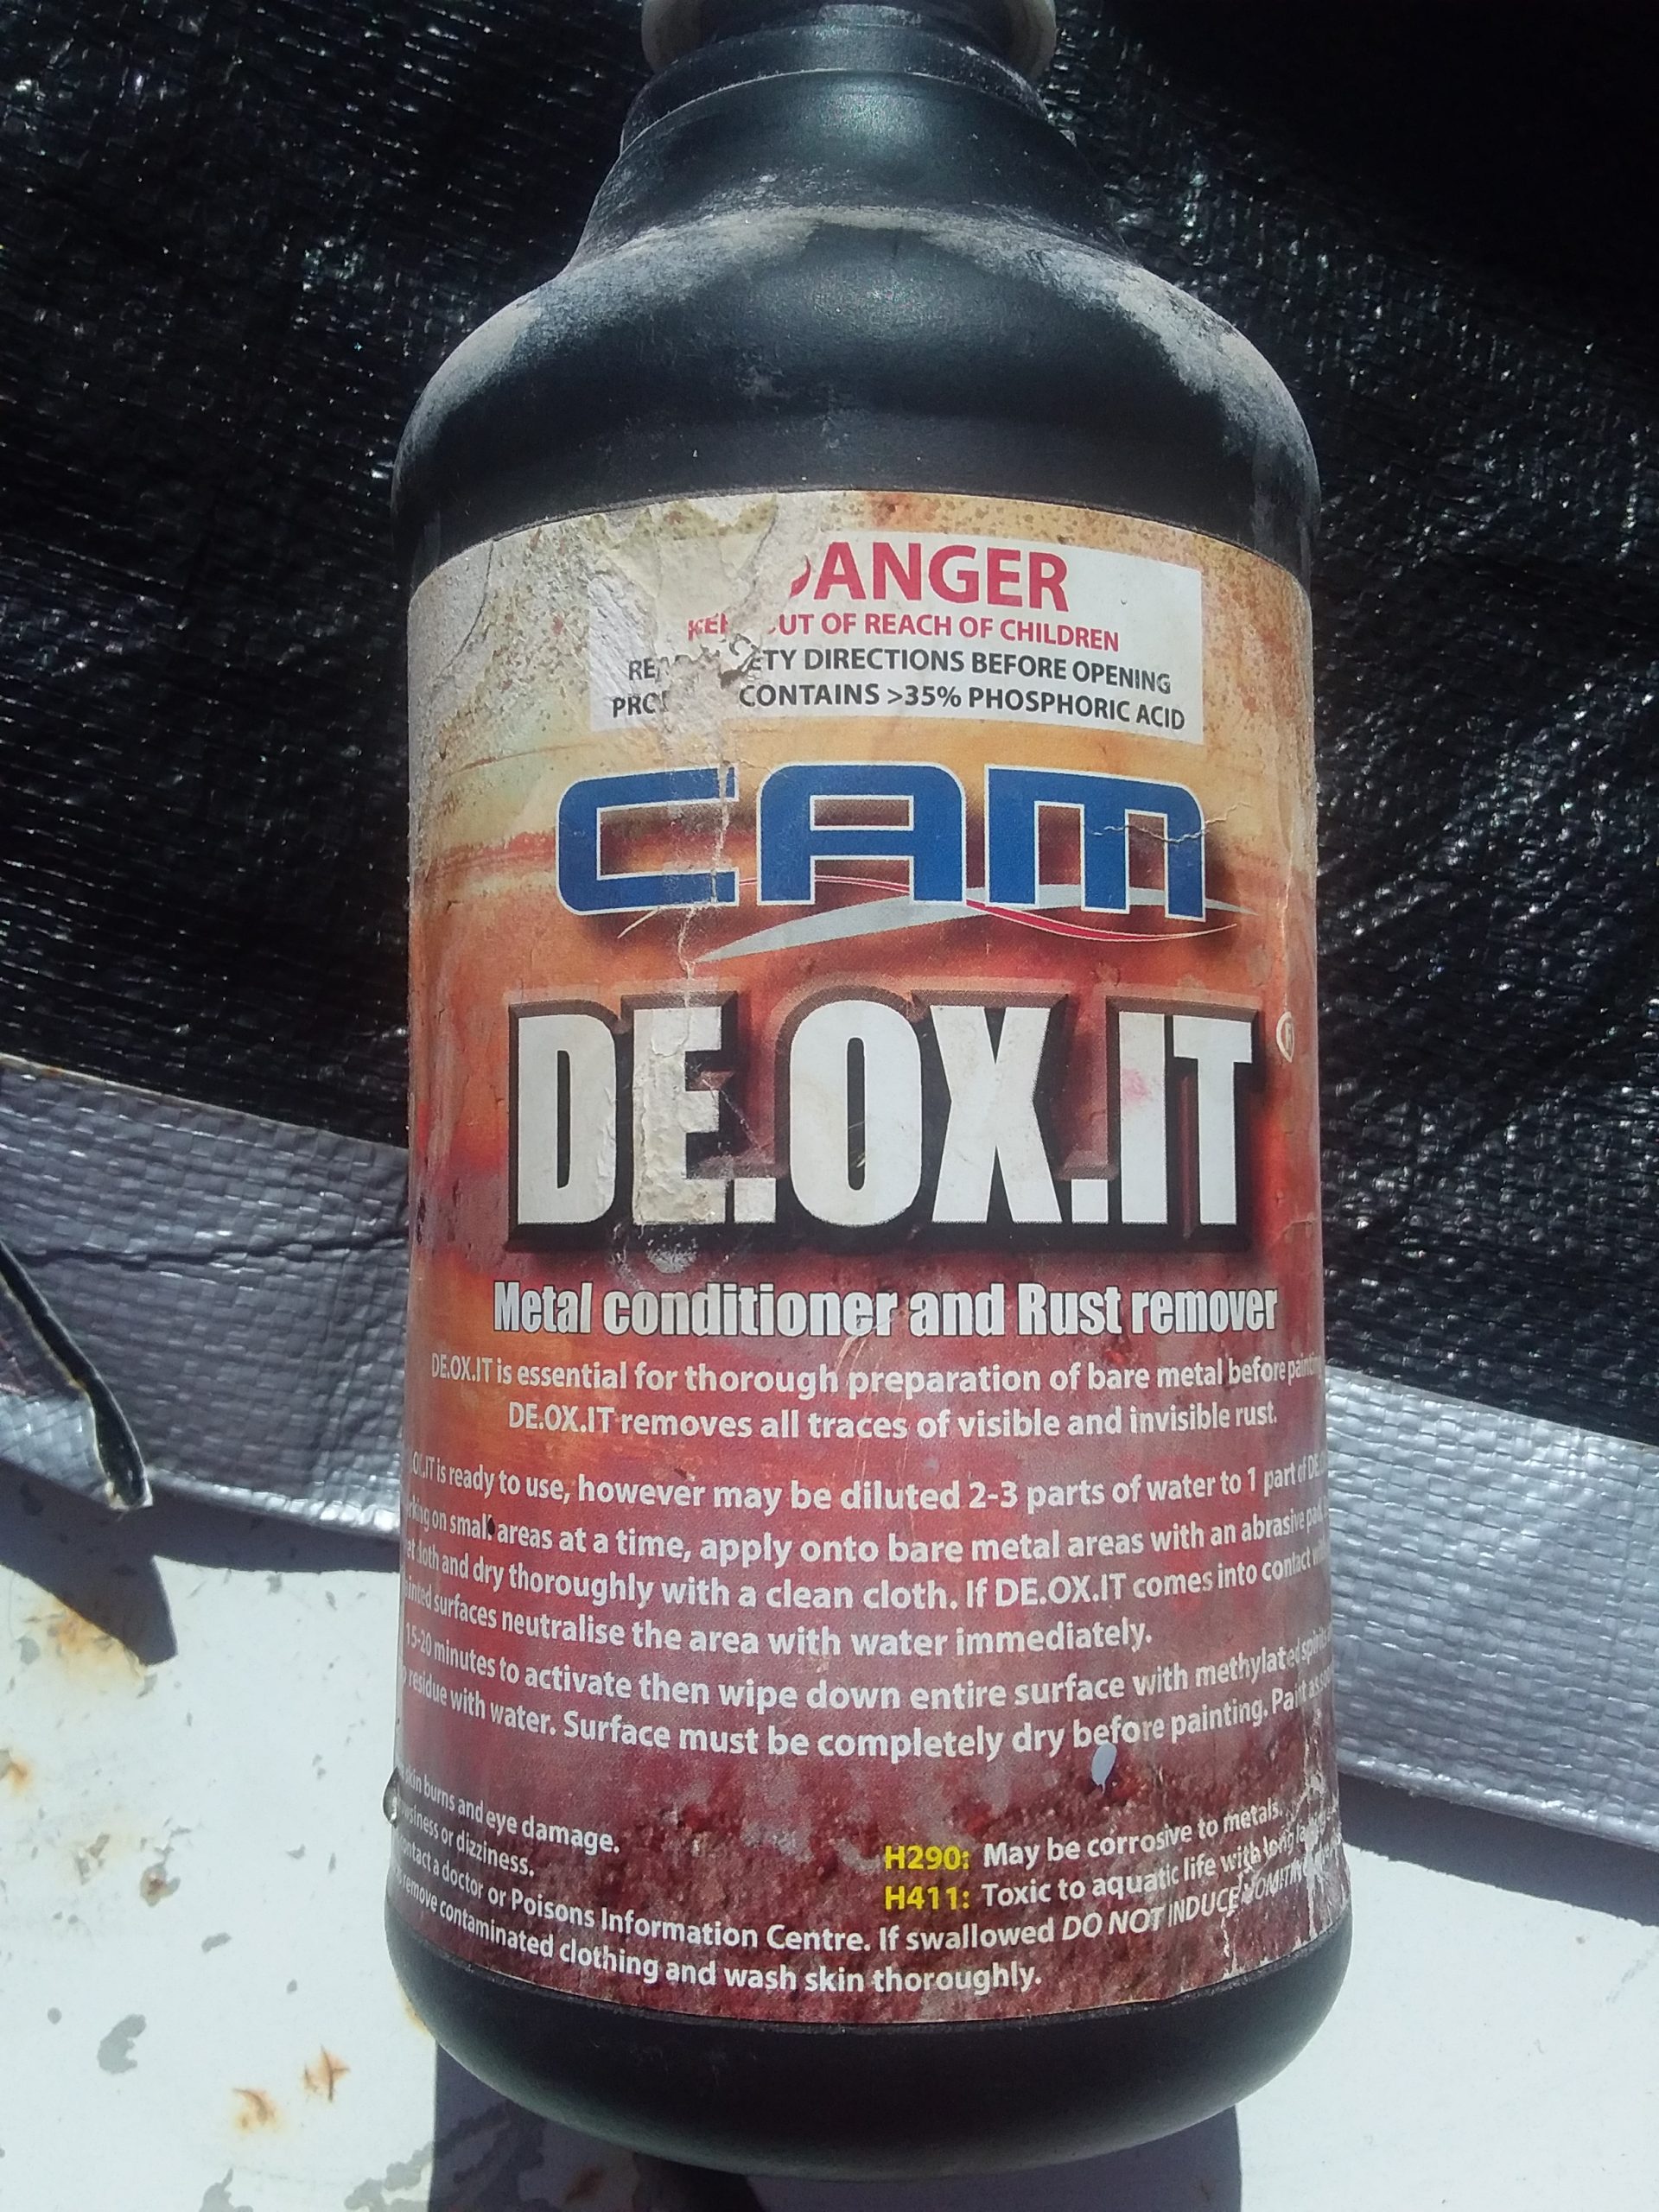
While there are plenty of rust removal compounds, the fabricator recommended this one, which appears to have mostly the same active compounds as the others on the market so I will trial it on what remains of the B1 tank before I use it on the B2 tank.
I won’t be using Molasses this time round as I will hand de-rust the surface and prime it, then I need to rapidly do the following process ->
- Inside surface rust removal.
- Acid neutralise (Bi Carb).
- Dry.
- Apply tank liner.
Stay tuned! I will update this post as events come to hand.
-oOo-