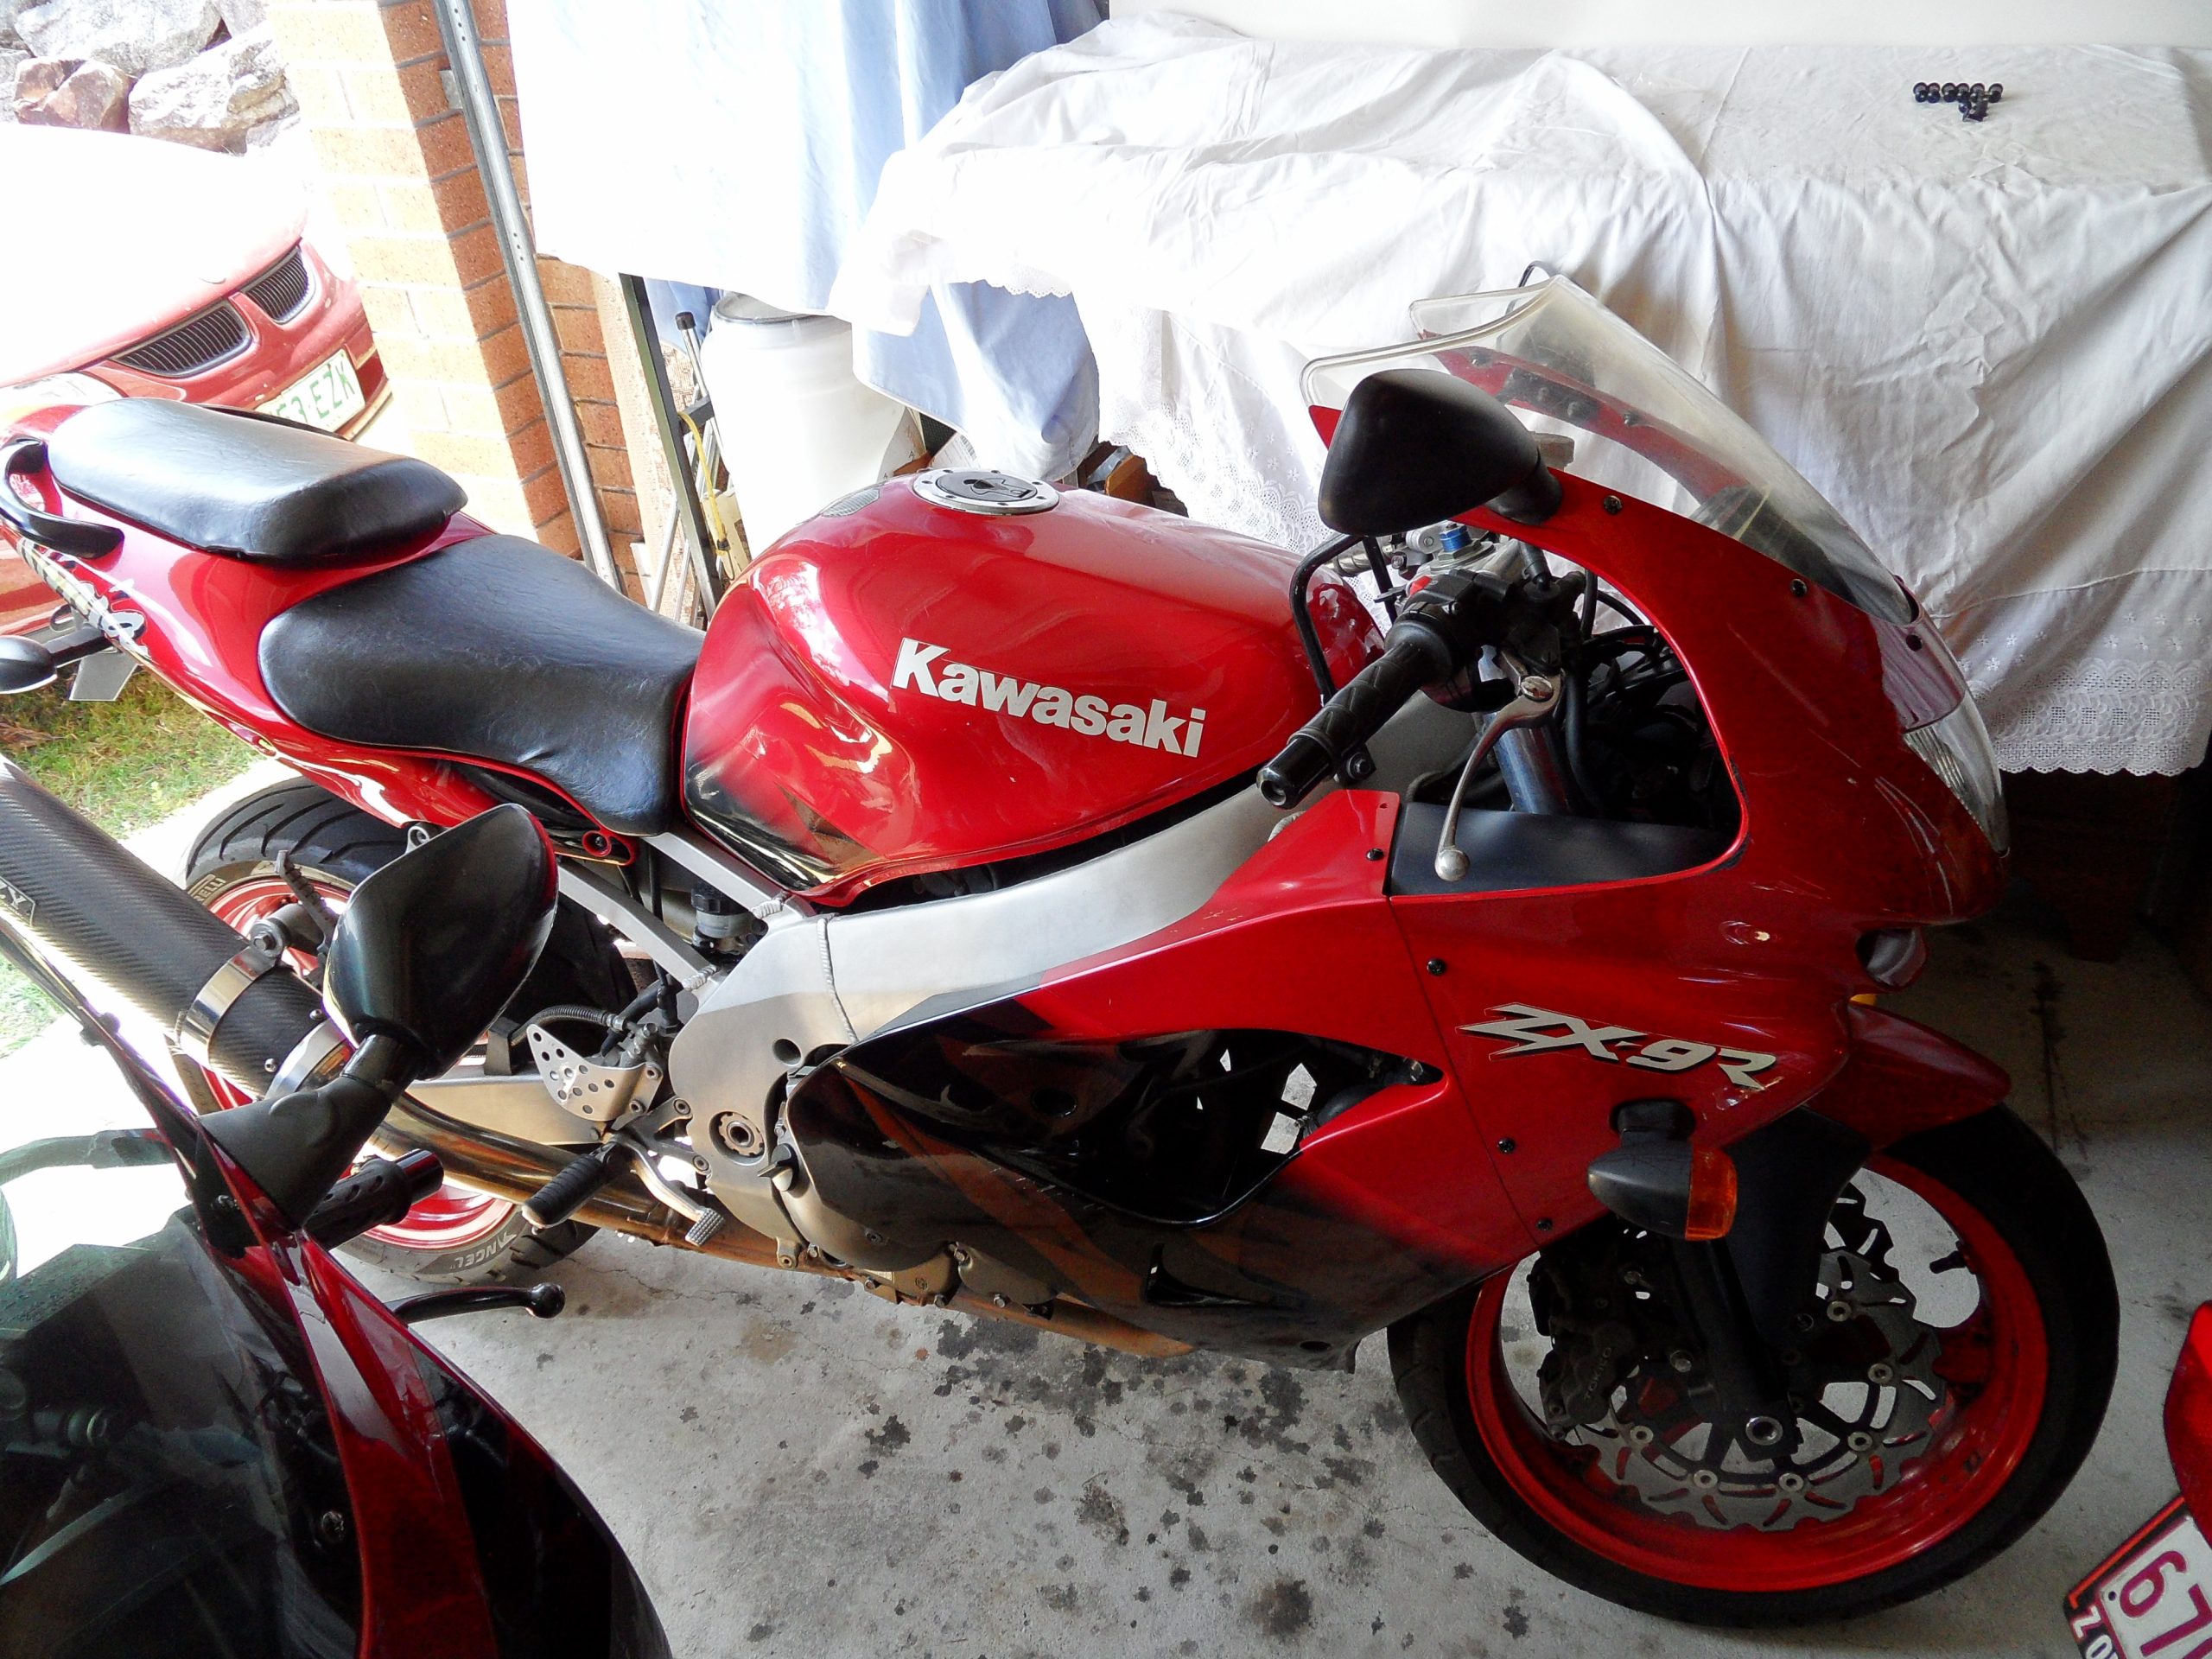
Trying to find a 1982 GPz1100B2 tank has been harder than finding rocking horse poo. The solution I went down was to use a modified GPz1100B1 tank with the tap relocated.

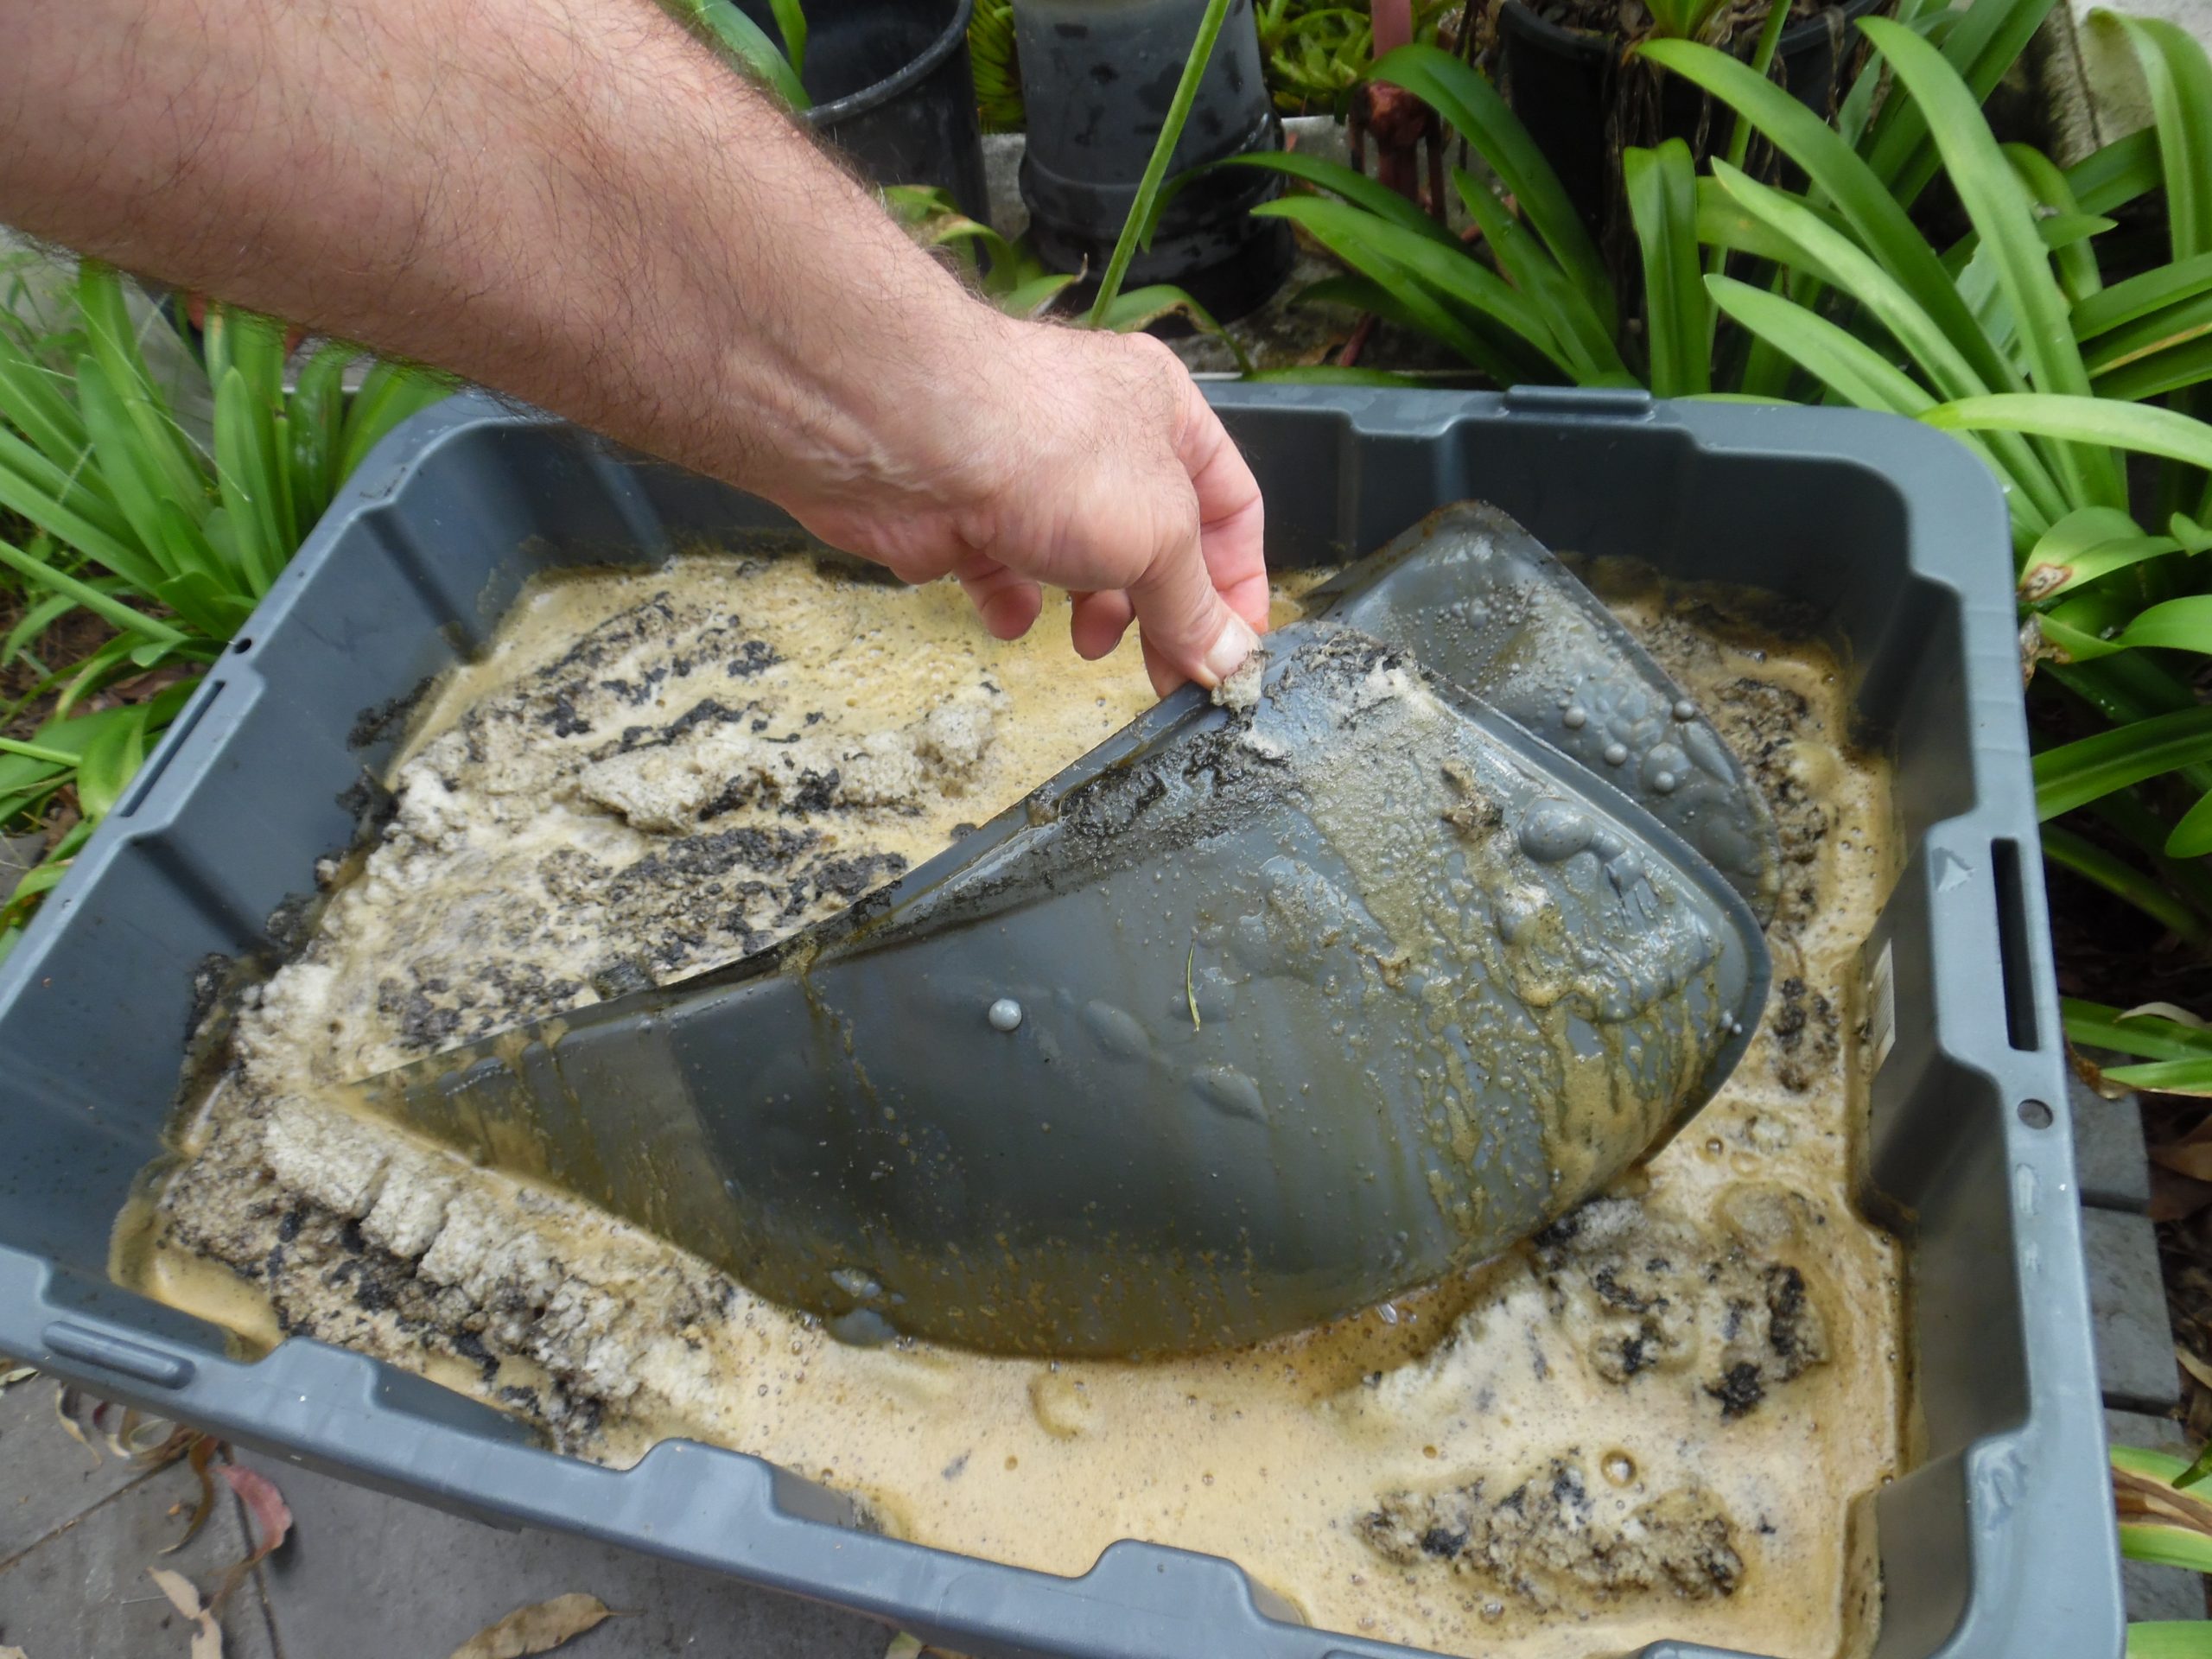
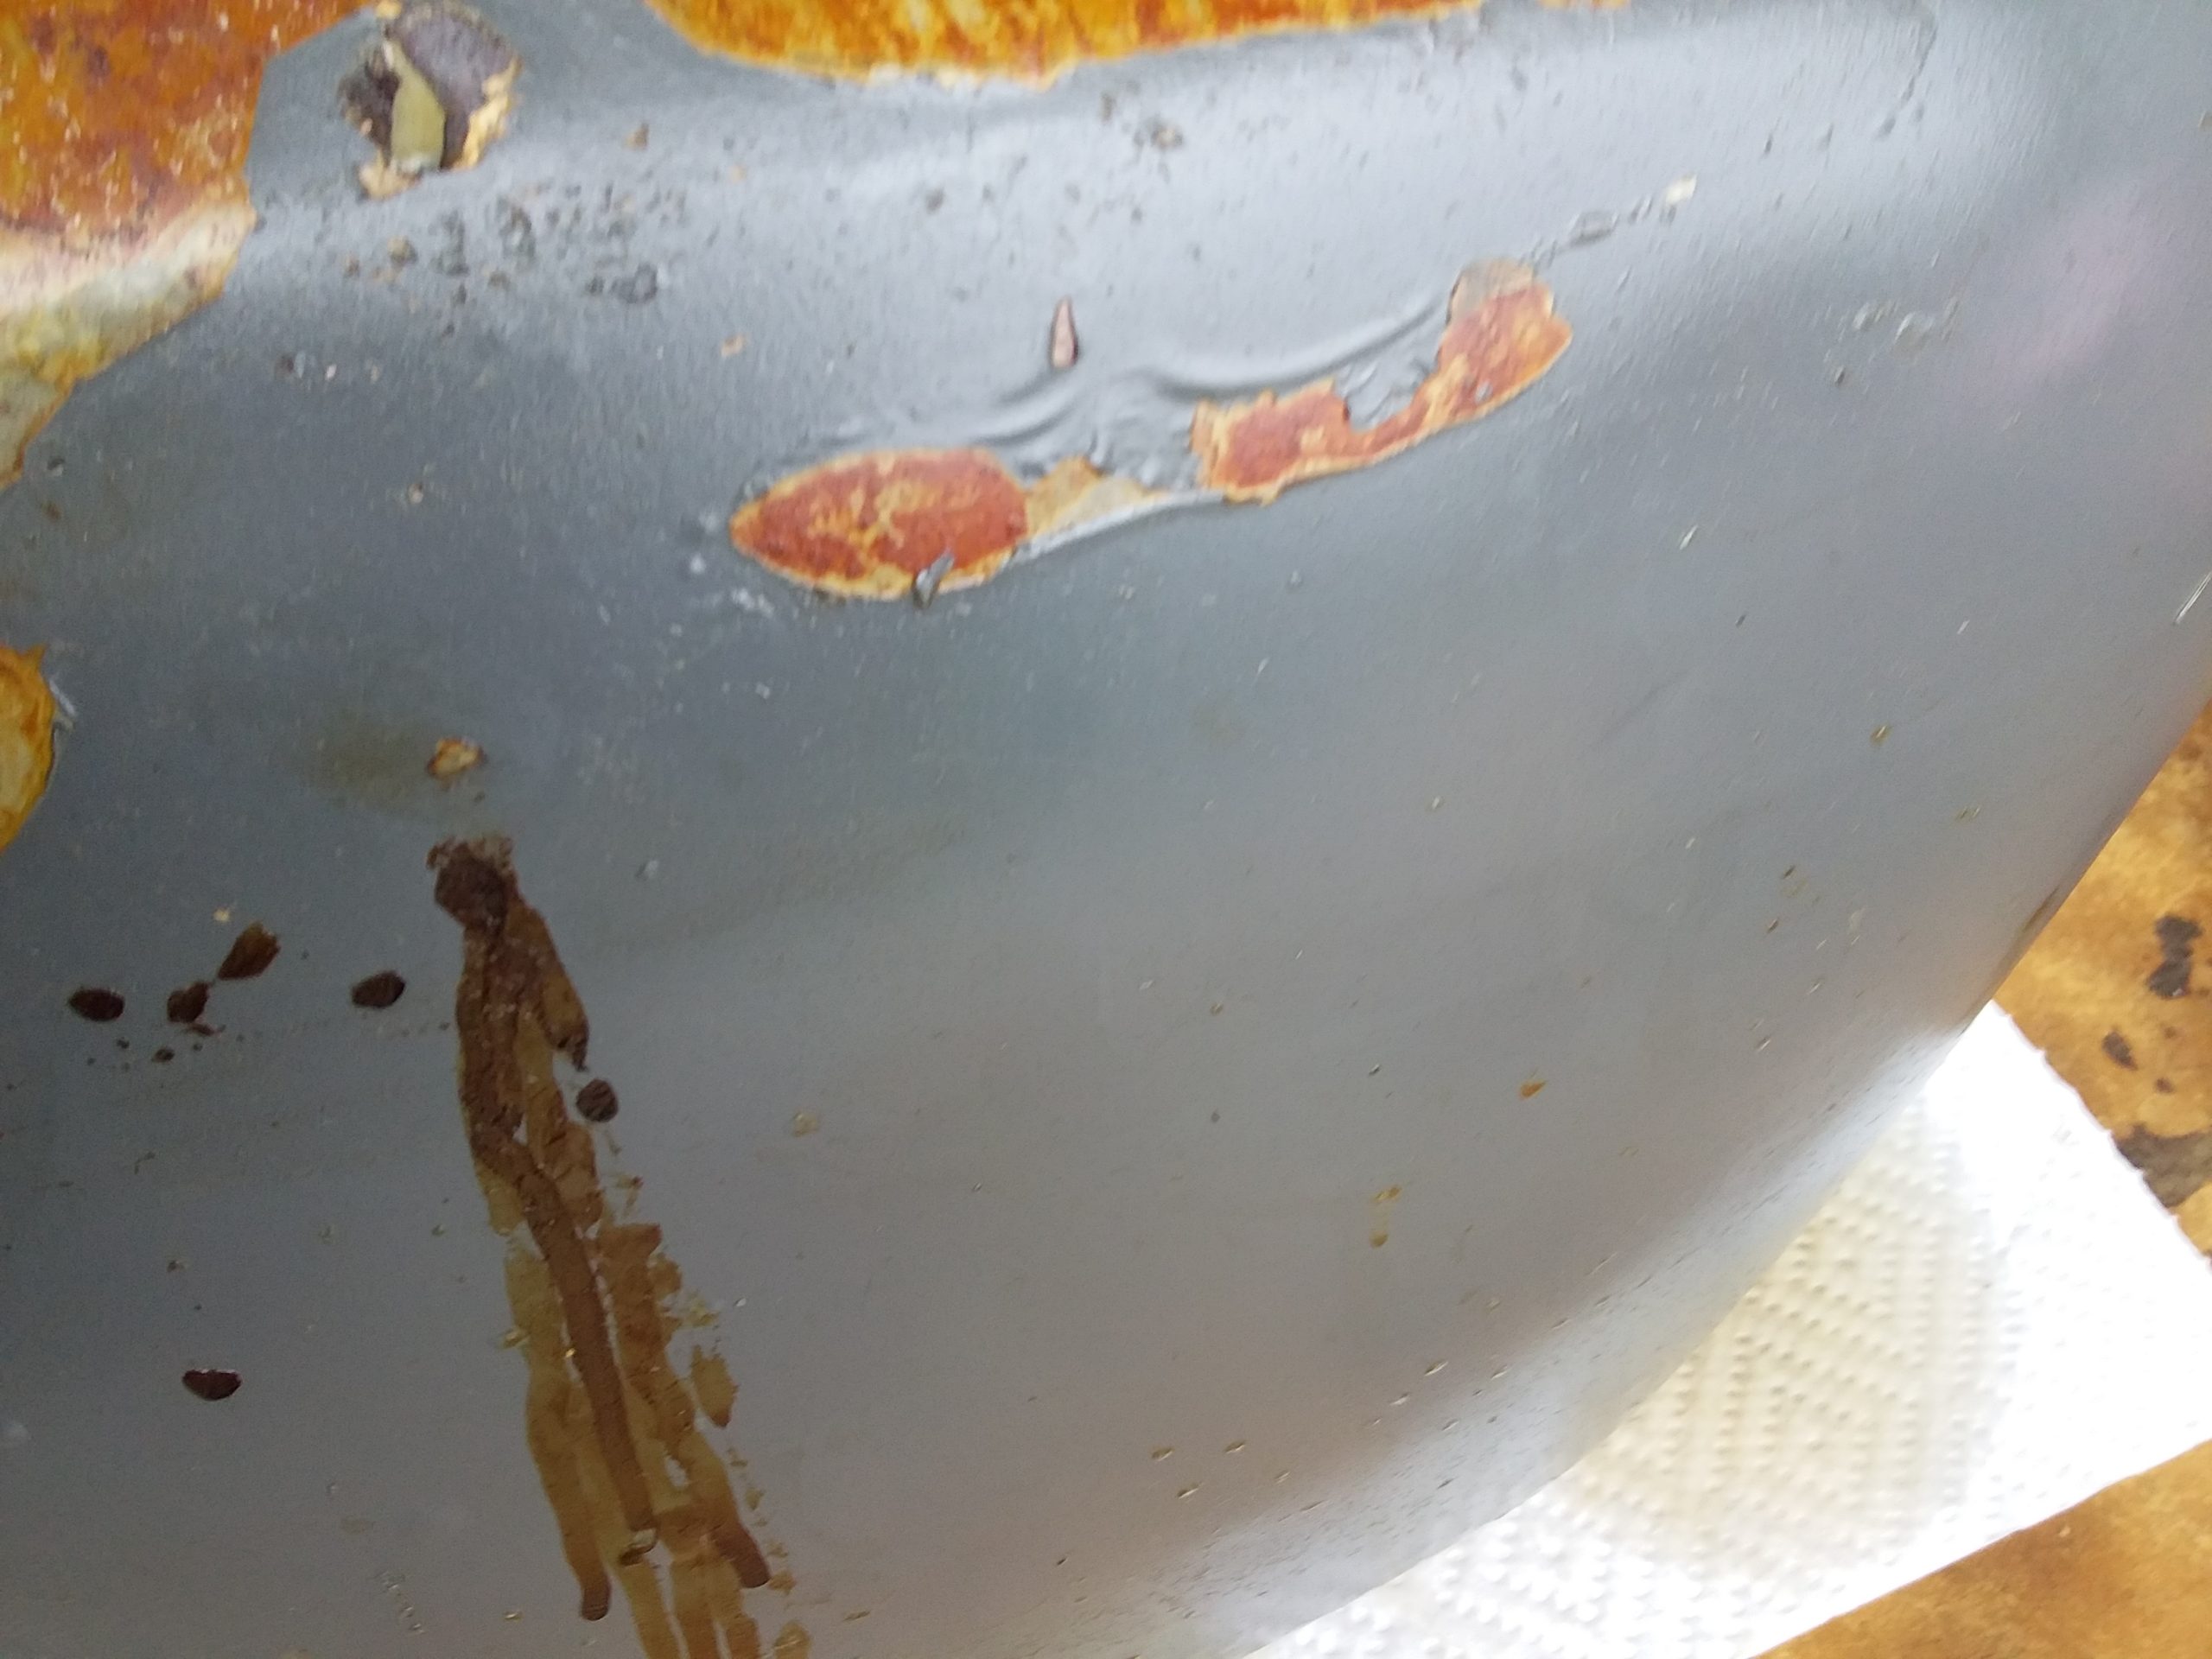
This tank came out of the blue when I started asking around for any solution to my B2 tank shortage problem. When I obtained the tank it was covered in gray primer and had some minor surface rust, so I placed it in molasses for just over 2 weeks and then took it back to bare metal.
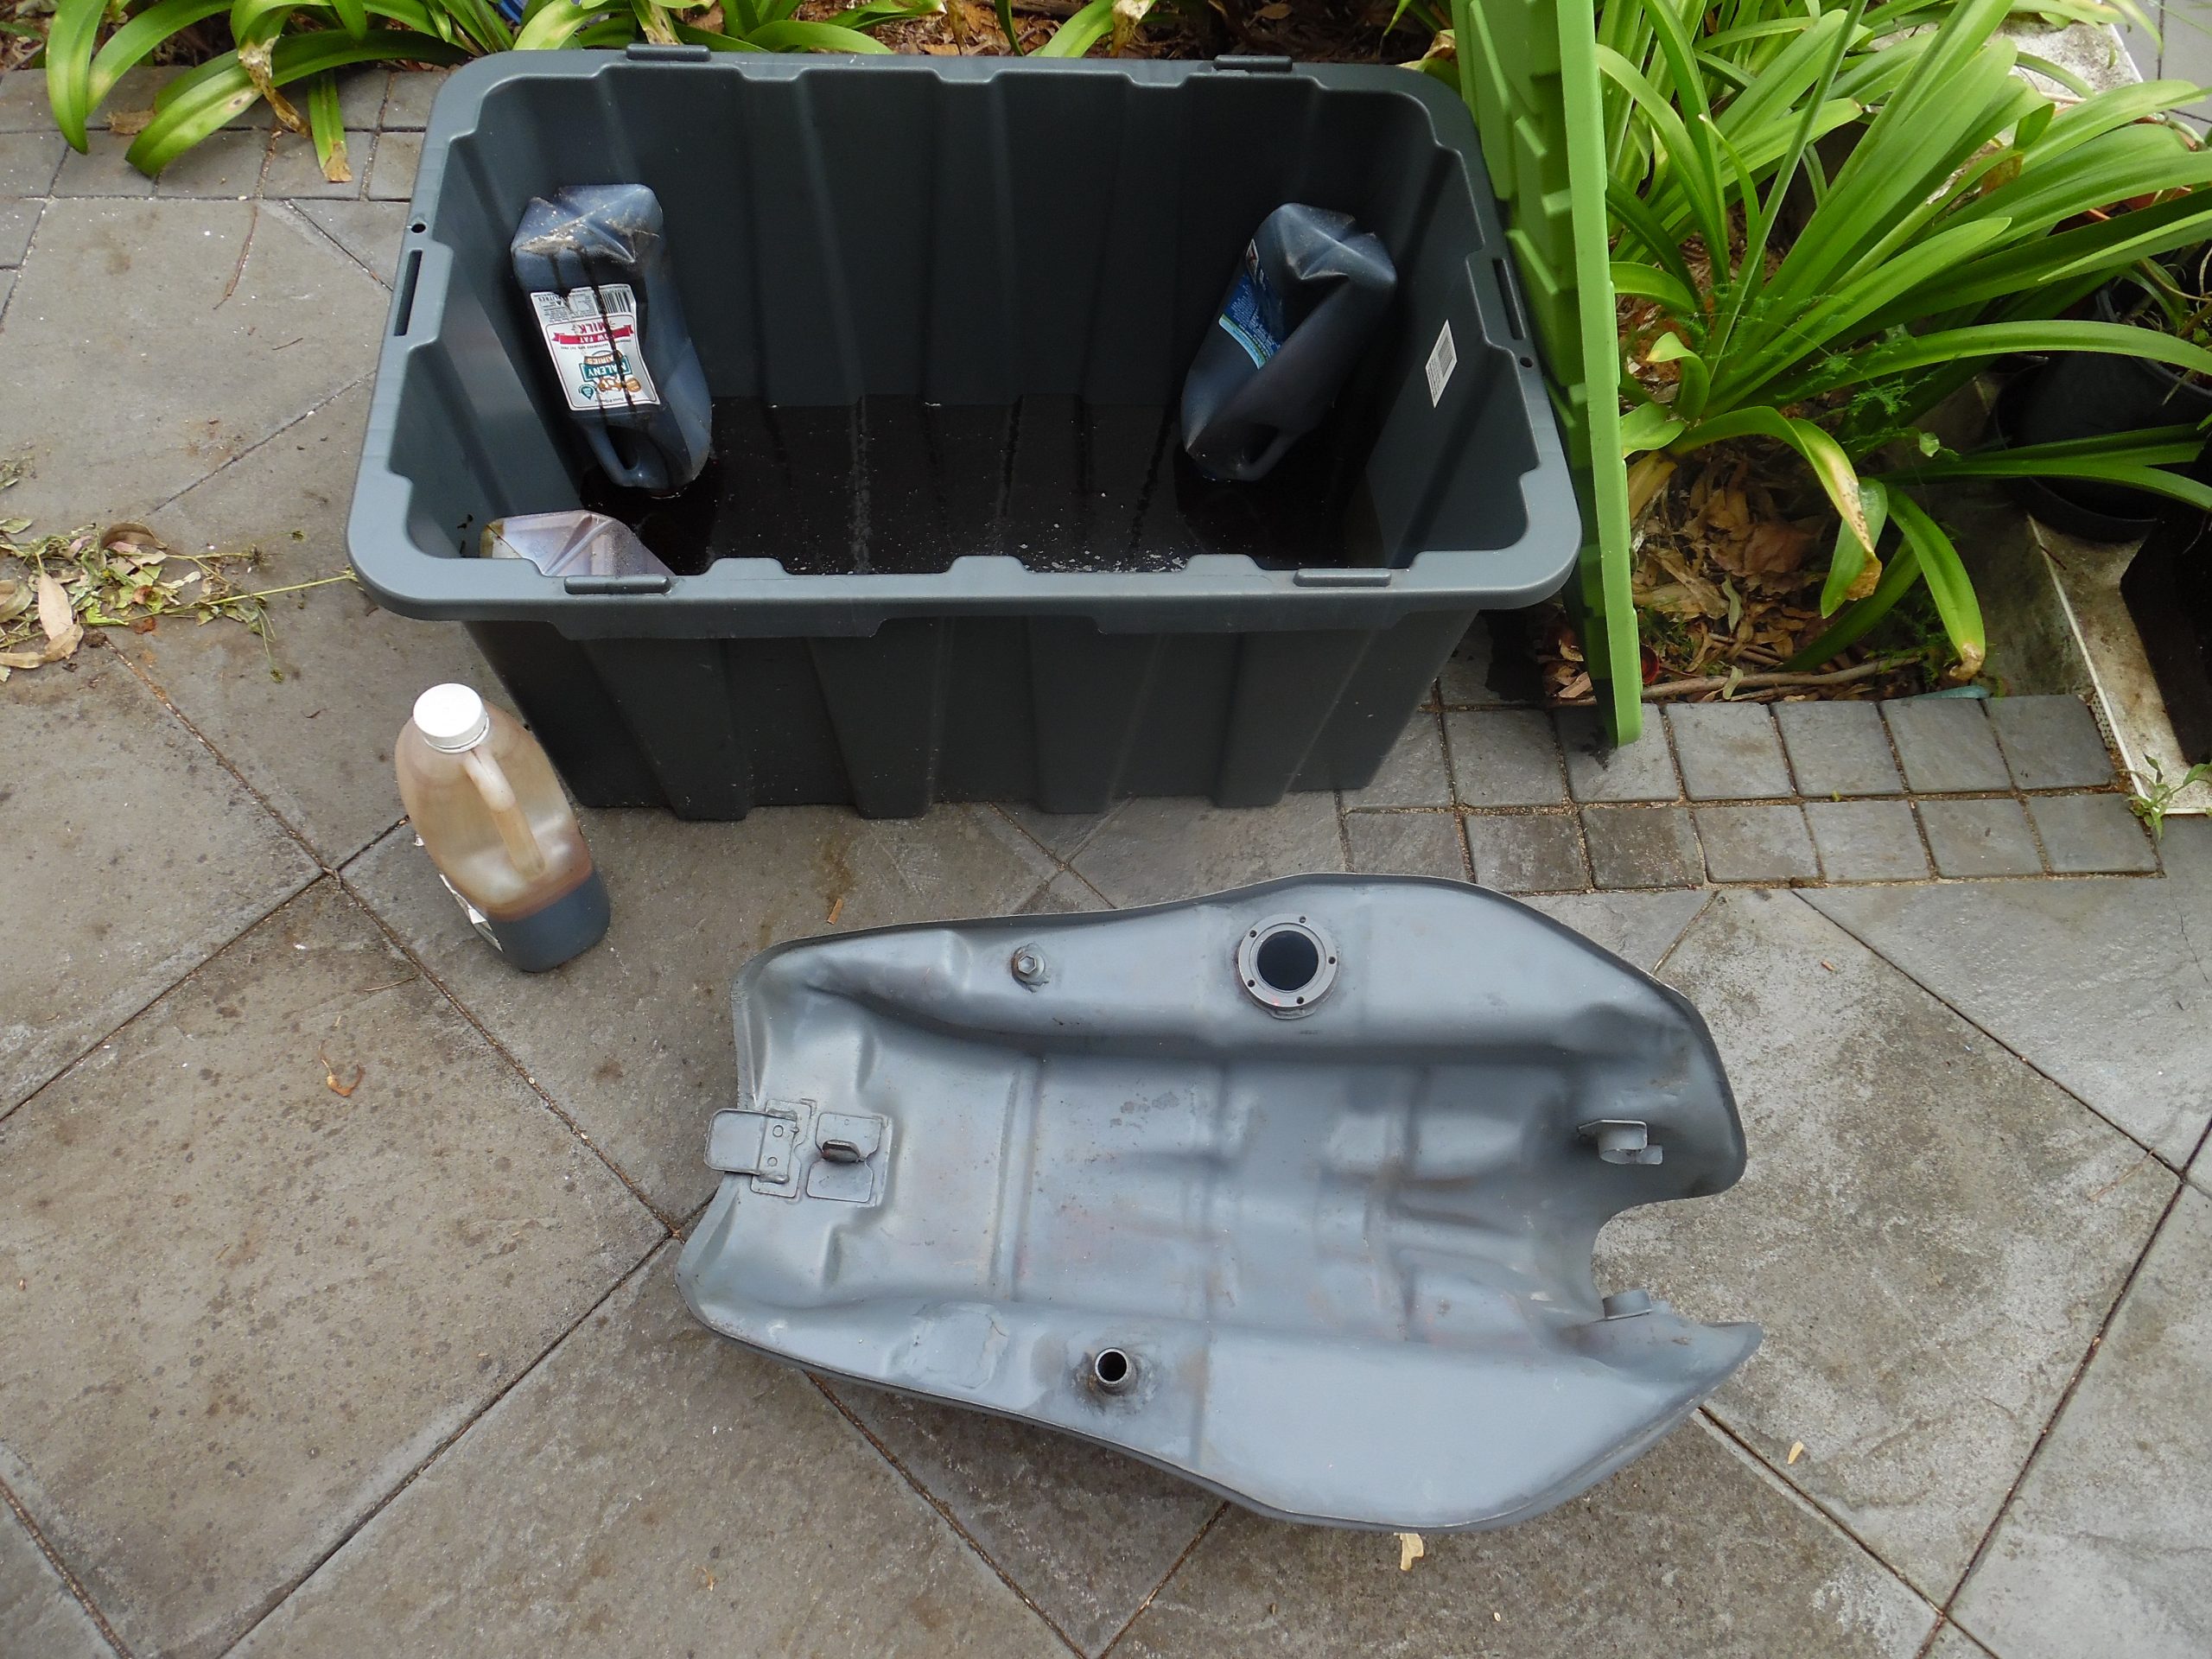
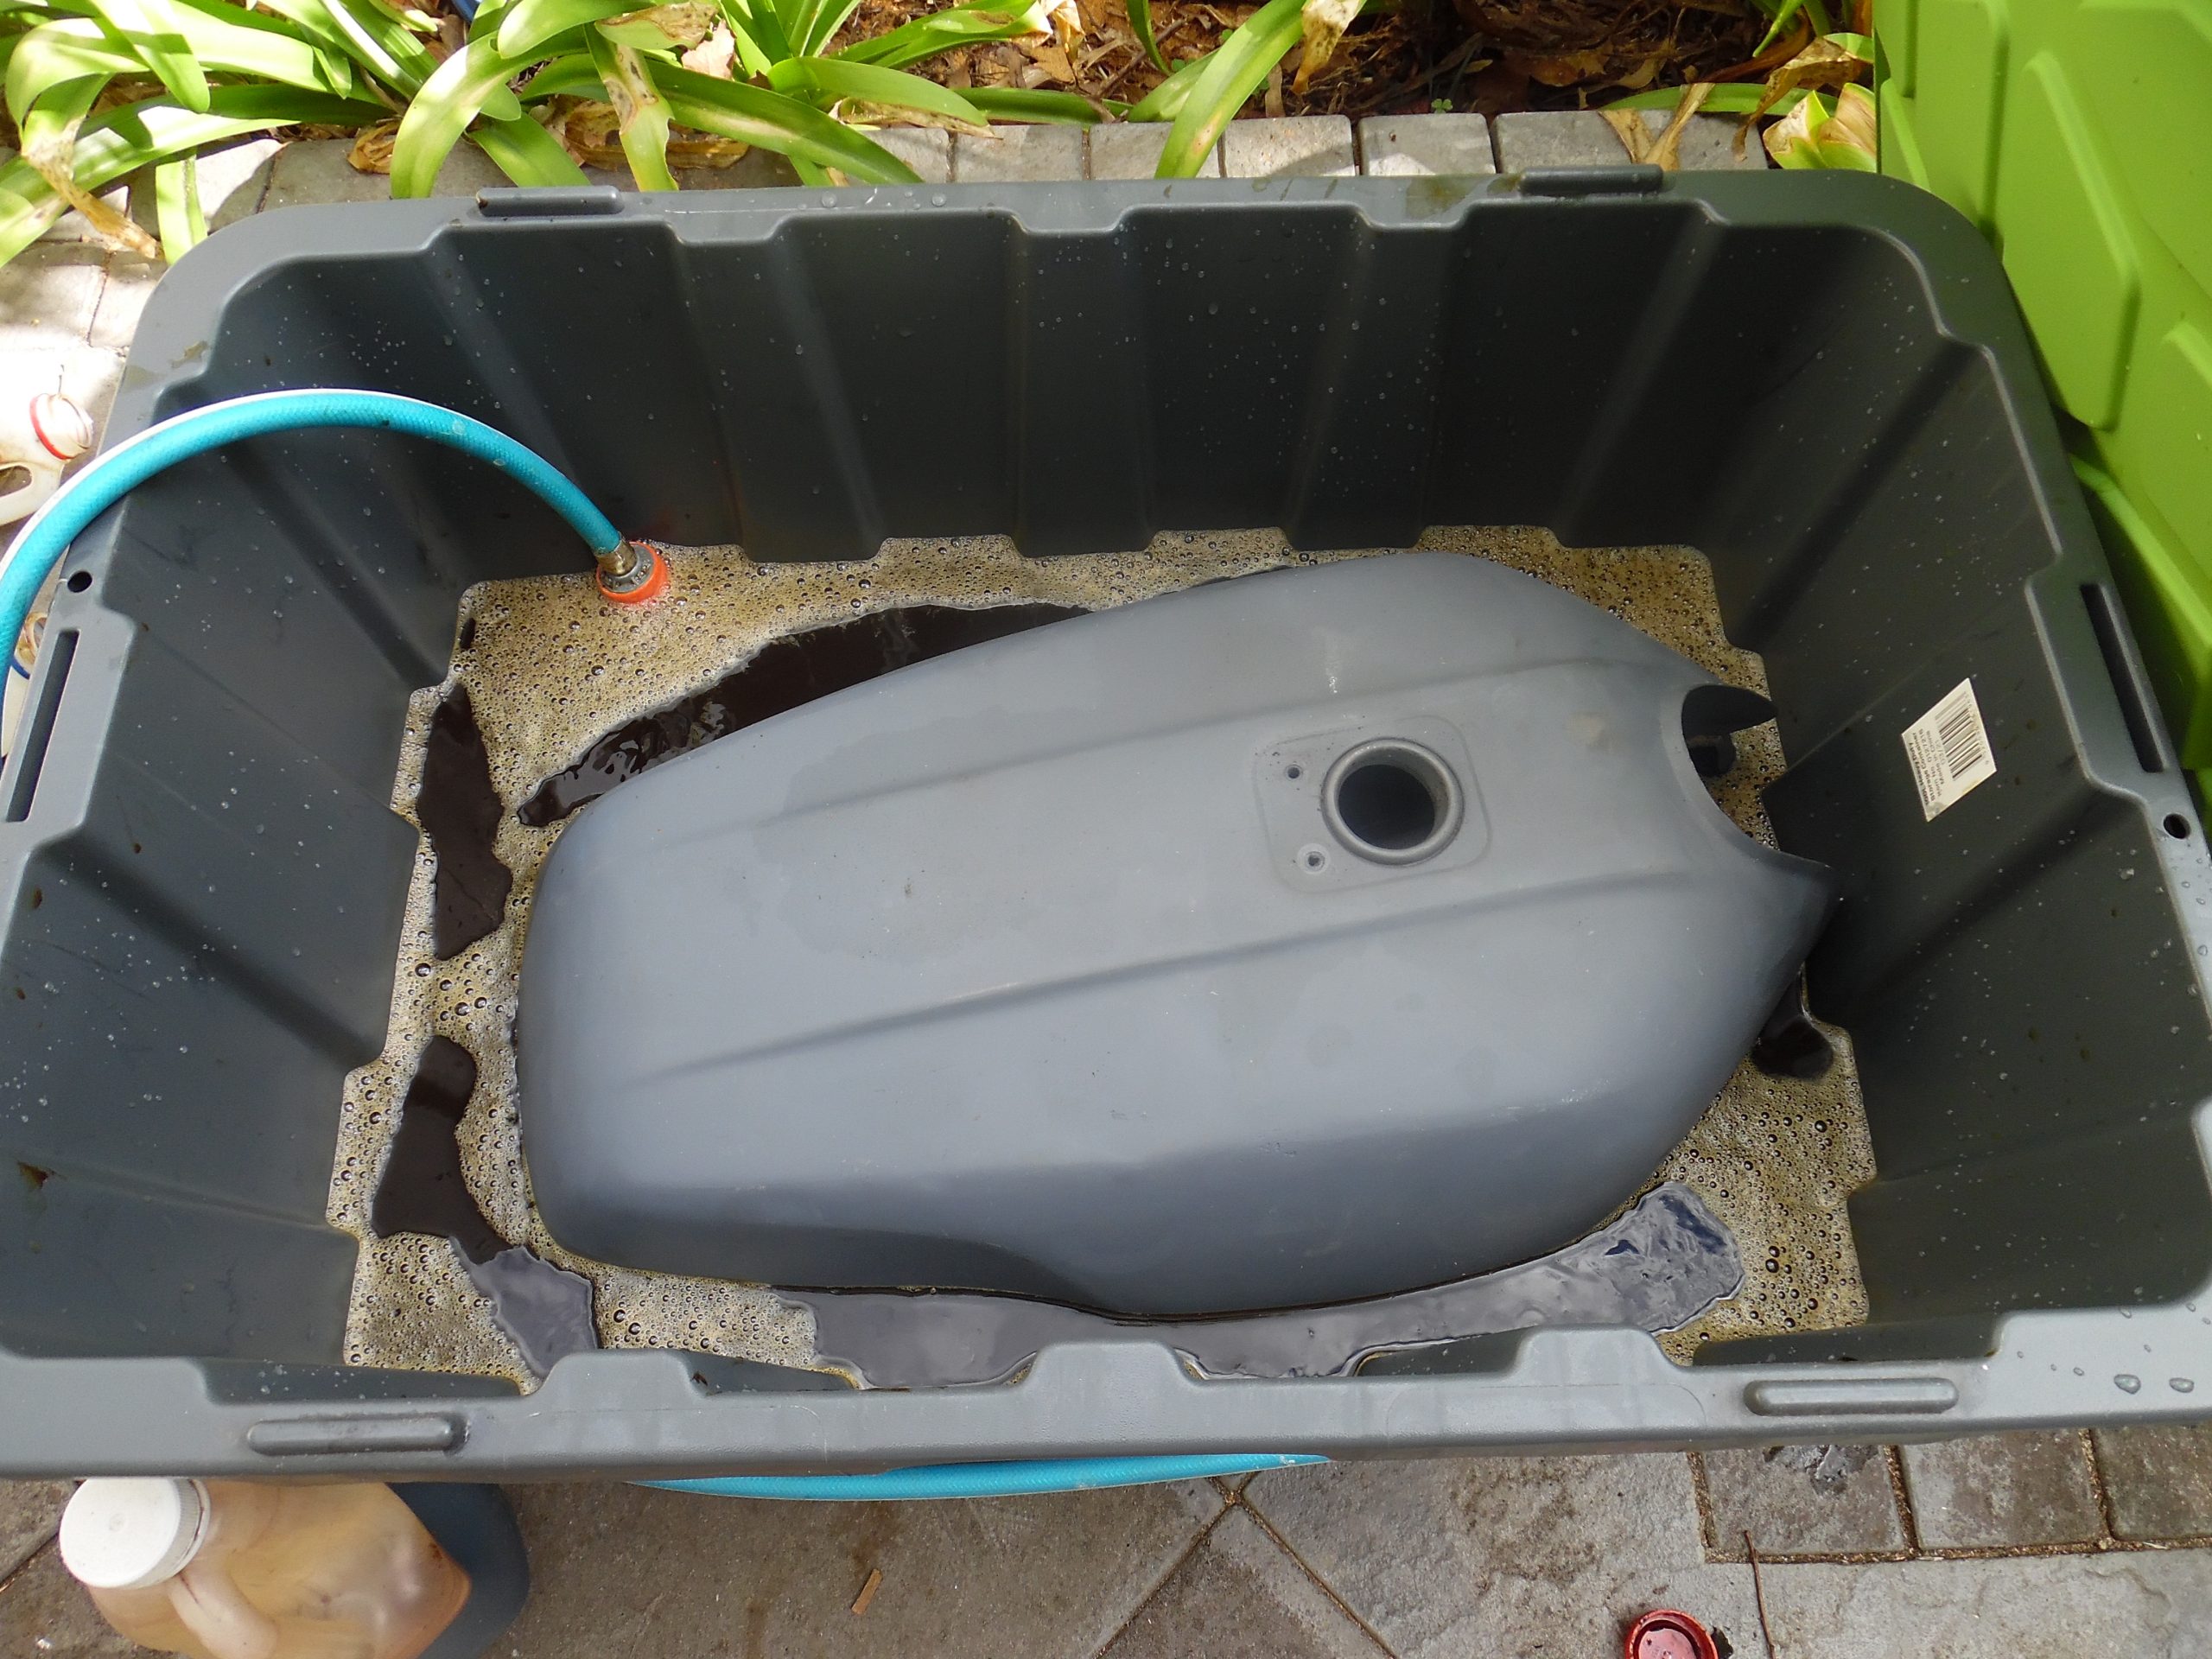

The Molasses will ruin your paint, which was not a concern here as I wanted to strip the tank back to bare metal.
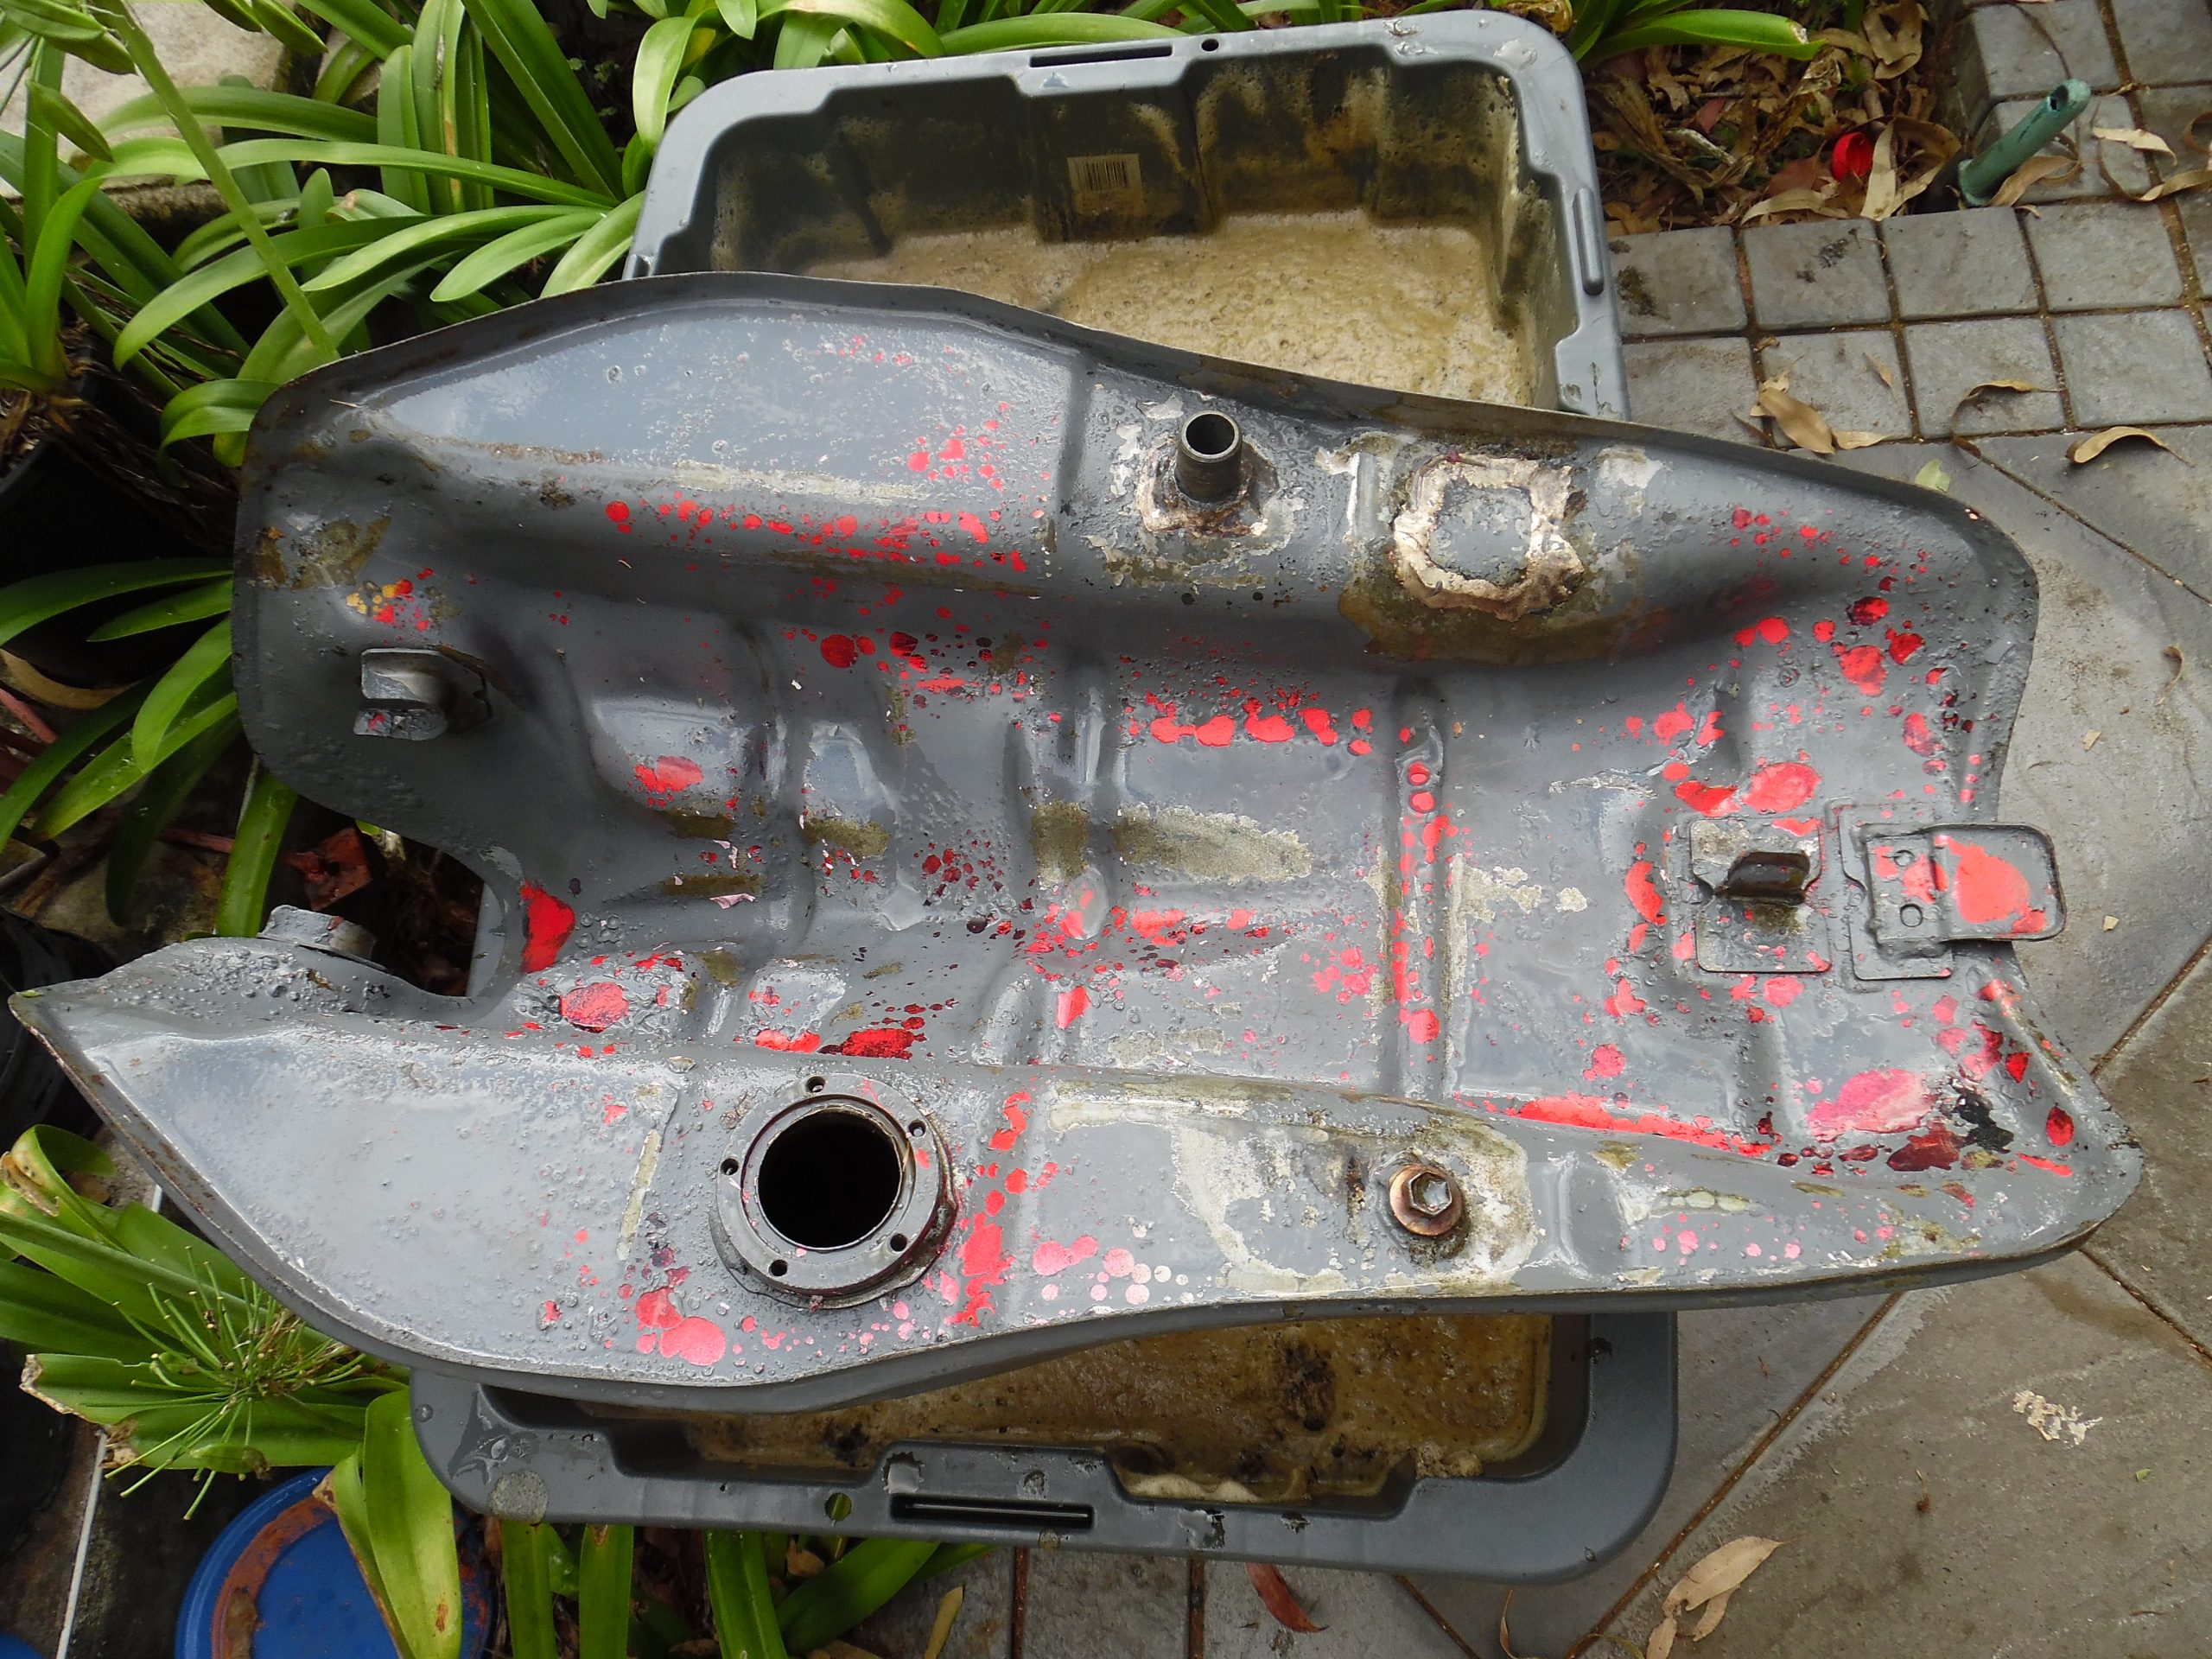
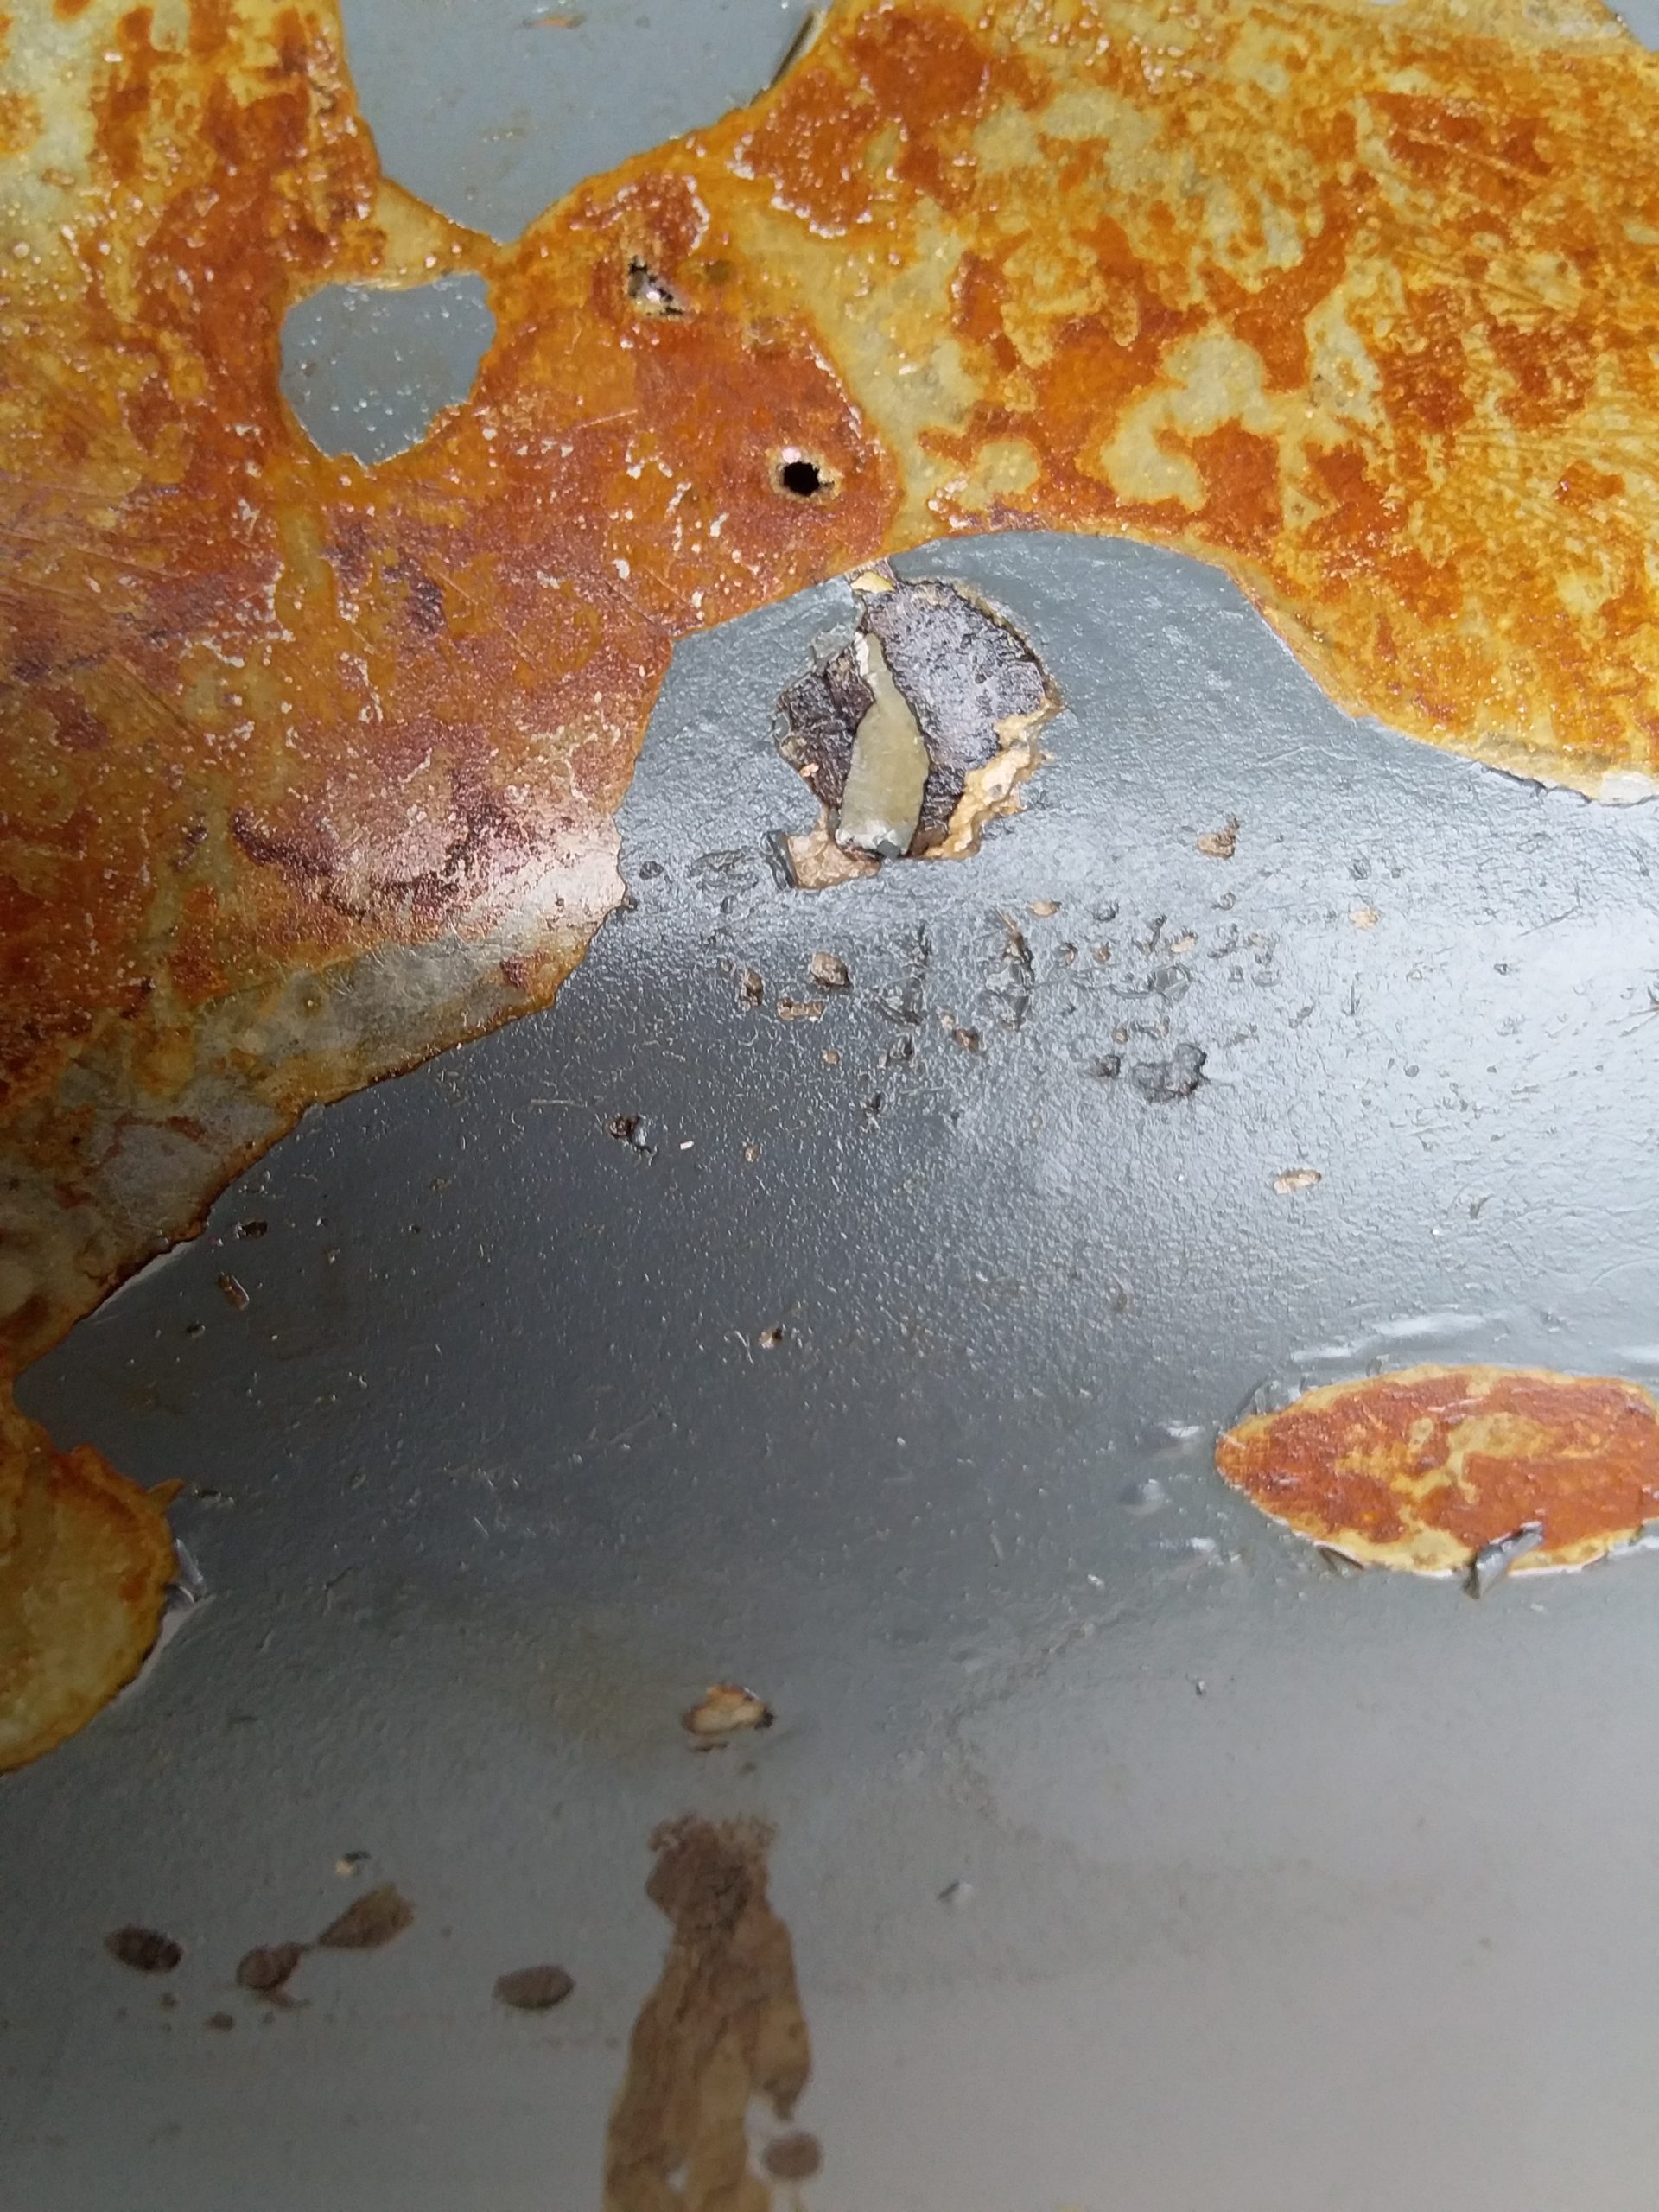
In the process of taking all the paint off I discovered lots of bog and damage which was hidden beneath it. Finally discovering upwards of 12 holes, the largest being about 3mm in size.
I spoke to a friend who builds hot rods as to the best approach to repair the tank and he suggested just soldering up the holes after indenting them in slightly so the solder could be covered over. In the process my tank soldering skills evolved so well I could prep, heat and solder a hole with a pretty solid layer of solder.

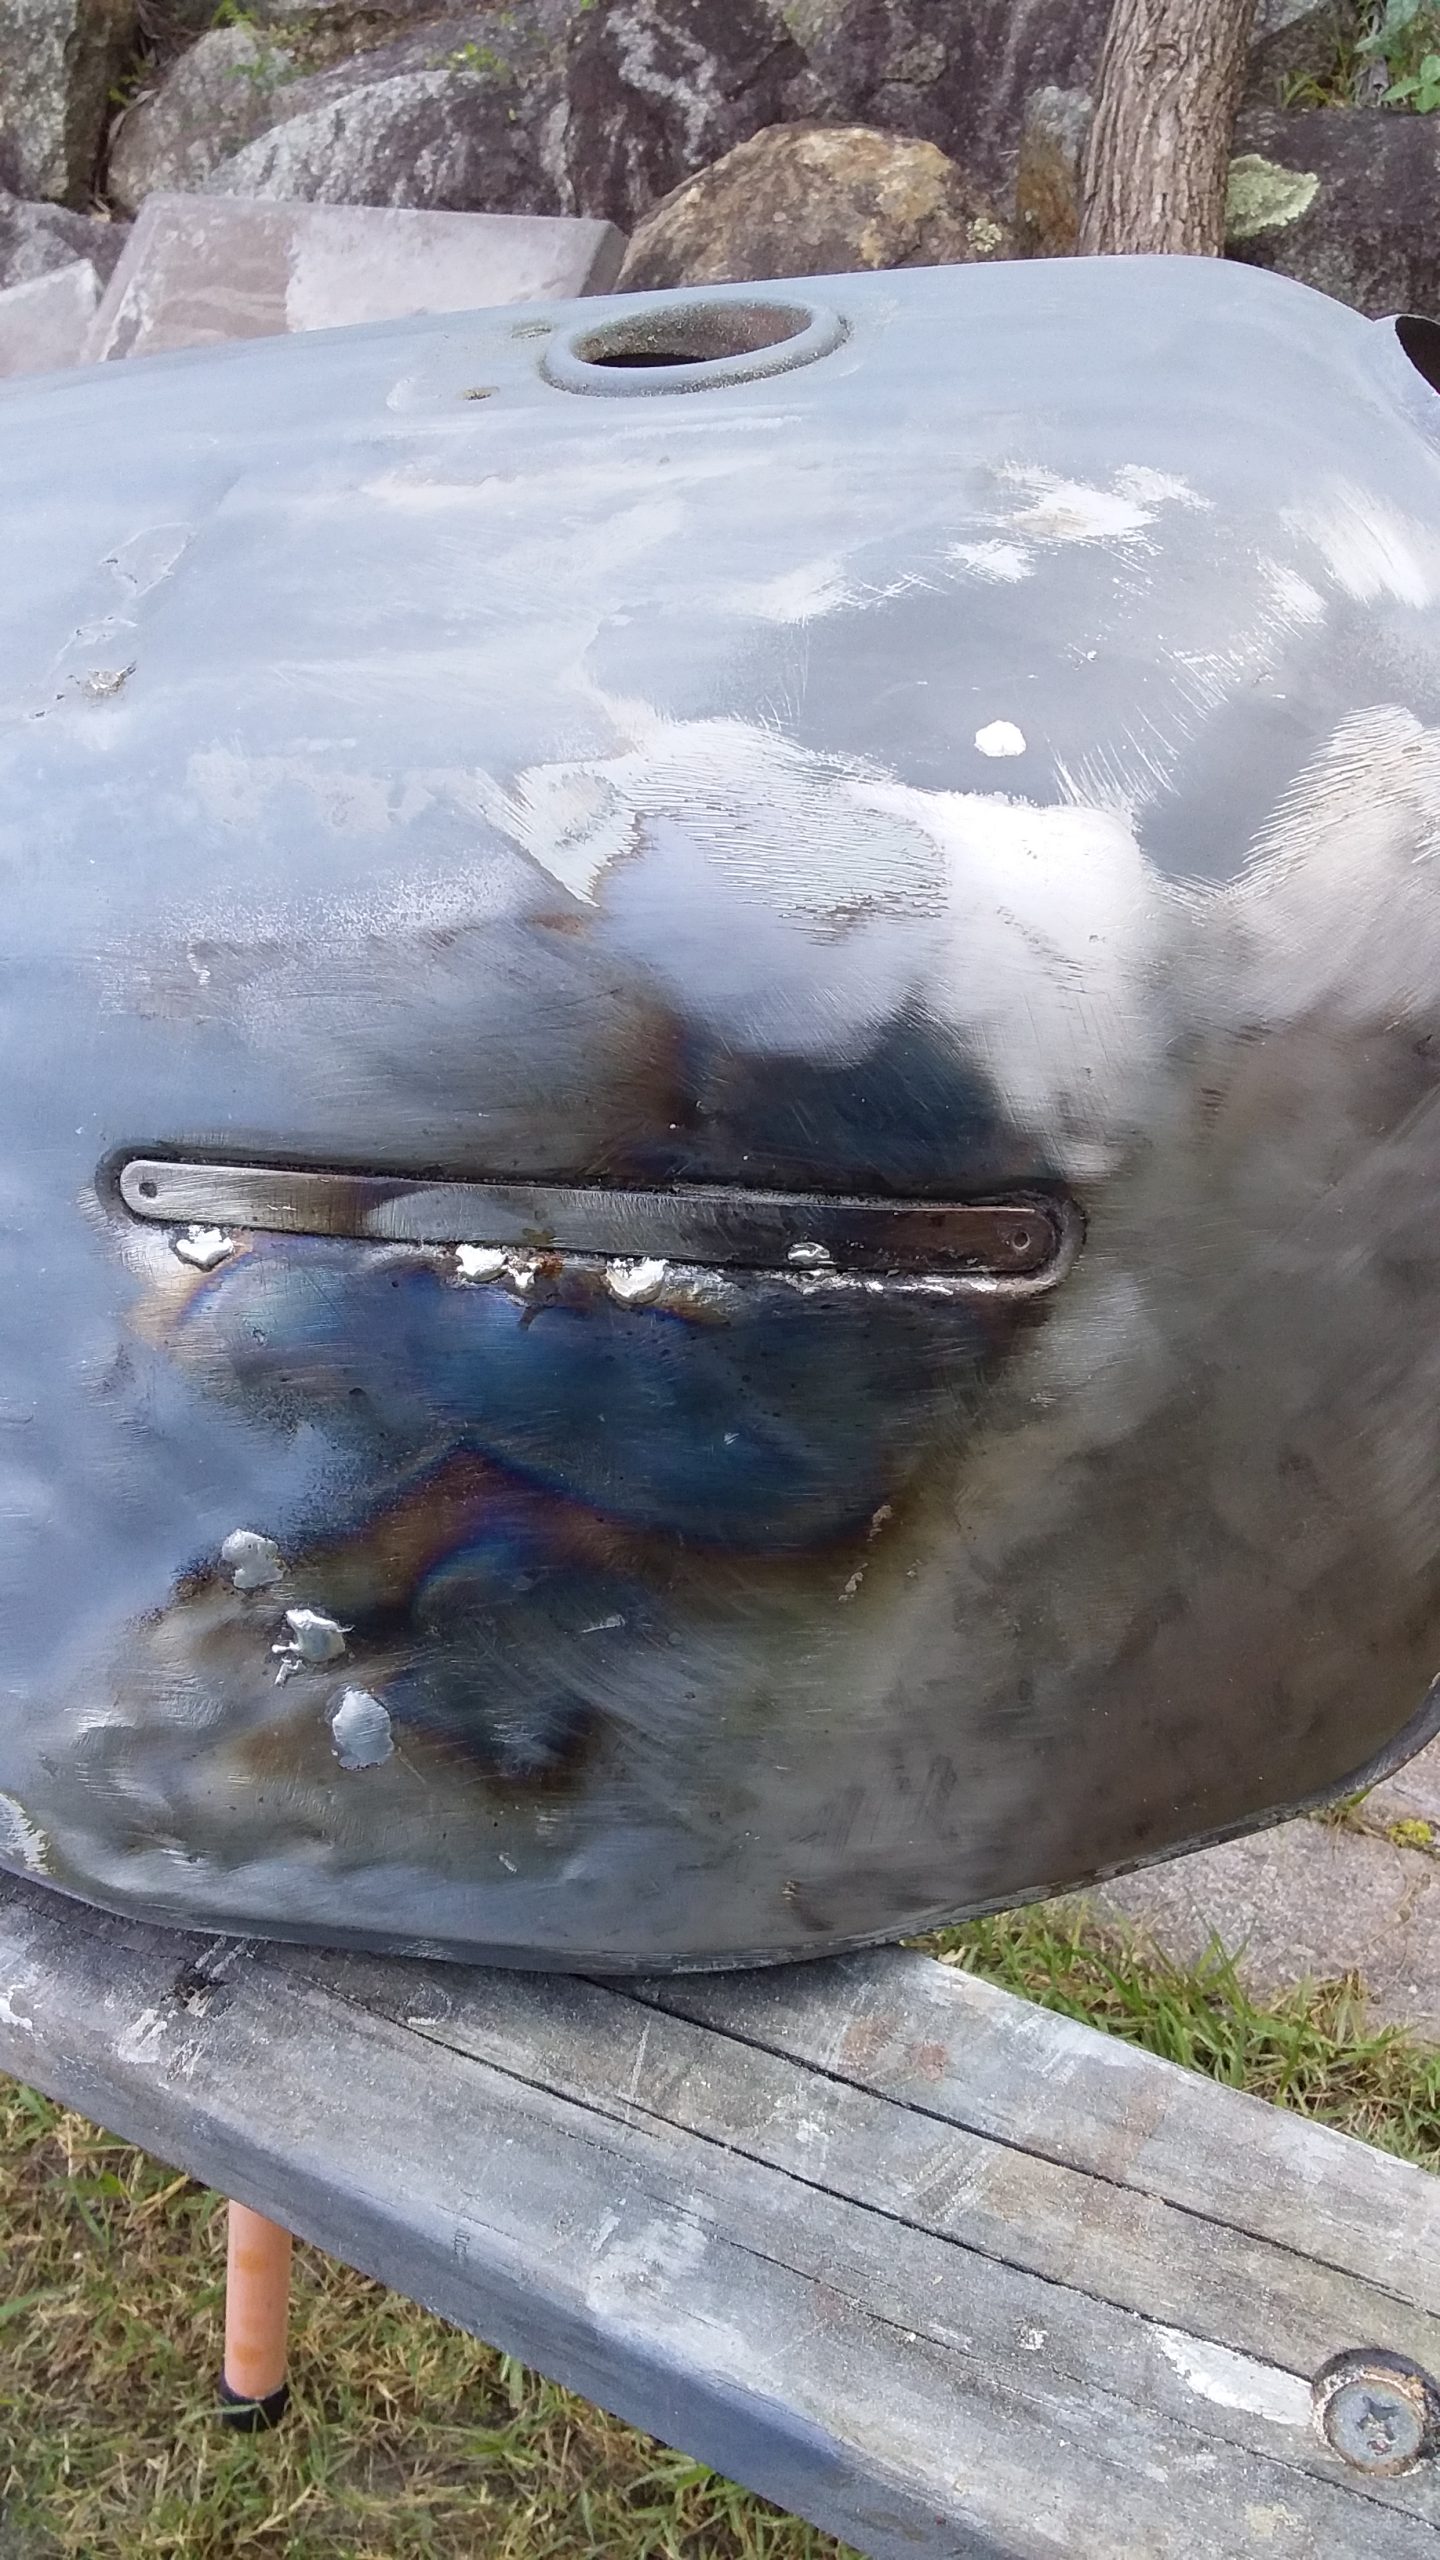

Back to bare metal
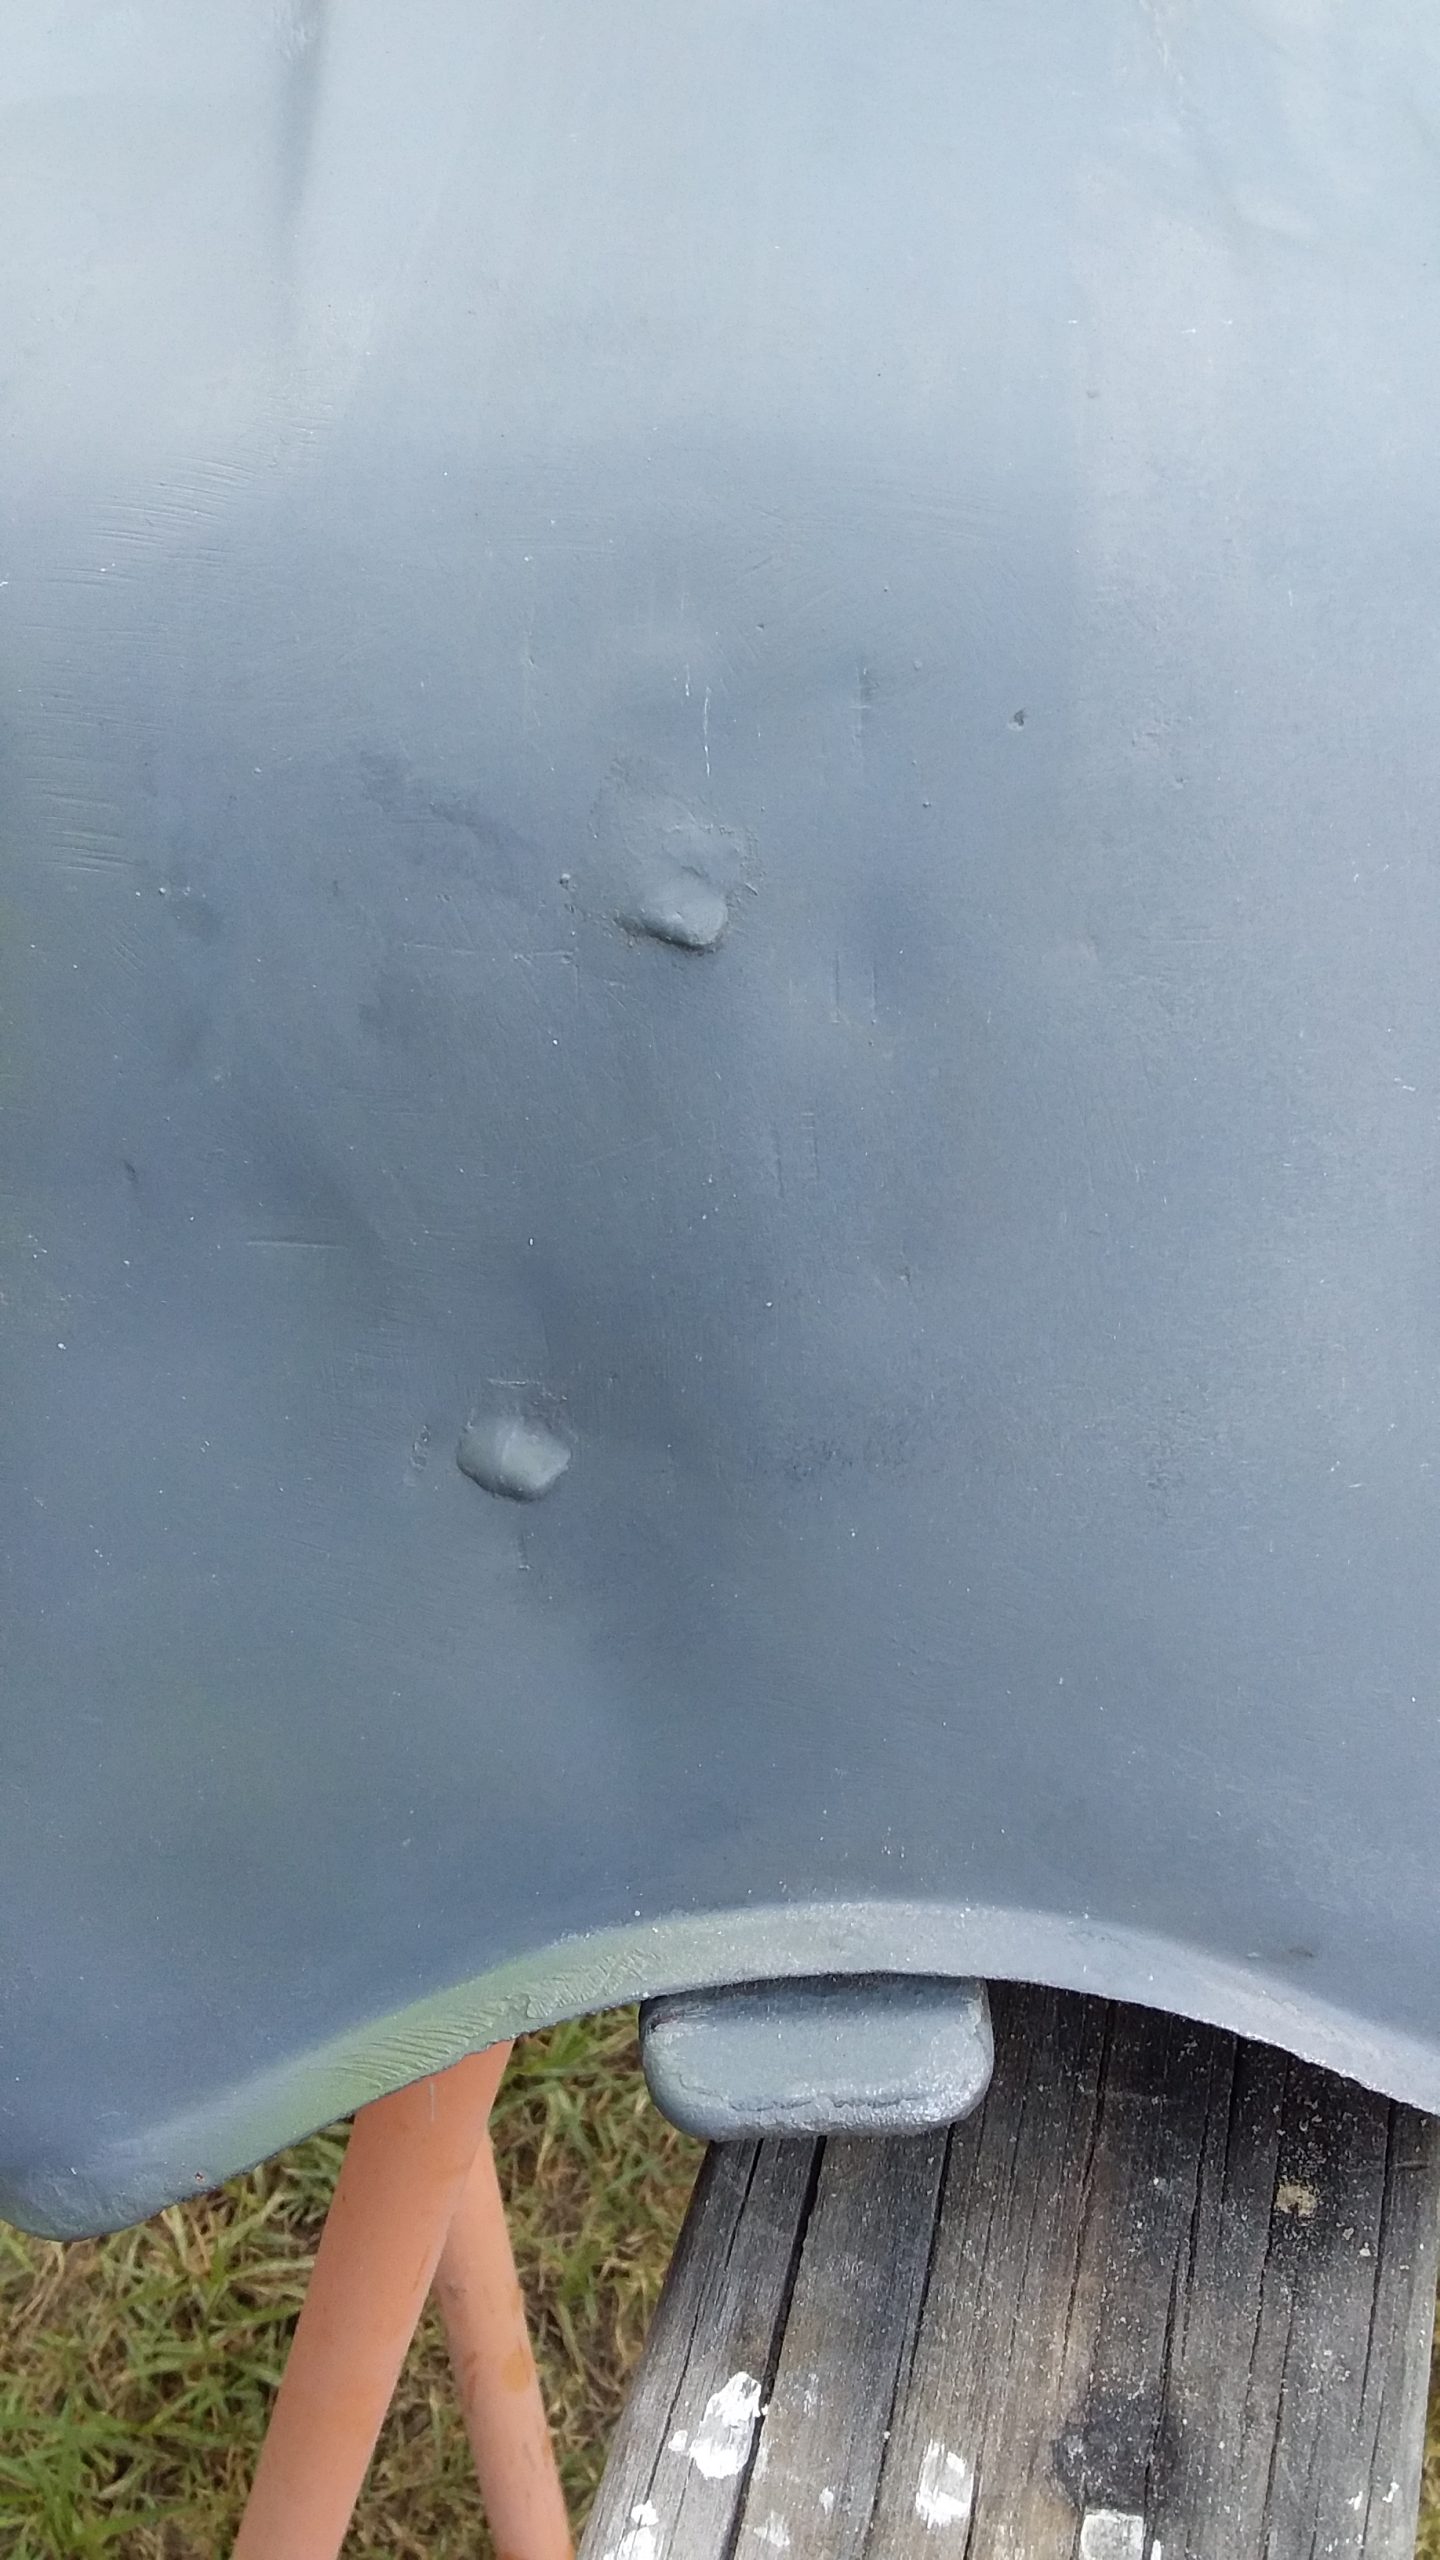
I dedicated a day to stripping the tank to bare metal and priming it where there were no repairs so that rust would not re-occur. The etch primer is meant as a temporary covering till I can get the tank to the spray painter.
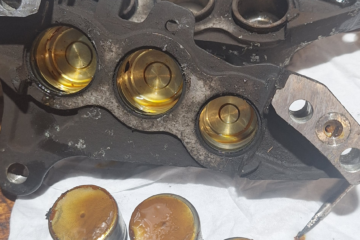
- The first task was to indent each hole so the solder could be bogged over after repair.
- Old filler was removed using a rotary wire brush in a drill, this exposed any new holes.
- Finally I cleaned the surface in thinners prior to any repairs.
- Using a butane bottle I heated up the hole, then after a few minutes, moved the flame to one side and flowed the solder and flux over the sides of the hole building up a ring around the hole.
- Once the ring was forming, I pushed the solder over the joint and formed a cover that fused to the tank. it took about 3 holes to perfect this process.
The first thing I learned when using the butane bottle is to avoid the flame getting too close to the solder otherwise it just flings it off the tank or into the hole.
Missed one…
Despite finding all the holes, one of the solder joints leaked. It was on top of the tank so the petrol sloshing around when you ride allowed a small leak to eventually develop. At night the fumes in the tank would escape through the hole.
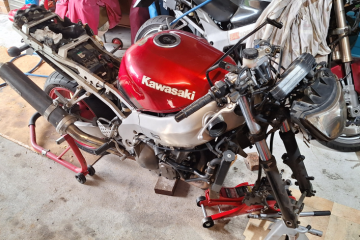
The only way to fix this was to drain the tank and get EVERY trace of fuel out of the tank. I was extremely concerned about blowing up the tank if any petrol or petrol vapor was present. Having had the tank in Molasses for nearly 3 weeks and then filling it with engine oil pretty much sorted that issue the first time round, but once I discovered that one of the solder joints leaked petrol I had to empty the tank of fuel and remove all the vapor. A quick ask around yielded this solution:
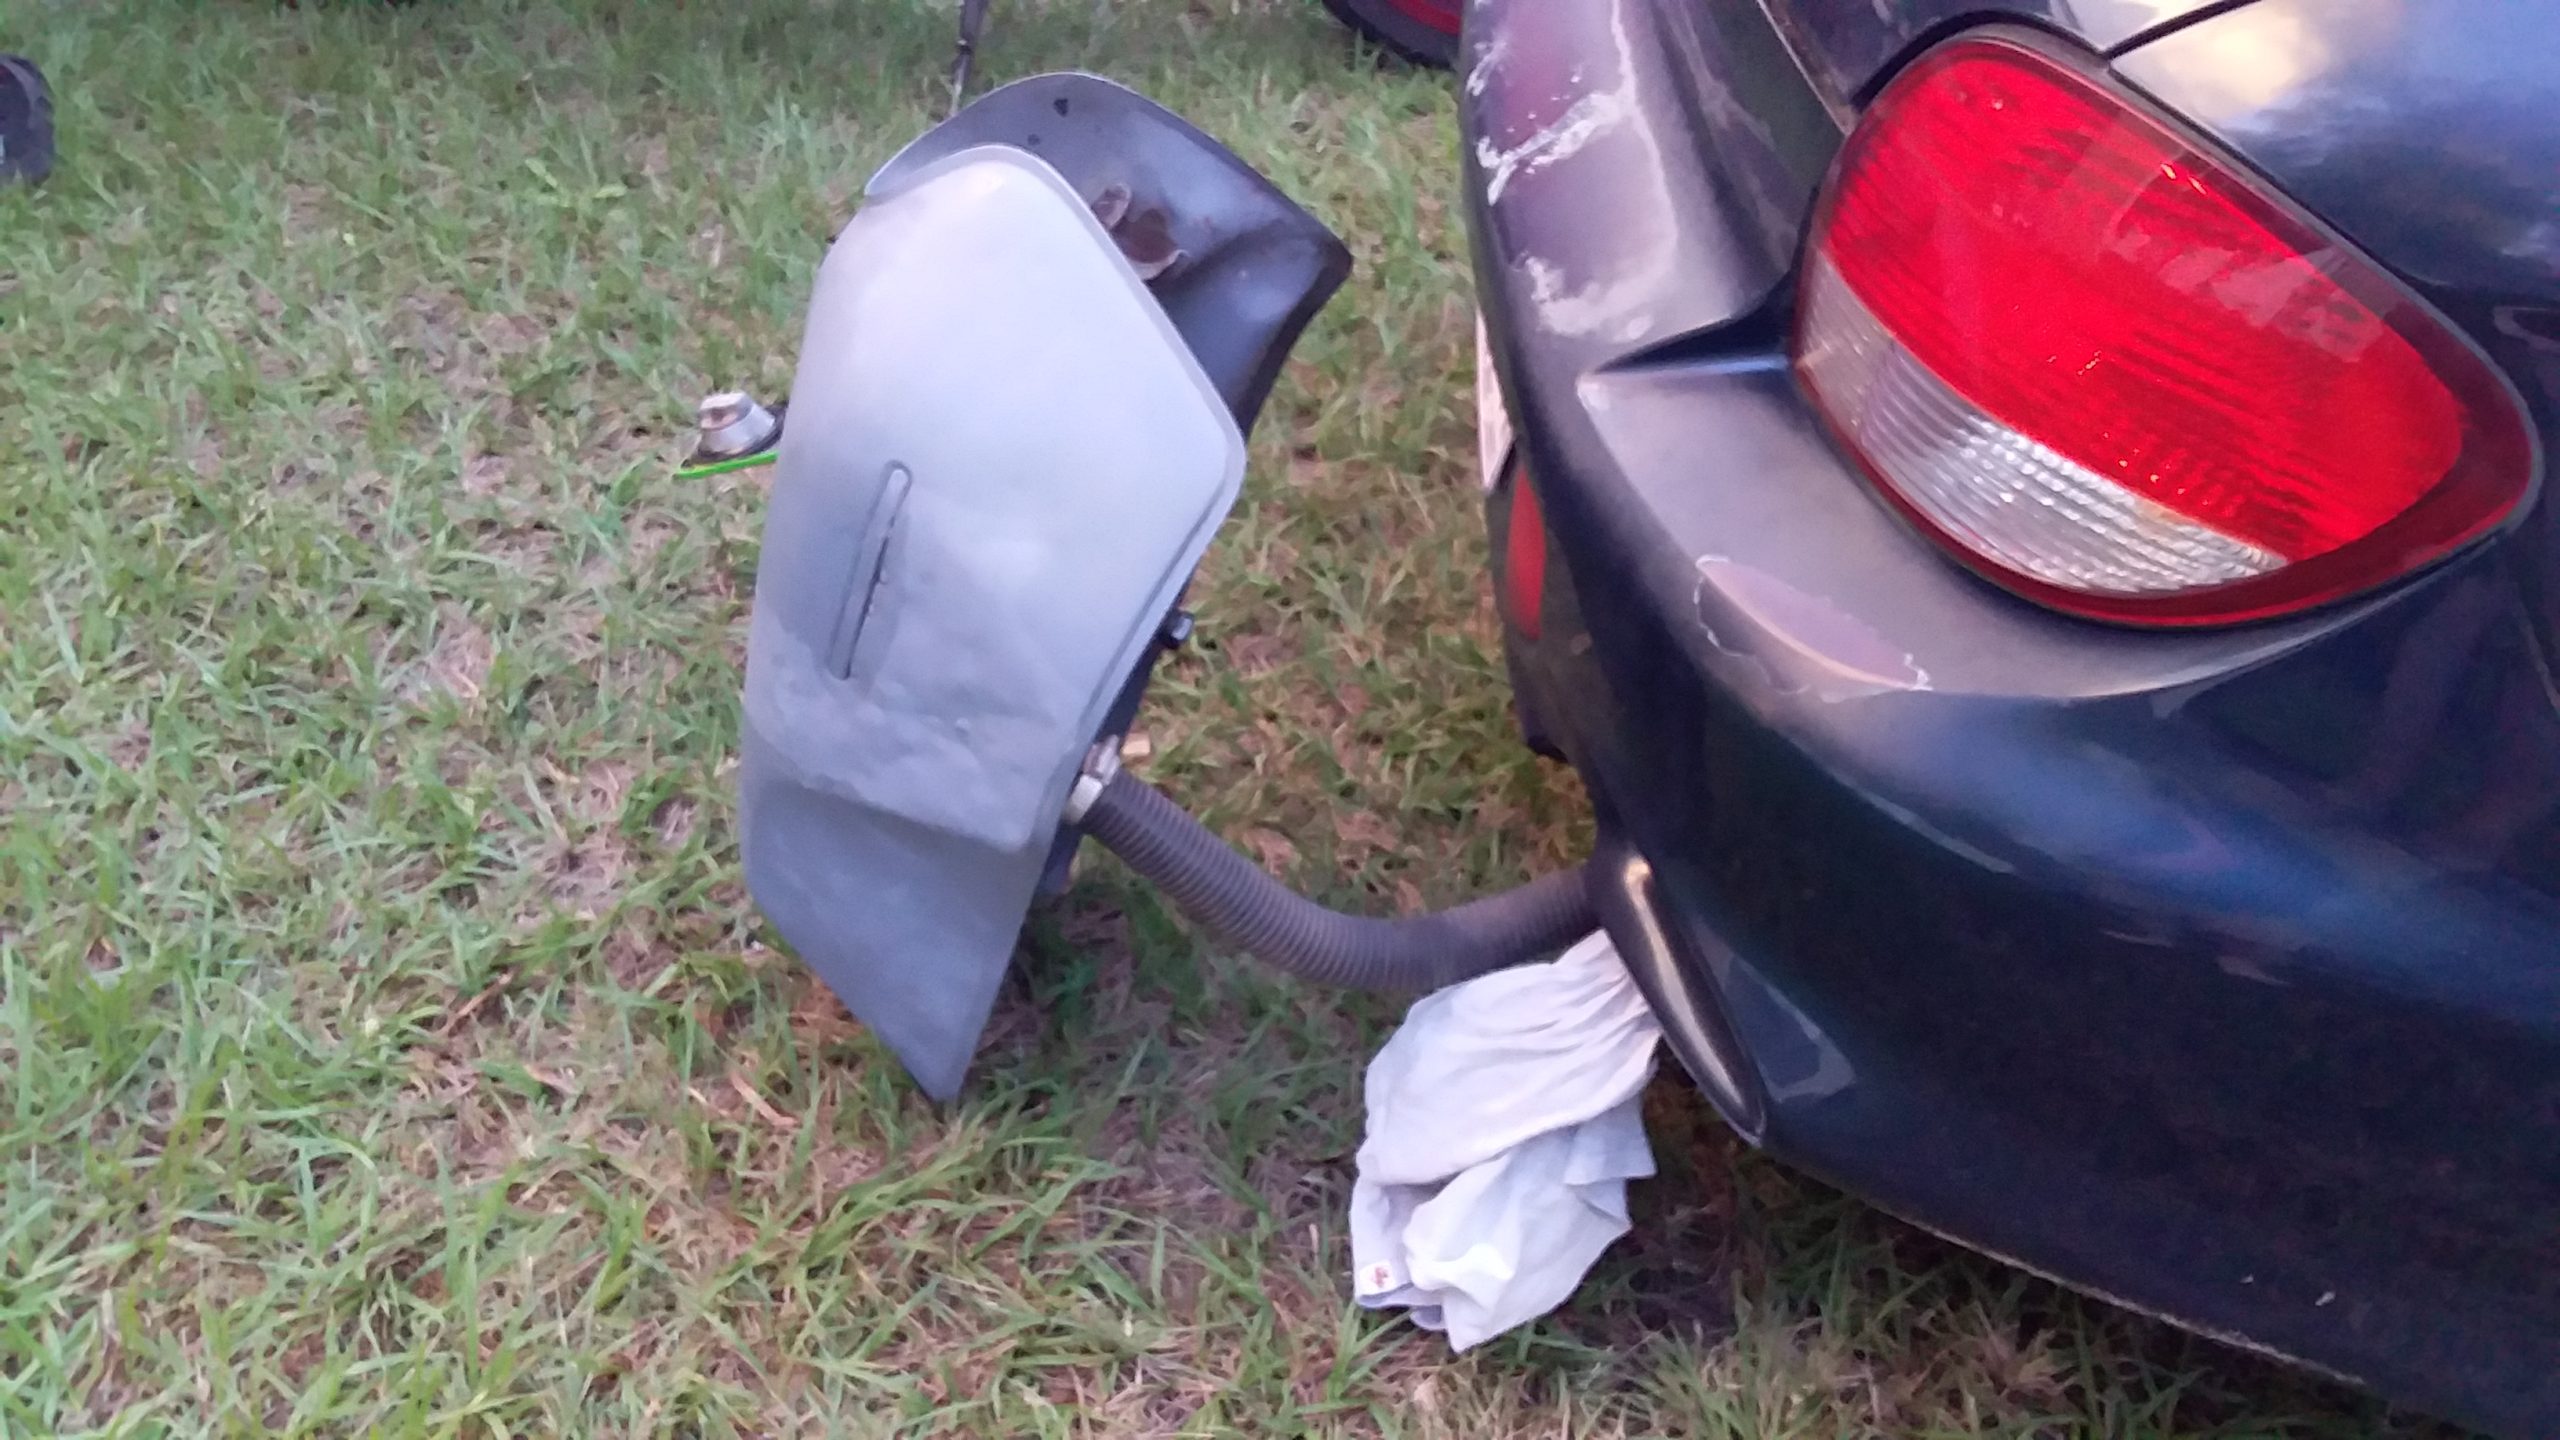
The car exhaust will remove all trace of the fuel vapor eventually and dry the tank out (it also gets very hot!). If you can’t smell fuel then you may be in a good position to solder up any holes.
Once an area was repaired, I cleaned it again with thinners and then applied Etch Primer.

The final paint work for the tank will look like this (1981 B1 striping):
-oOo-