Work in progress – Update 2026-06-16 – updated as new items come to hand or work is completed.
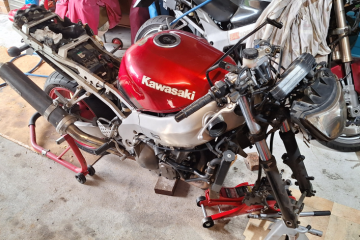
Not too long ago I crashed my 99 ZX9R while riding to work, it was not a good start to the day! While I walked away with a few deep grazes, the bike suffered some damage resulting in it being off the road for almost two years now. You can read about it in a previous post here -> ZX9R Crash Post
Although the damage list was not extensive, the most difficult pieces to replace were destroyed, that of course is the plastic bodywork. The tank didnt fair to well either with severe dints on the left hand side. Hopefully they can be pulled out and the tank fixed and resprayed.
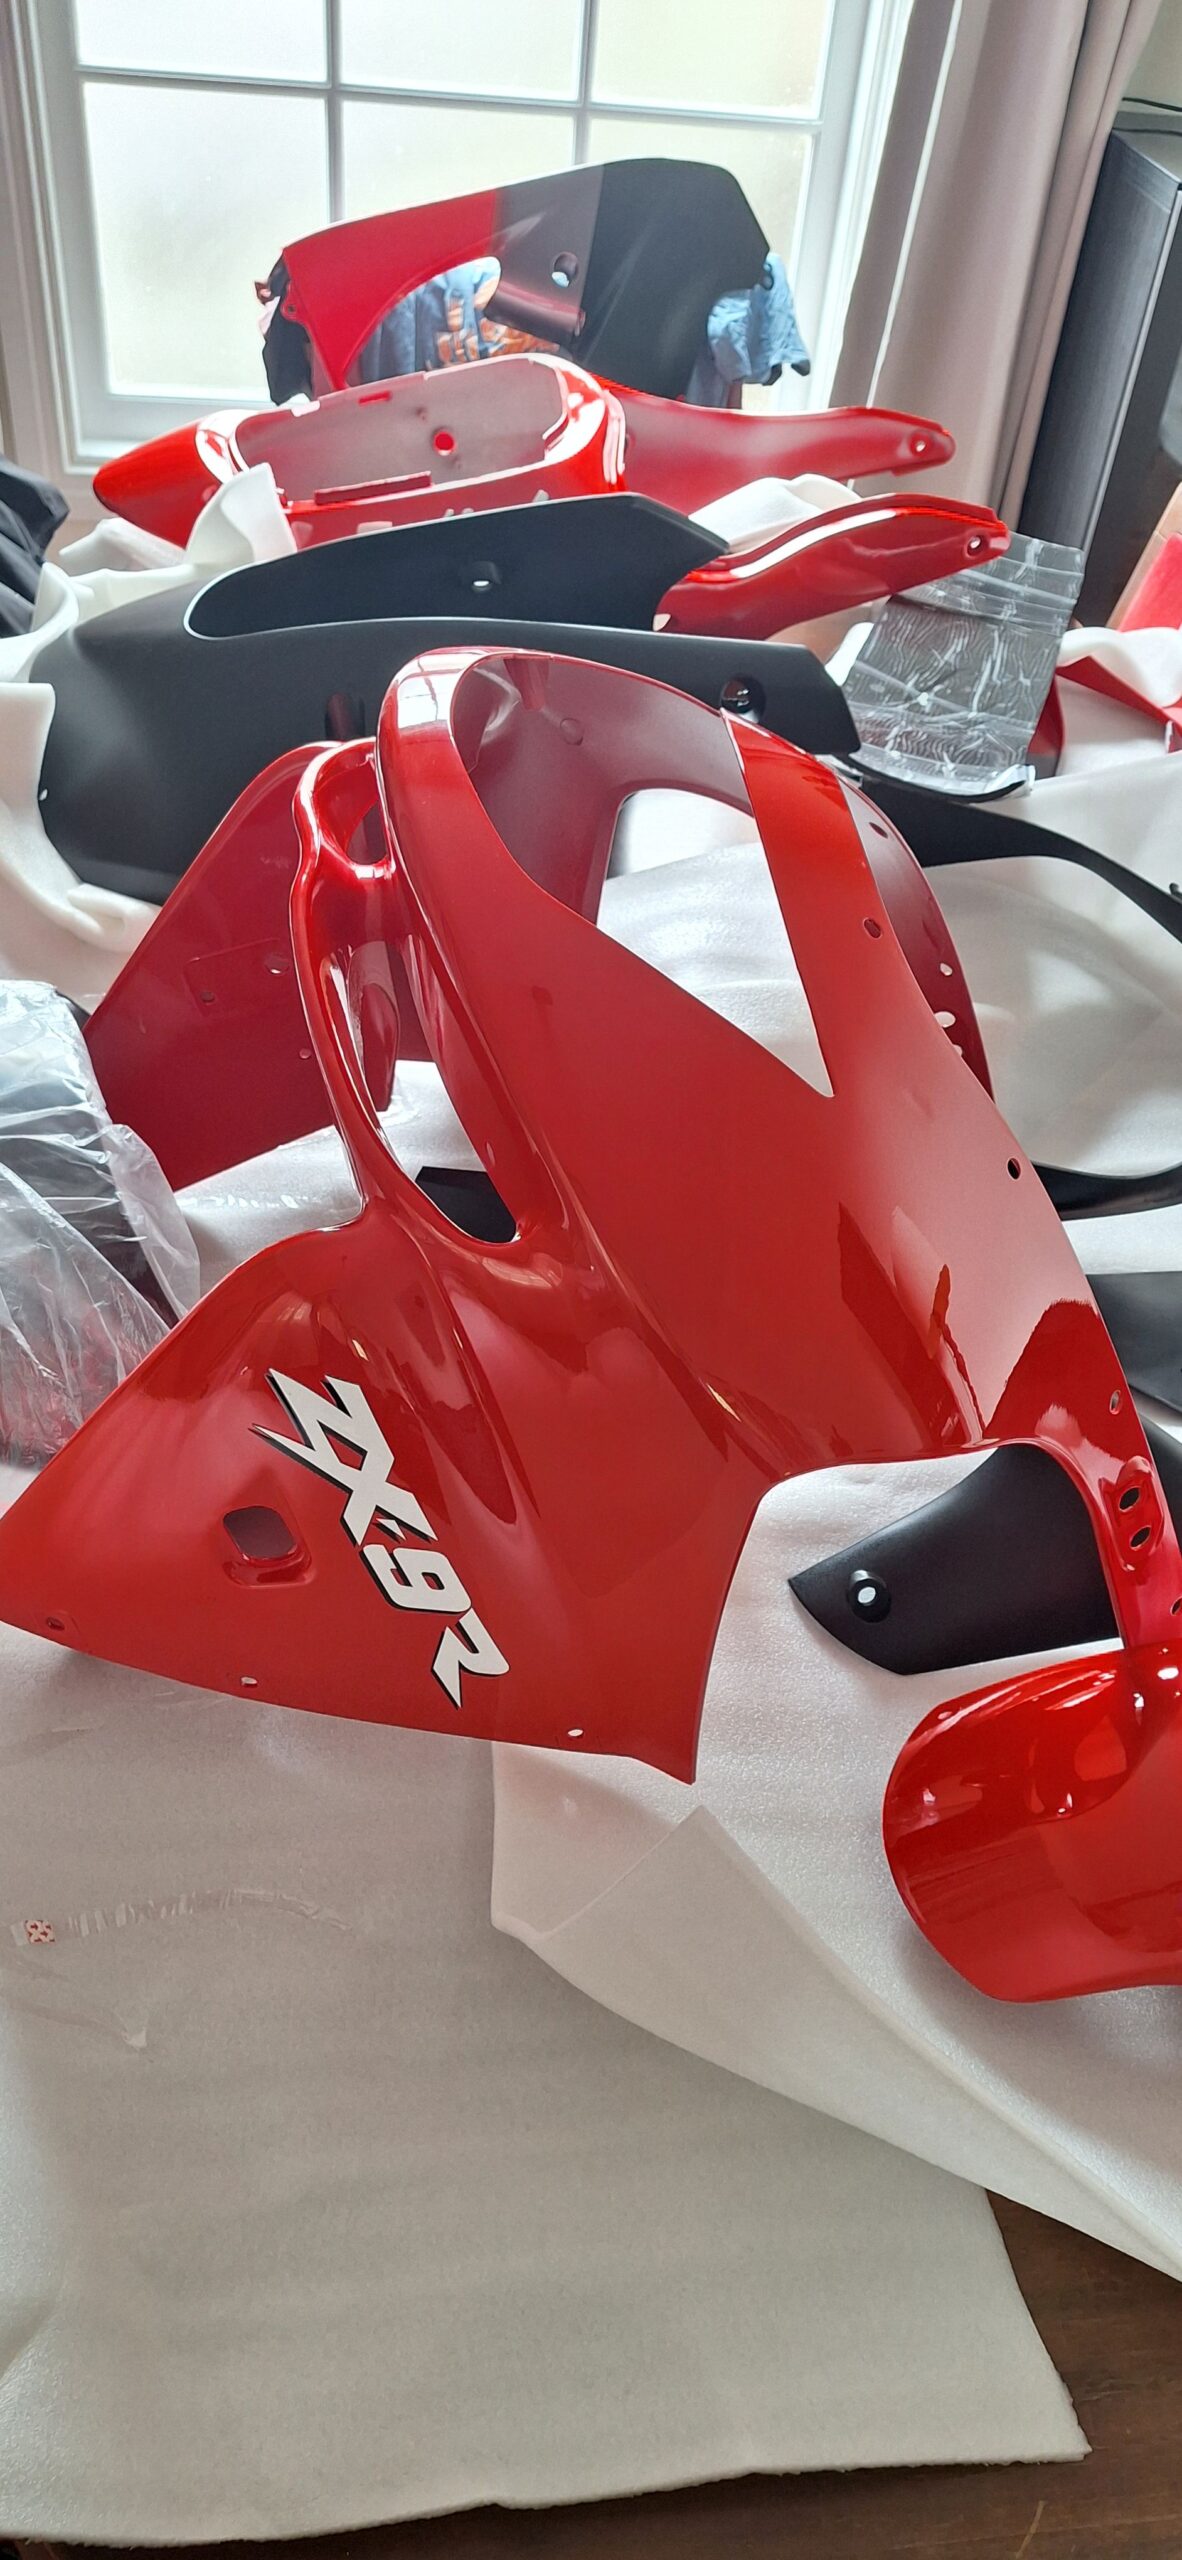
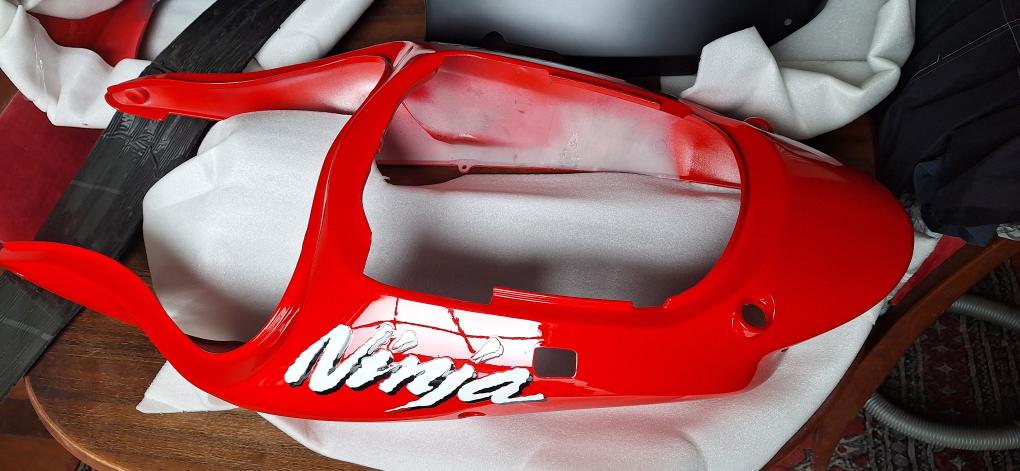
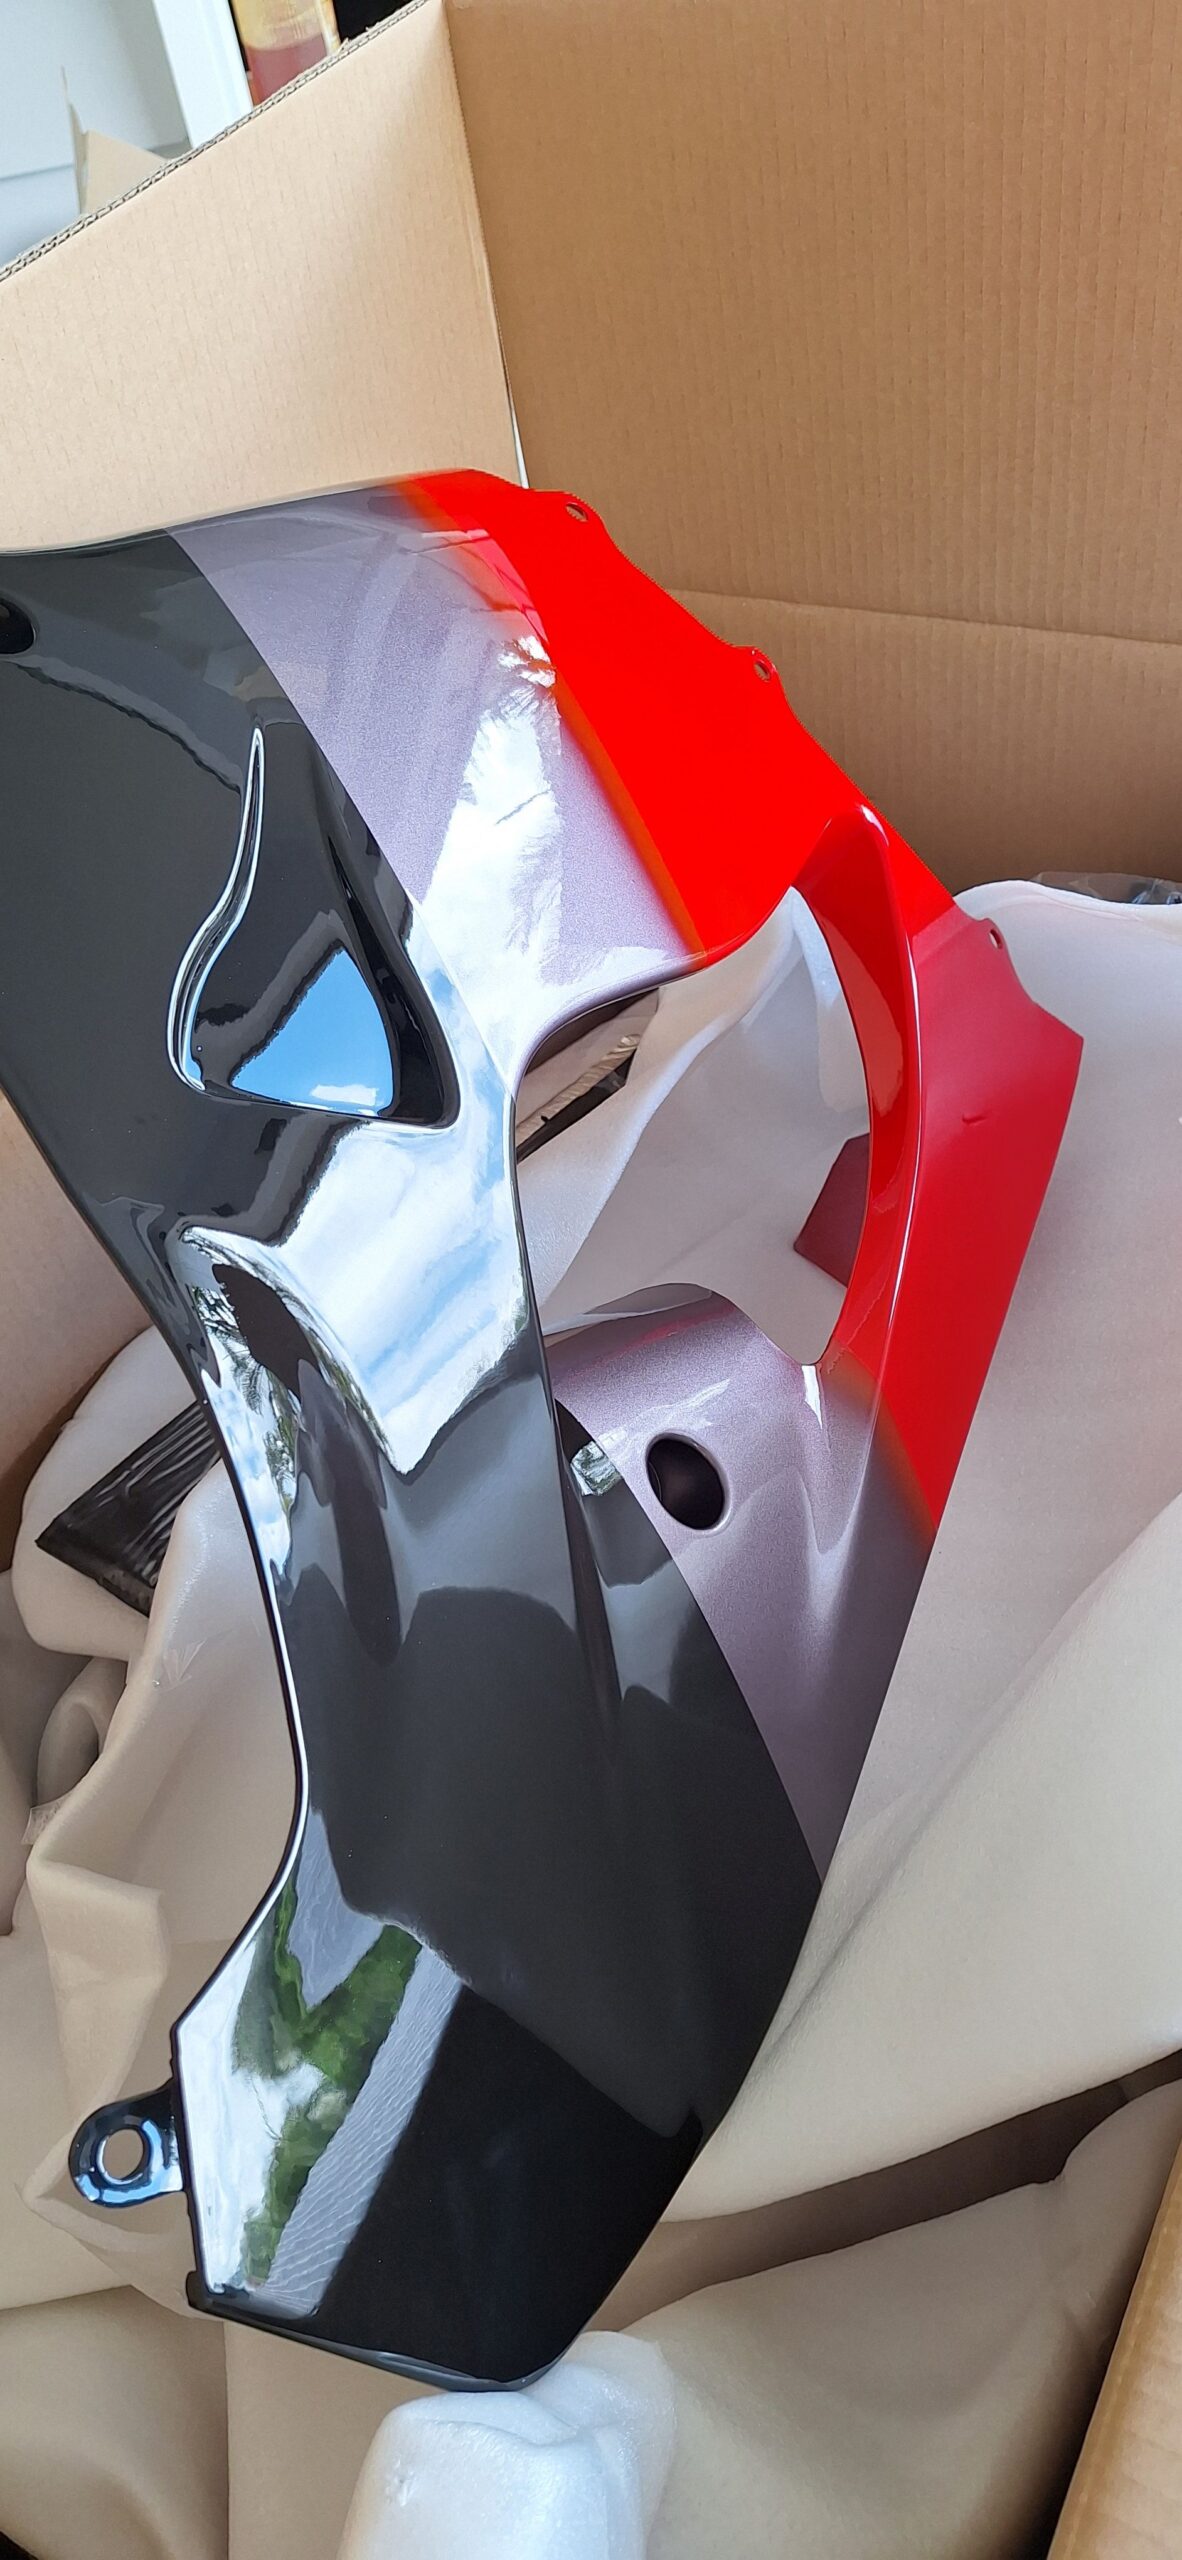
After searching online for a year, I gave up looking for genuine replacement bodywork and decided to get some cheaper plastic replacements from China. There are a lot to choose from so weeding out a good supplier is almost impossible, but I bit the bullet and found a store with the right model and colour and purchased a full set.
It took a few weeks to arrive but I am pretty happy with the quality. I do not endorse any supplier from China but if you are interested in looking at what I purchased, then here is the link: https://www.aliexpress.com/item/1005008518964114.html
Also to note, I waited 14 days for the parts to be painted, and when I mentioned this to a friend, he said he sent a colour scheme over to them when he purchased a different kit and they painted that on the blanks they keep in stock.
Mounting Hardware
What I soon discovered was the mounting rubbers from the old fairing are next to worn out, so I ordered new replacements.
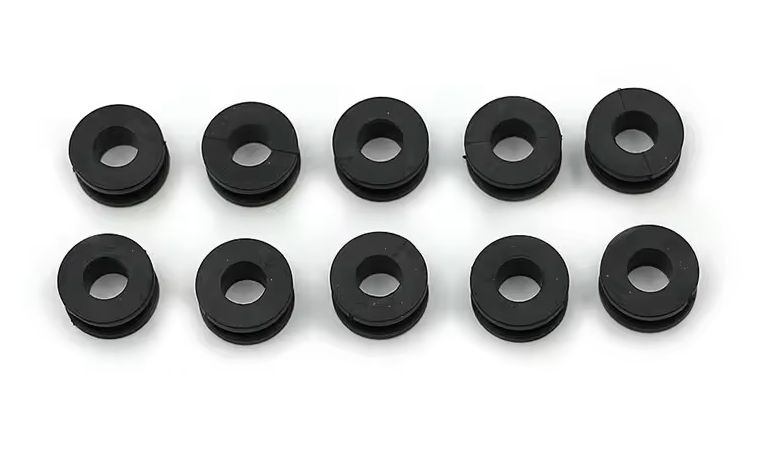
There are primarily two types of mounting rubbers, the ones that hold the plastic to the frame and the 5mm screw mountings that attach plastic to plastic. An easy to spot example is the windscreen to top cowling, there should be eight mounting rubbers. There are also a hand full of smaller rubbers that hold the belly pan front section together, I ordered a few packets of these as well.
In total I ordered an extra 30 of the 5mm Rubber mounts. I picked the silver alloy screw set with it as they had plenty of stock, but I will either go all black or flush SS304 5mm hex screws.
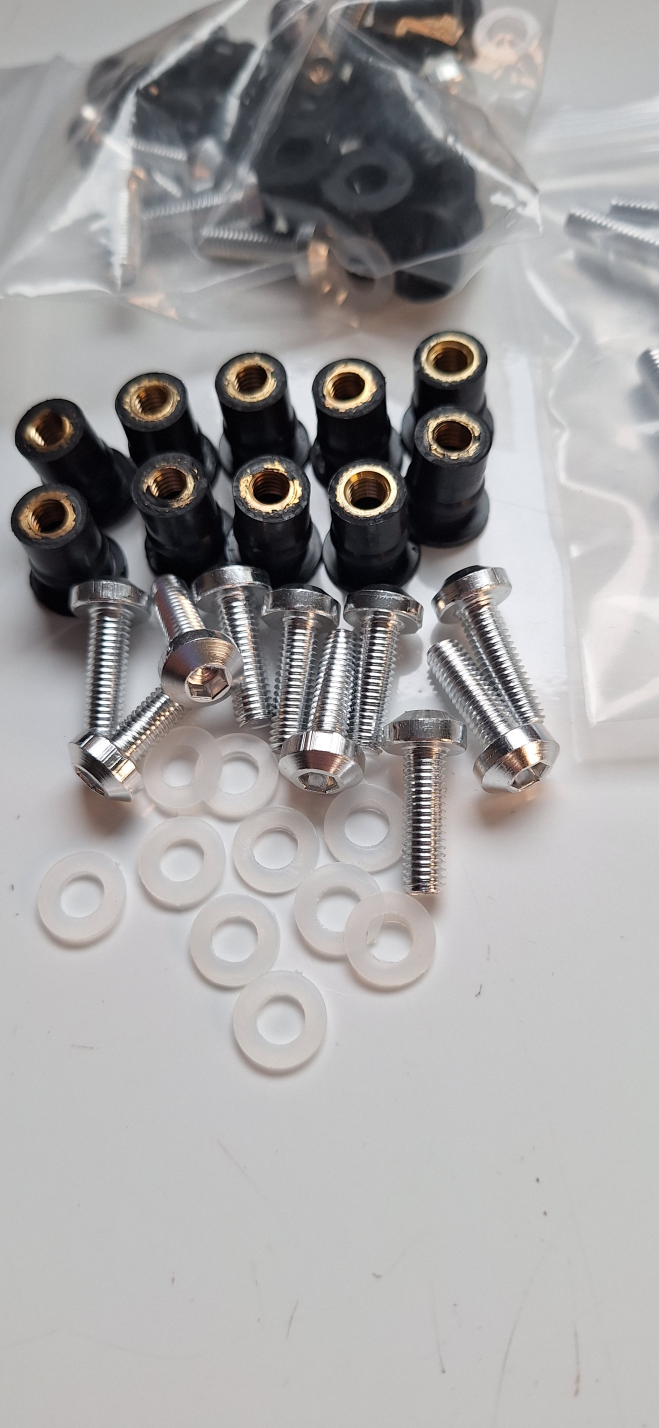
The 5mm mounting rubbers are designed to deform and bulge, this is what holds them in place. Most kits have 5 of them in the packet, the ZX9R windscreen needs eight (8), then each side lower Cowling needs 3 on the side and another two to hold the belly pan section, so that’s another 5 per side then a few on the top panel on each side and you get the idea, there a quite a few of them!
A trial fit shows most holes fit correctly, some are tighter and some slightly looser.
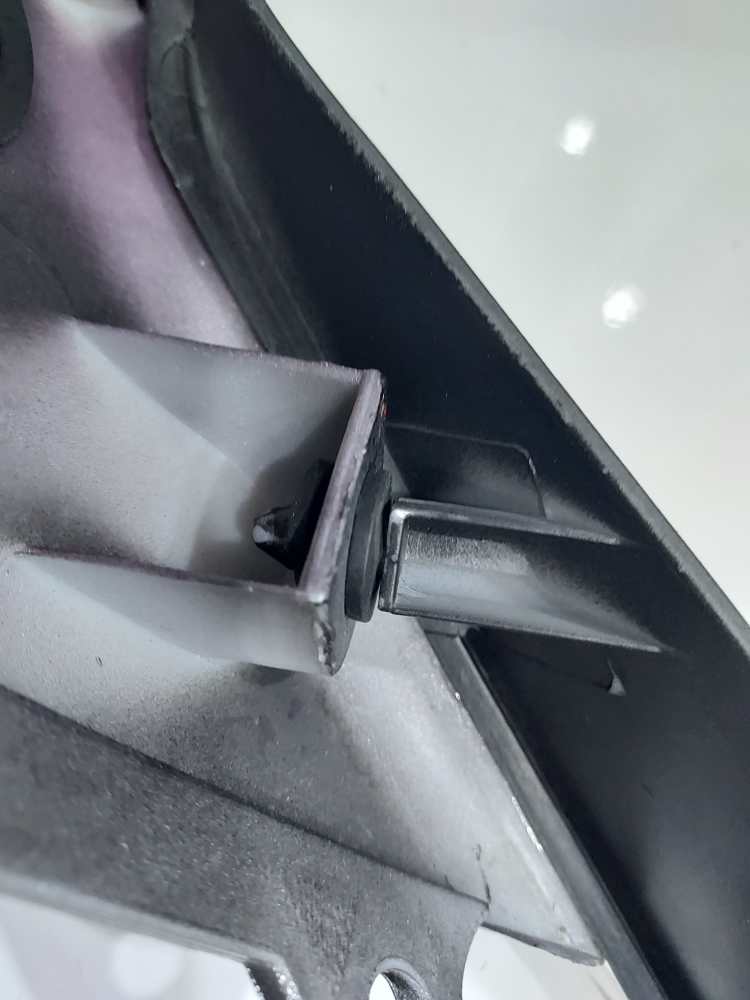
I had a good look at the larger mounting rubbers on the bike and decided they were too worn out to be re-used. These hold the fairing to the frame, so I will refer to them as frame mounting rubbers. A quick check shows these are not cheap if you buy originals and you need a few of them as well, they are an odd dimension on the ZX9R, so off the shelf ones don’t fit cleanly.
But a good look online yields ones that are close and cheap enough to do a test fit and discard if not suitable.
Update: 2025-11-04 – Started inserting mounting rubbers
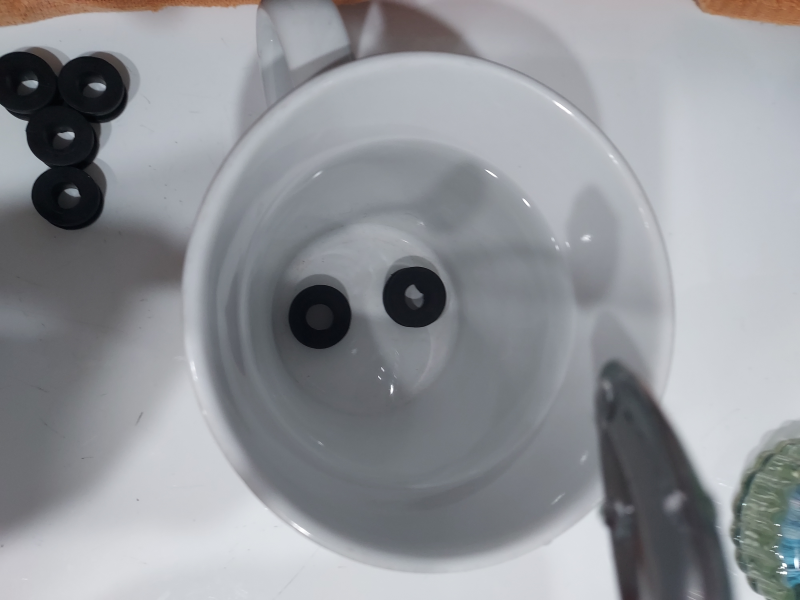
I purchased two different sized frame rubbers, the first were the larger size one that hold the fairing sections to the frame, the other rubber mounting was for the lower belly pan parts. Initially they were tight, so I dropped a couple into boiling hot water and then after a few minutes they were pliable enough to install with no issues. I only needed to clean up one frame mounting hole using my Dremel.


The end goal
Looking at the ZX9R and flicking through Facebook groups gave me the idea that a factory resto is nice but customising the bike with fancy parts is better. And with those parts still available online, then getting them now would be a wise choice as another year down the track and they might not be available for the earlier models. So custom resto-mod it is!
Getting Started – Wheels
I’ve started to itemise what needs doing and one of the first items is to get the wheel’s redone, the Red paintwork is looking a bit sad after 26 years. I will also use this as an opportunity to fit new wheel bearings from SKF. That’s a fairly quick tasks and I’ve contacted the guy who did the GPz1100 paint work for a quote. If I can match the rim colour to the new bodywork then it will look hot.
Suspension
The forks look OK but I will make the effort to replace the seals and clean up the tubes, while they are out I can check and lube the triple clamp bearings while its apart. The top clamp could do with a clean up as well.
On re-assembly I can re-align everything and see if the frame has any obvious distortion. To do that task I will use both my laser level and a string line, the Laser tends to spread the beam over a metre distance but the string line will be consistent.
Controls
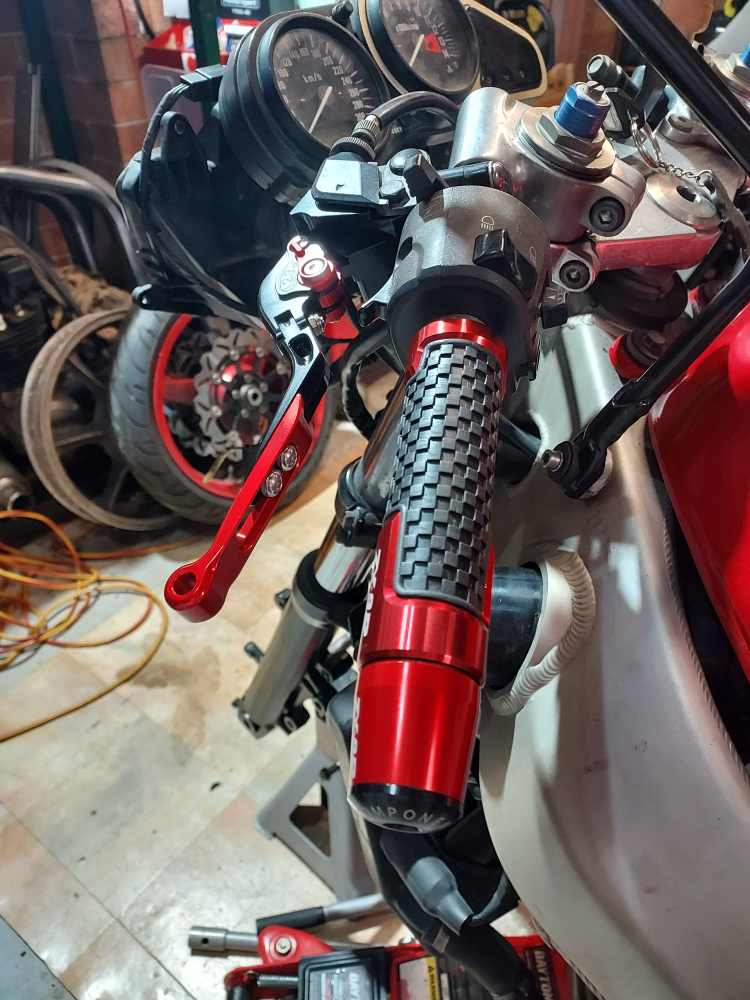
I’ve pickup up some new levers, handgrips and bar end weights, all with the ZX9R logo written on them! The colour matches the bodywork reasonably well.
I also ordered a fairing mounting kit in black but soon decided some flat hex head Stainless Steel set screws would look better on the body parts. While I was pulling the damaged top cowling off I noticed the bulbs in the Instrument Cluster could do with replacement, so this is added to the list.
Brake Calipers
One of the tasks I had set myself before the crash was to remove the calipers and replace the seals. I did some work on the calipers in a previous post and decided to get new seals. For the C1/C2 models the part numbers are as follows:
- DUST SEALS
- 43049B – 430491055 – PACKING,PISTON x8
- 43049D – 430491059 – PACKING,PISTON x4 (Smaller Piston)
- Larger Piston Seal
- 43049A – 430491096 – PACKING,PISTON SEAL x8
- Smaller Piston seal
- 43049C – 430491090 – PACKING,PISTON SEAL x4
“Packing, Piston” basically means a dust seal, while “PISTON SEAL” is the actual rubber seal. While there are twelve seals all up and 12 dust seals as well there is 8 of one size and 4 smaller seals as shown below.

Damaged parts
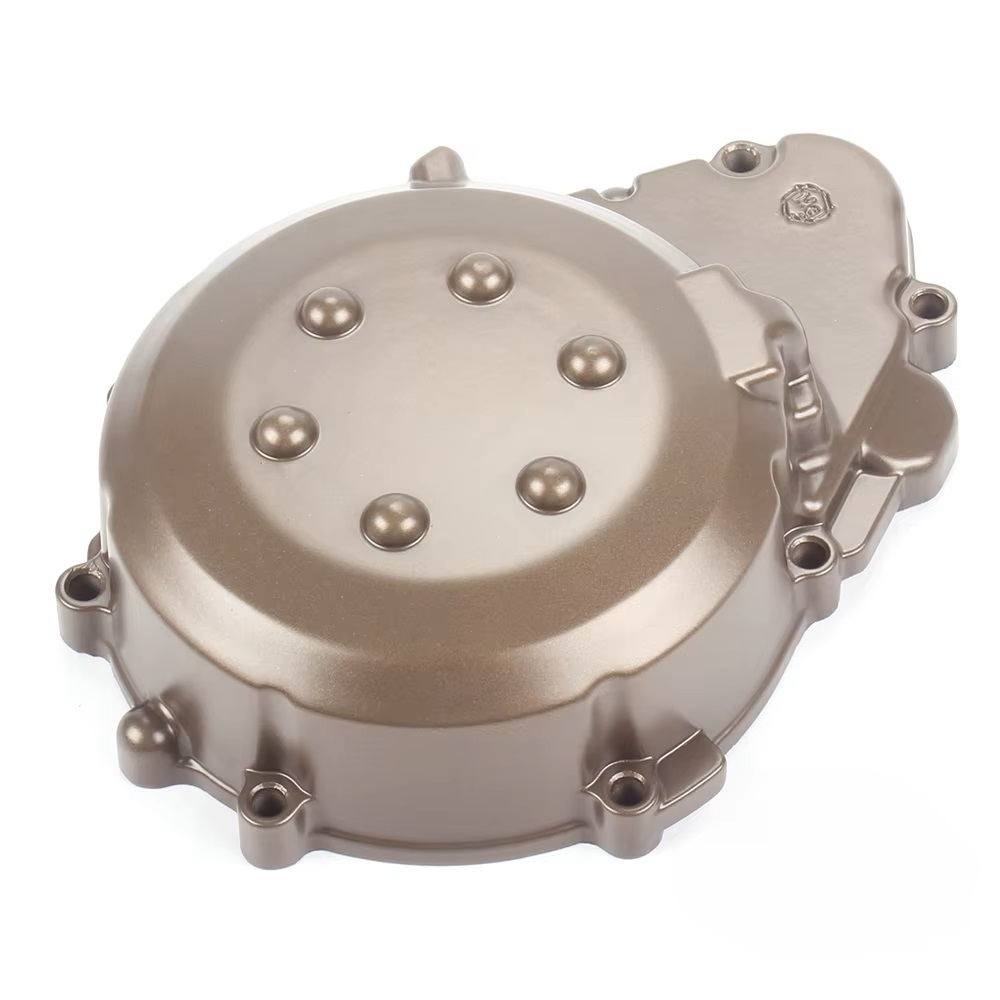
As the bike landed on it’s left side, the stator cover is trashed, but these are surprisingly easy to get and they come with a gasket as well, so I bought one of those first up. The new one looks identical to the factory original.
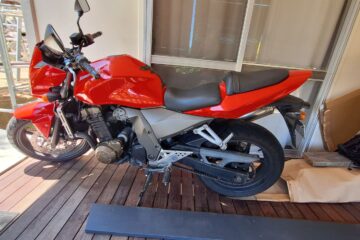
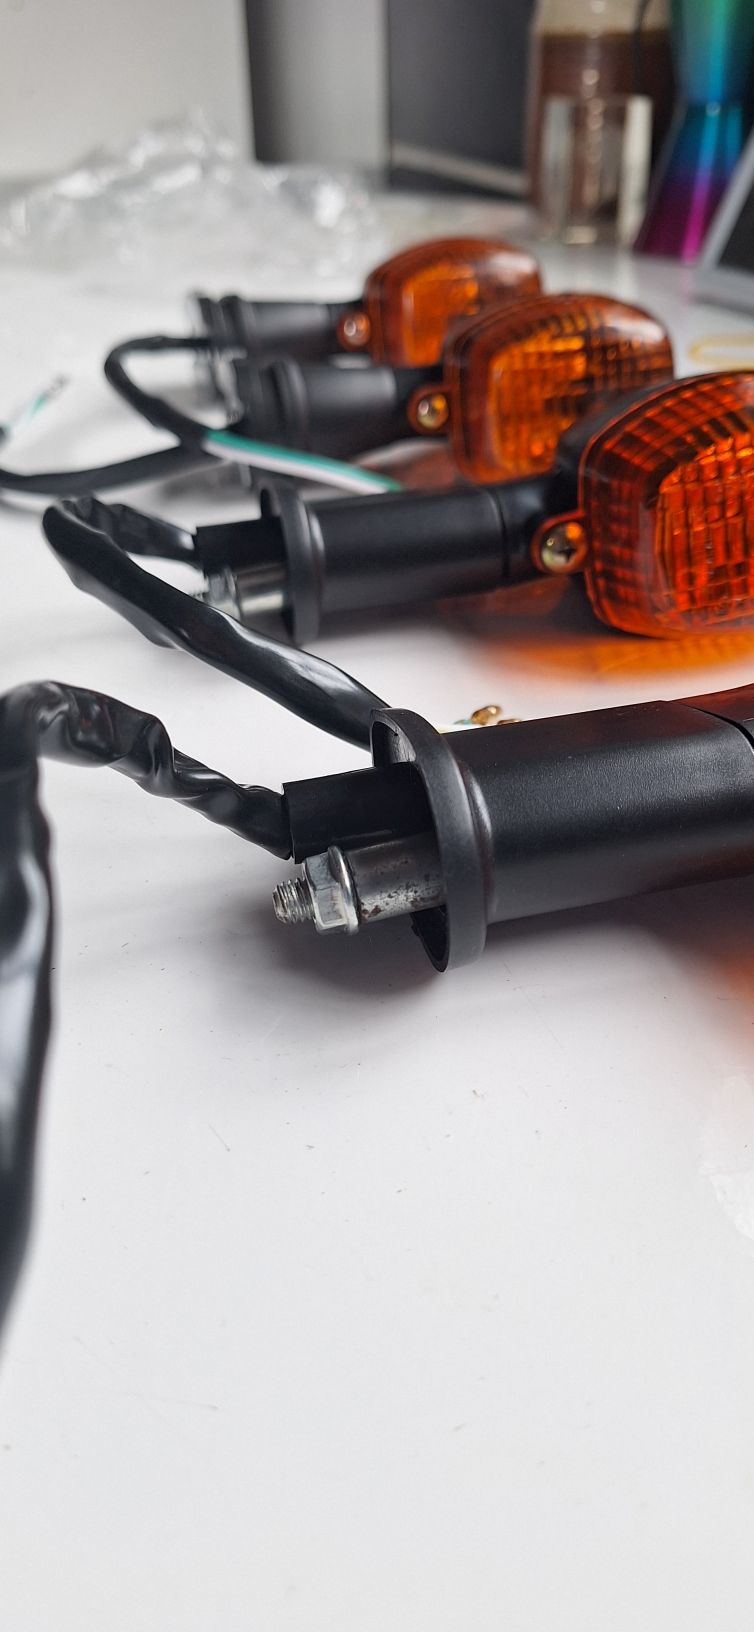
The blinkers also were damaged, so I bought four new ones, two for the rear and two for the front, they have different length mounts. I need to do a test fit of the front blinkers into the Top Cowling and see if the hole is big enough. The rear grab rails were damaged so I am chasing up a left one and then a test fit is needed of the tail section (it does look nice).
Throttle cables and carbs
The remaining work will be to get the throttle linkages working perfect and clean up the fuel system and tank. It might even be due for new plugs but I will check those when I start it, that of course will require a new battery (this list keep growing!).
Timeline
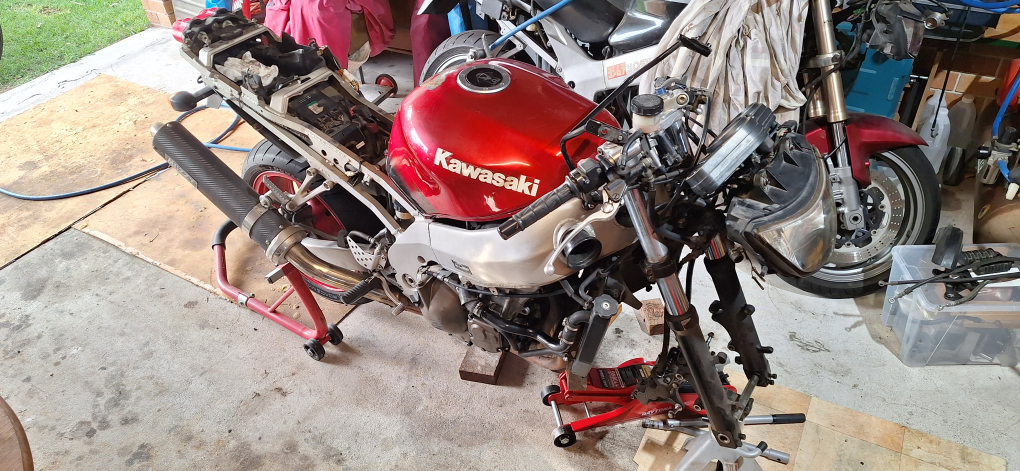
2026-06-14
Started cleaning down the frame and front end, removed remaining factory plastic and put it aside, installed new rear blinker (needed longer leads), dashboard, headlight (test fitted headlight into fairing first), installed top fairing mounting bracket (had it powder coated back to satin black). Installed ram-air plastic into front fairing. Removed front wheel and front guard.
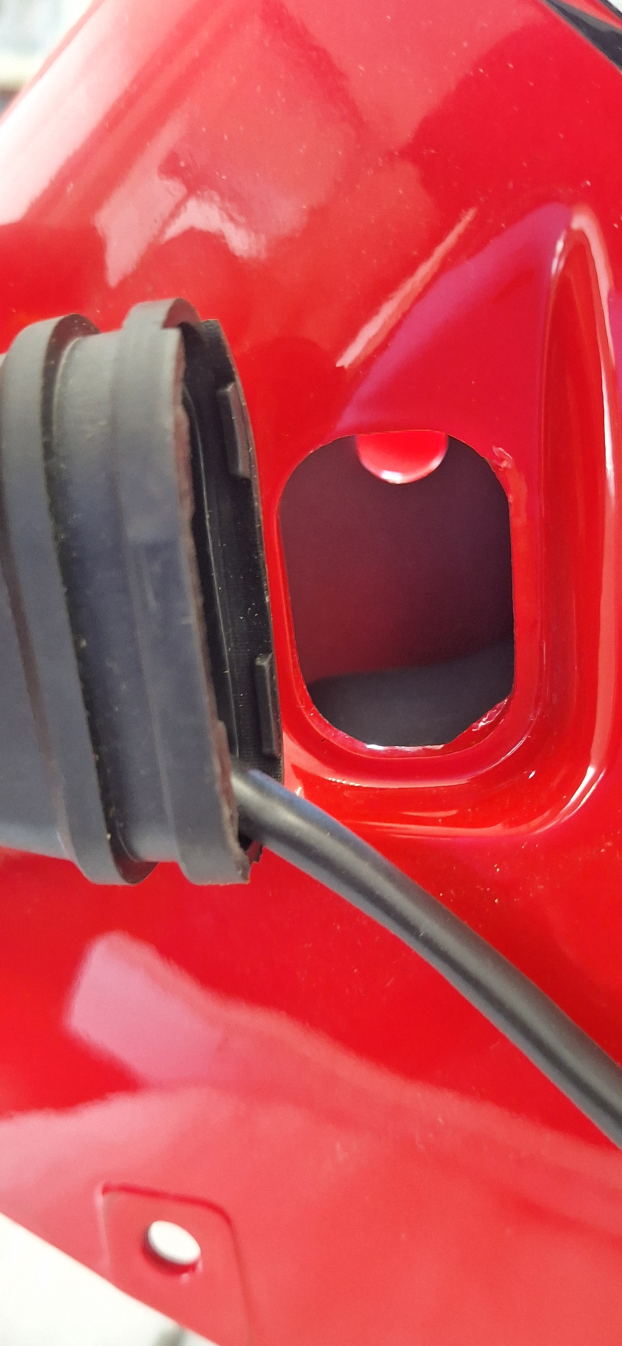
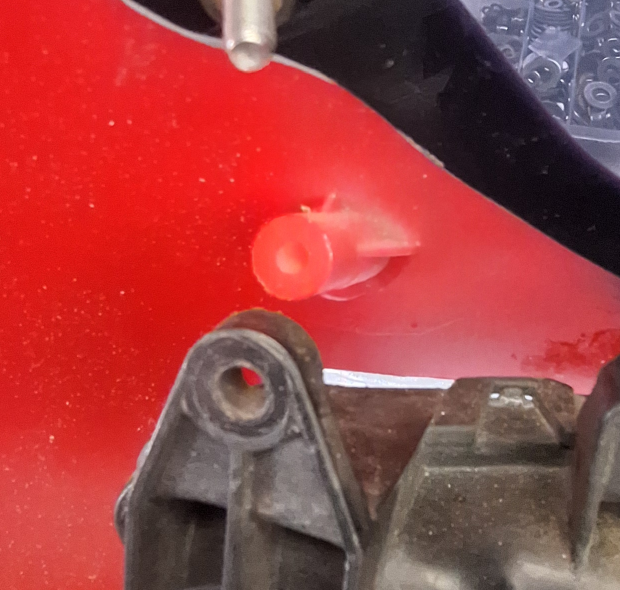
2026-06-16 – Routed out the front blinker mounting holes with my Dremel to fit factory blinkers. I can mount the front fairing shortly and see how the mounting holes line up. As I still have wok to do on the engine and front end, I will leave the bodywork till last.
Work to do in June/July
TODO – pull out each fork leg and replace the fork seals.
TODO – Disassemble brakes and replace seals.
Front Blinker hole size – Hole is too small to mount blinker, need to expand hole with Dremel (checked against original fairing).
Headlight Mount – Mounting is very different to factory original, but it does line up.
2024
Parts Acquisition
Obtained Stator cover and aftermarket controls. Lack of quality body work available second hand.
September 2025
Bodywork Purchased
Purchased New bodywork kit out of China. Waiting for delivery!
November 2025
Stripdown
Scheduled the strip down of the bike for November, need wheels and tank off and into the painters.
Started installing rubbers into body work and mounted the screen.
November 2025
Brakes
Need to order a few more seals, still don’t have the right number to rebuild calipers. Will also look at cleaning up calipers.
June 2026
Assembly & Clean
Have cleaned the frame and surfaces to be as free from grease as possible. Installed new “Bling” parts. Assembled front fairing on bench. Working on brakes, throttle and forks.
2026
Complete Rebuild
Need to complete the rebuild in 2026.
How the crash occurred
The ZX9R has heaps of horse power, so much so it can easily overpower the front wheel and drive it right out from under you, and this appears to be what has happened. As I was going up the road, a car stopped suddenly and did an illegal right turn over a traffic island (no right turns allowed at the lights we just passed), I lightly touched the front brake but the throttle stuck on, I noticed this a few streets back where I loosened my hand and the throttle didn’t flick back like it usually does, thinking this odd, but not realising the impact I kept riding.
Note to self, strip and clean ENTIRE throttle cable and carb assembly during the rebuild!