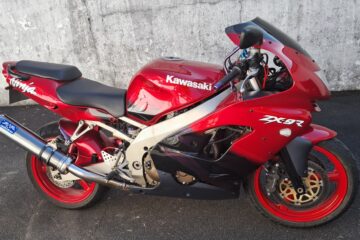
Updated: 2026-06-22
This post is a follow up to this post: https://sidyoung.com/zx9r-crash-and-rebuild/
During my holiday break I spent two days working on the zx9 and now that I made some progress I decided to finish it off without delay!
Tasks completed include:
- Cleaned the frame free of grease, oil and dust.
- Cleaned front end and removed front wheel and guard.
- Assembled Dashboard back onto top clamp.
- Assembled front fairing Ram-Air parts
- Removed the tail section as it is damaged and the hand grip on the left side has scratches on it as well.
- Installed new rear blinker. The aftermarket ones have leads that are too short so I needed to make extenders from the original blinker assembly.
- Re-fitted the headlight after doing a test fit into fairing first.
- Installed top fairing mounting bracket (had it powder coated back to satin black).
- Ordered Clutch Return Spring
- Ordered Fork Seals.
- Routed out front blinker holes.
- Install new handgrips, weights and clutch lever assembly.
Work done and still to do!
Last night I routed out the front blinker mounting holes to fit factory blinkers, this might not be an issue for you but I did want to re-fit the factory blinkers for the rebuild (and its needed for road worthy check, MOT if your in the UK). I can mount the front fairing when the bike is ready. – DONE 2026-06-17
The test fit of the headlight revealed that the mountings are posts in the new fairing but clip mounting in the old fairing. I tapped out the holes to make sure the screws will fit correctly. Everything appears to line up OK. I can’t remember if I removed the headlight while the fairing was mounted or afterwards.
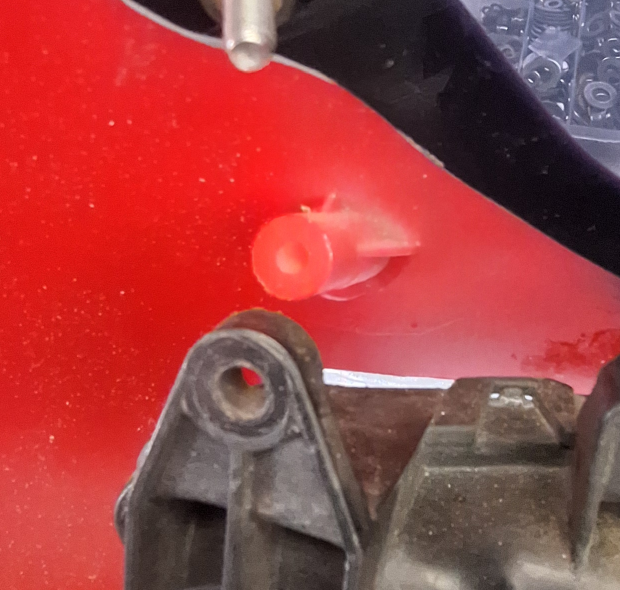
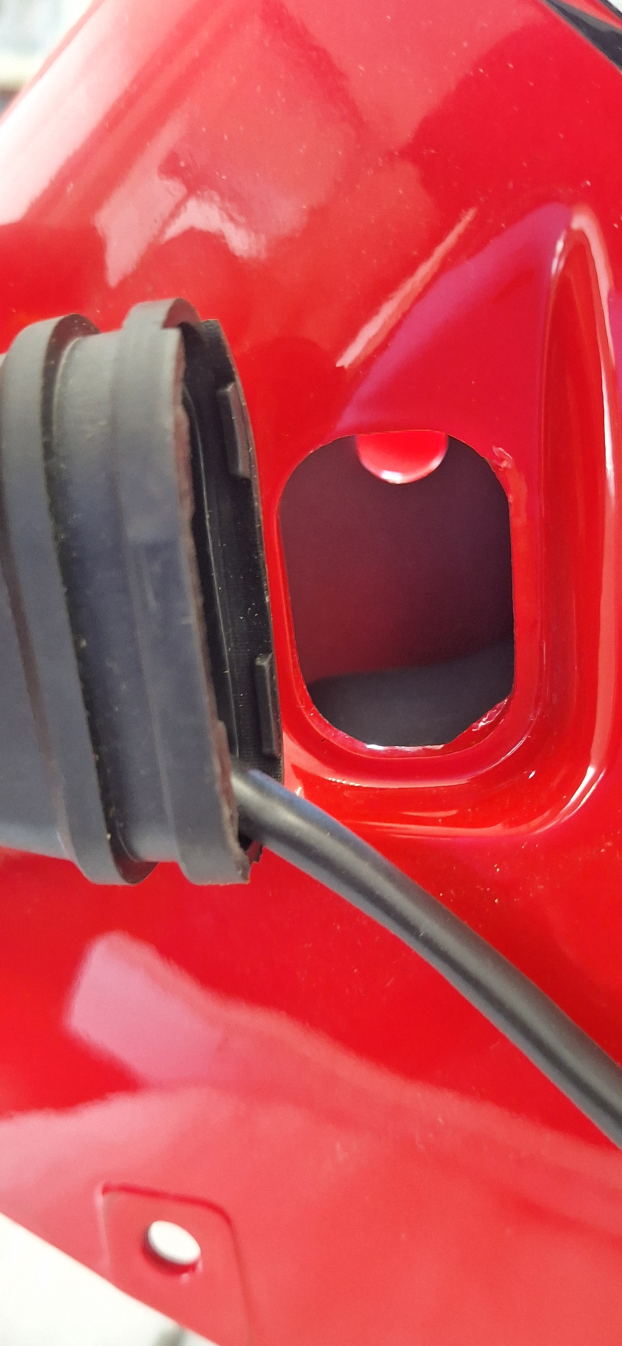
Fairing assembly
I washed all the original RAM Air parts in detergent and then fitted them into the fairing. The fit is not bad but not perfect like the factory originals. I needed to also fit some new 5mm mounts like the windscreen as the old ones were crushed.
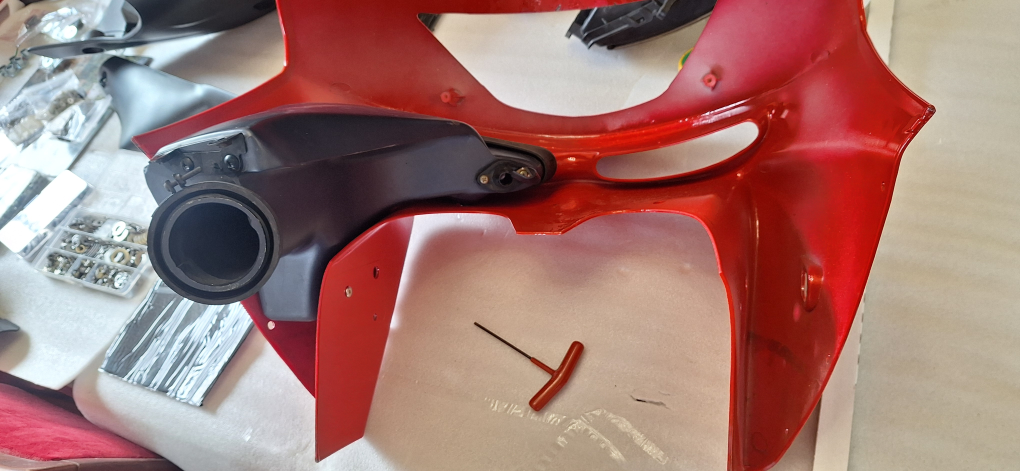
Assembly is almost complete, need blinkers fitted (now done) and then a test fit on the bike.
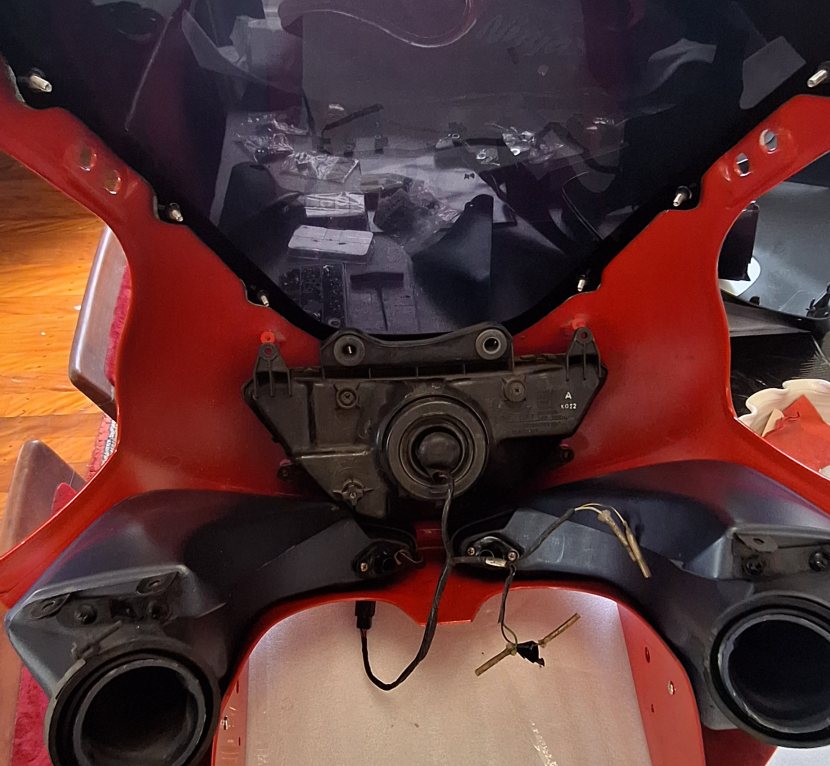
Final shot for the day, test fit of headlight, appears to align correctly to mounting posts and headlight cutout.
Tonight (the 18th June) I will doing the following tasks:
- Fitting the “bling” parts to the throttle – Not Completed.
- Remove the tank, drain it and prep it for going to the spray painter.- DONE
- Pull the throttle cable housing apart and pour in new 5W oil so the cables are fully lubricated. – PARTIALLY COMPLETED
- Remove the stator cover and fit the stator into the new cover, then fit it back to the bike. – PARTIALLY DONE
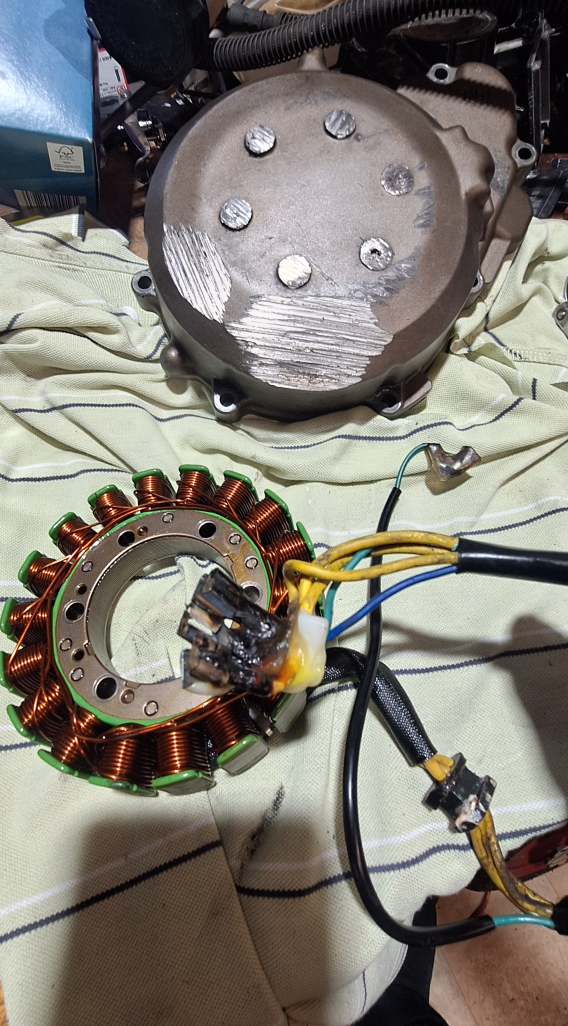
When removing the stator, the electrical connector was shown to be completely melted, most likely resistance in the spade connectors as the wires were not melted. When the stator was last replaced a spare was also purchased along with an additional regulator. The new stator and alloy cover are now assembled ready to be re-fitted to the engine.
Hand Controls
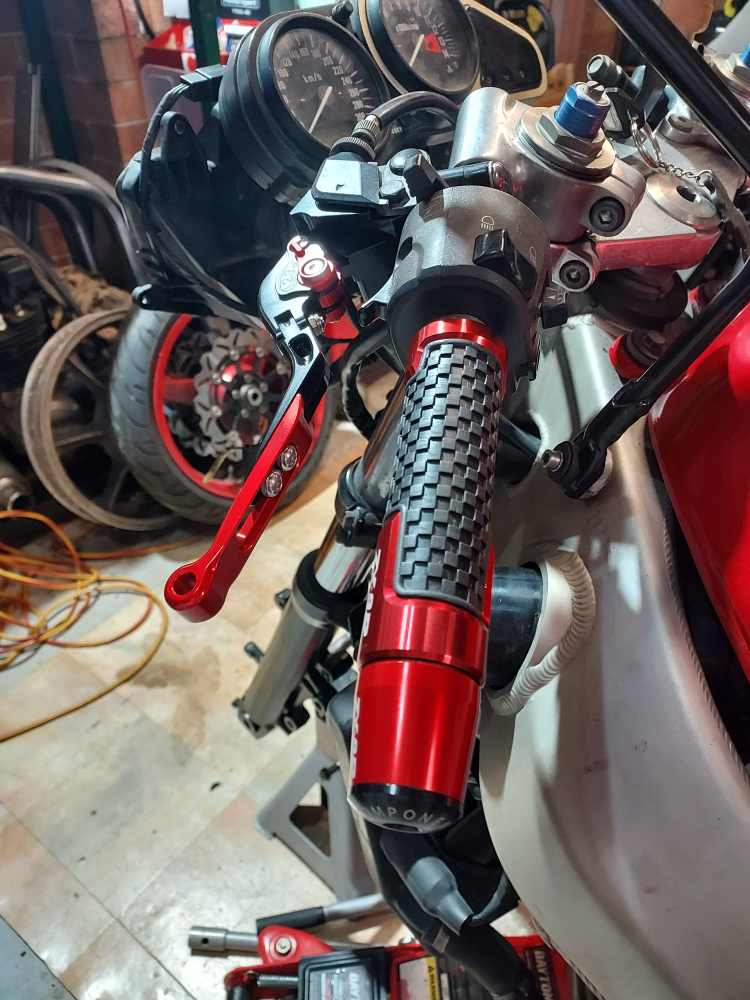
Update 2026-06-22
Tonight I hope to complete the following tasks:
- TODO – Clean the outer throttle housing and see if I have some stainless steel screws to replace the old dull steel ones.
- TODO – Lubricate the throttle cables. (Cable are still attached to carburetors).
Heat up or cut open the old Stator cover and try to gently get the dowel out. It’s stuck solid.- DONE – Install the battery that has arrived and test some more of the electrics.
- TODO – Remove one of the fork legs and replace the oil seal.
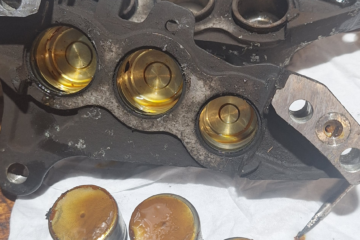
Clean callipers and replace all the seals.
The view of the callipers after I split them in half and pulled the pistons out.
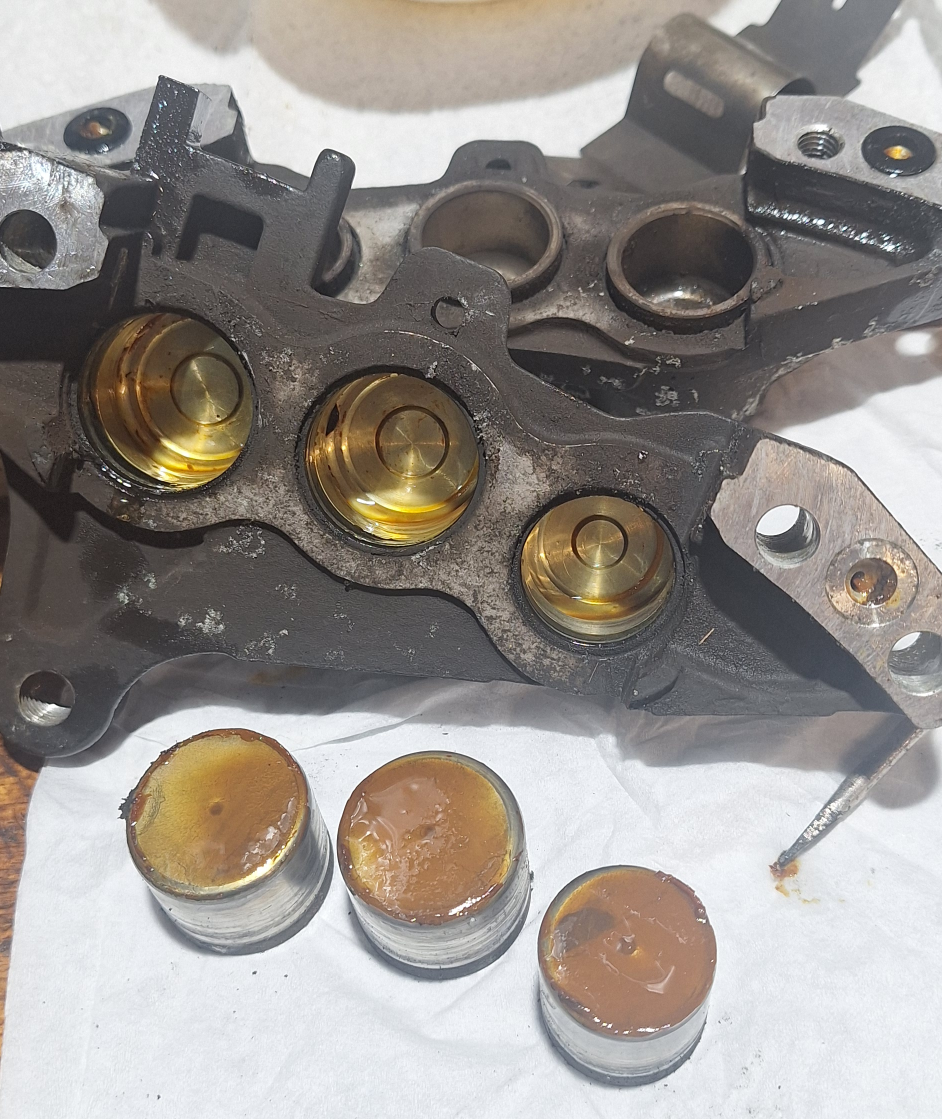
Once clean, new seals were installed and the calipers are ready to go back onto the forks.
-oOo-