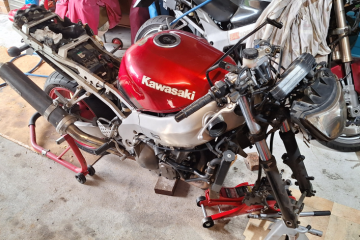
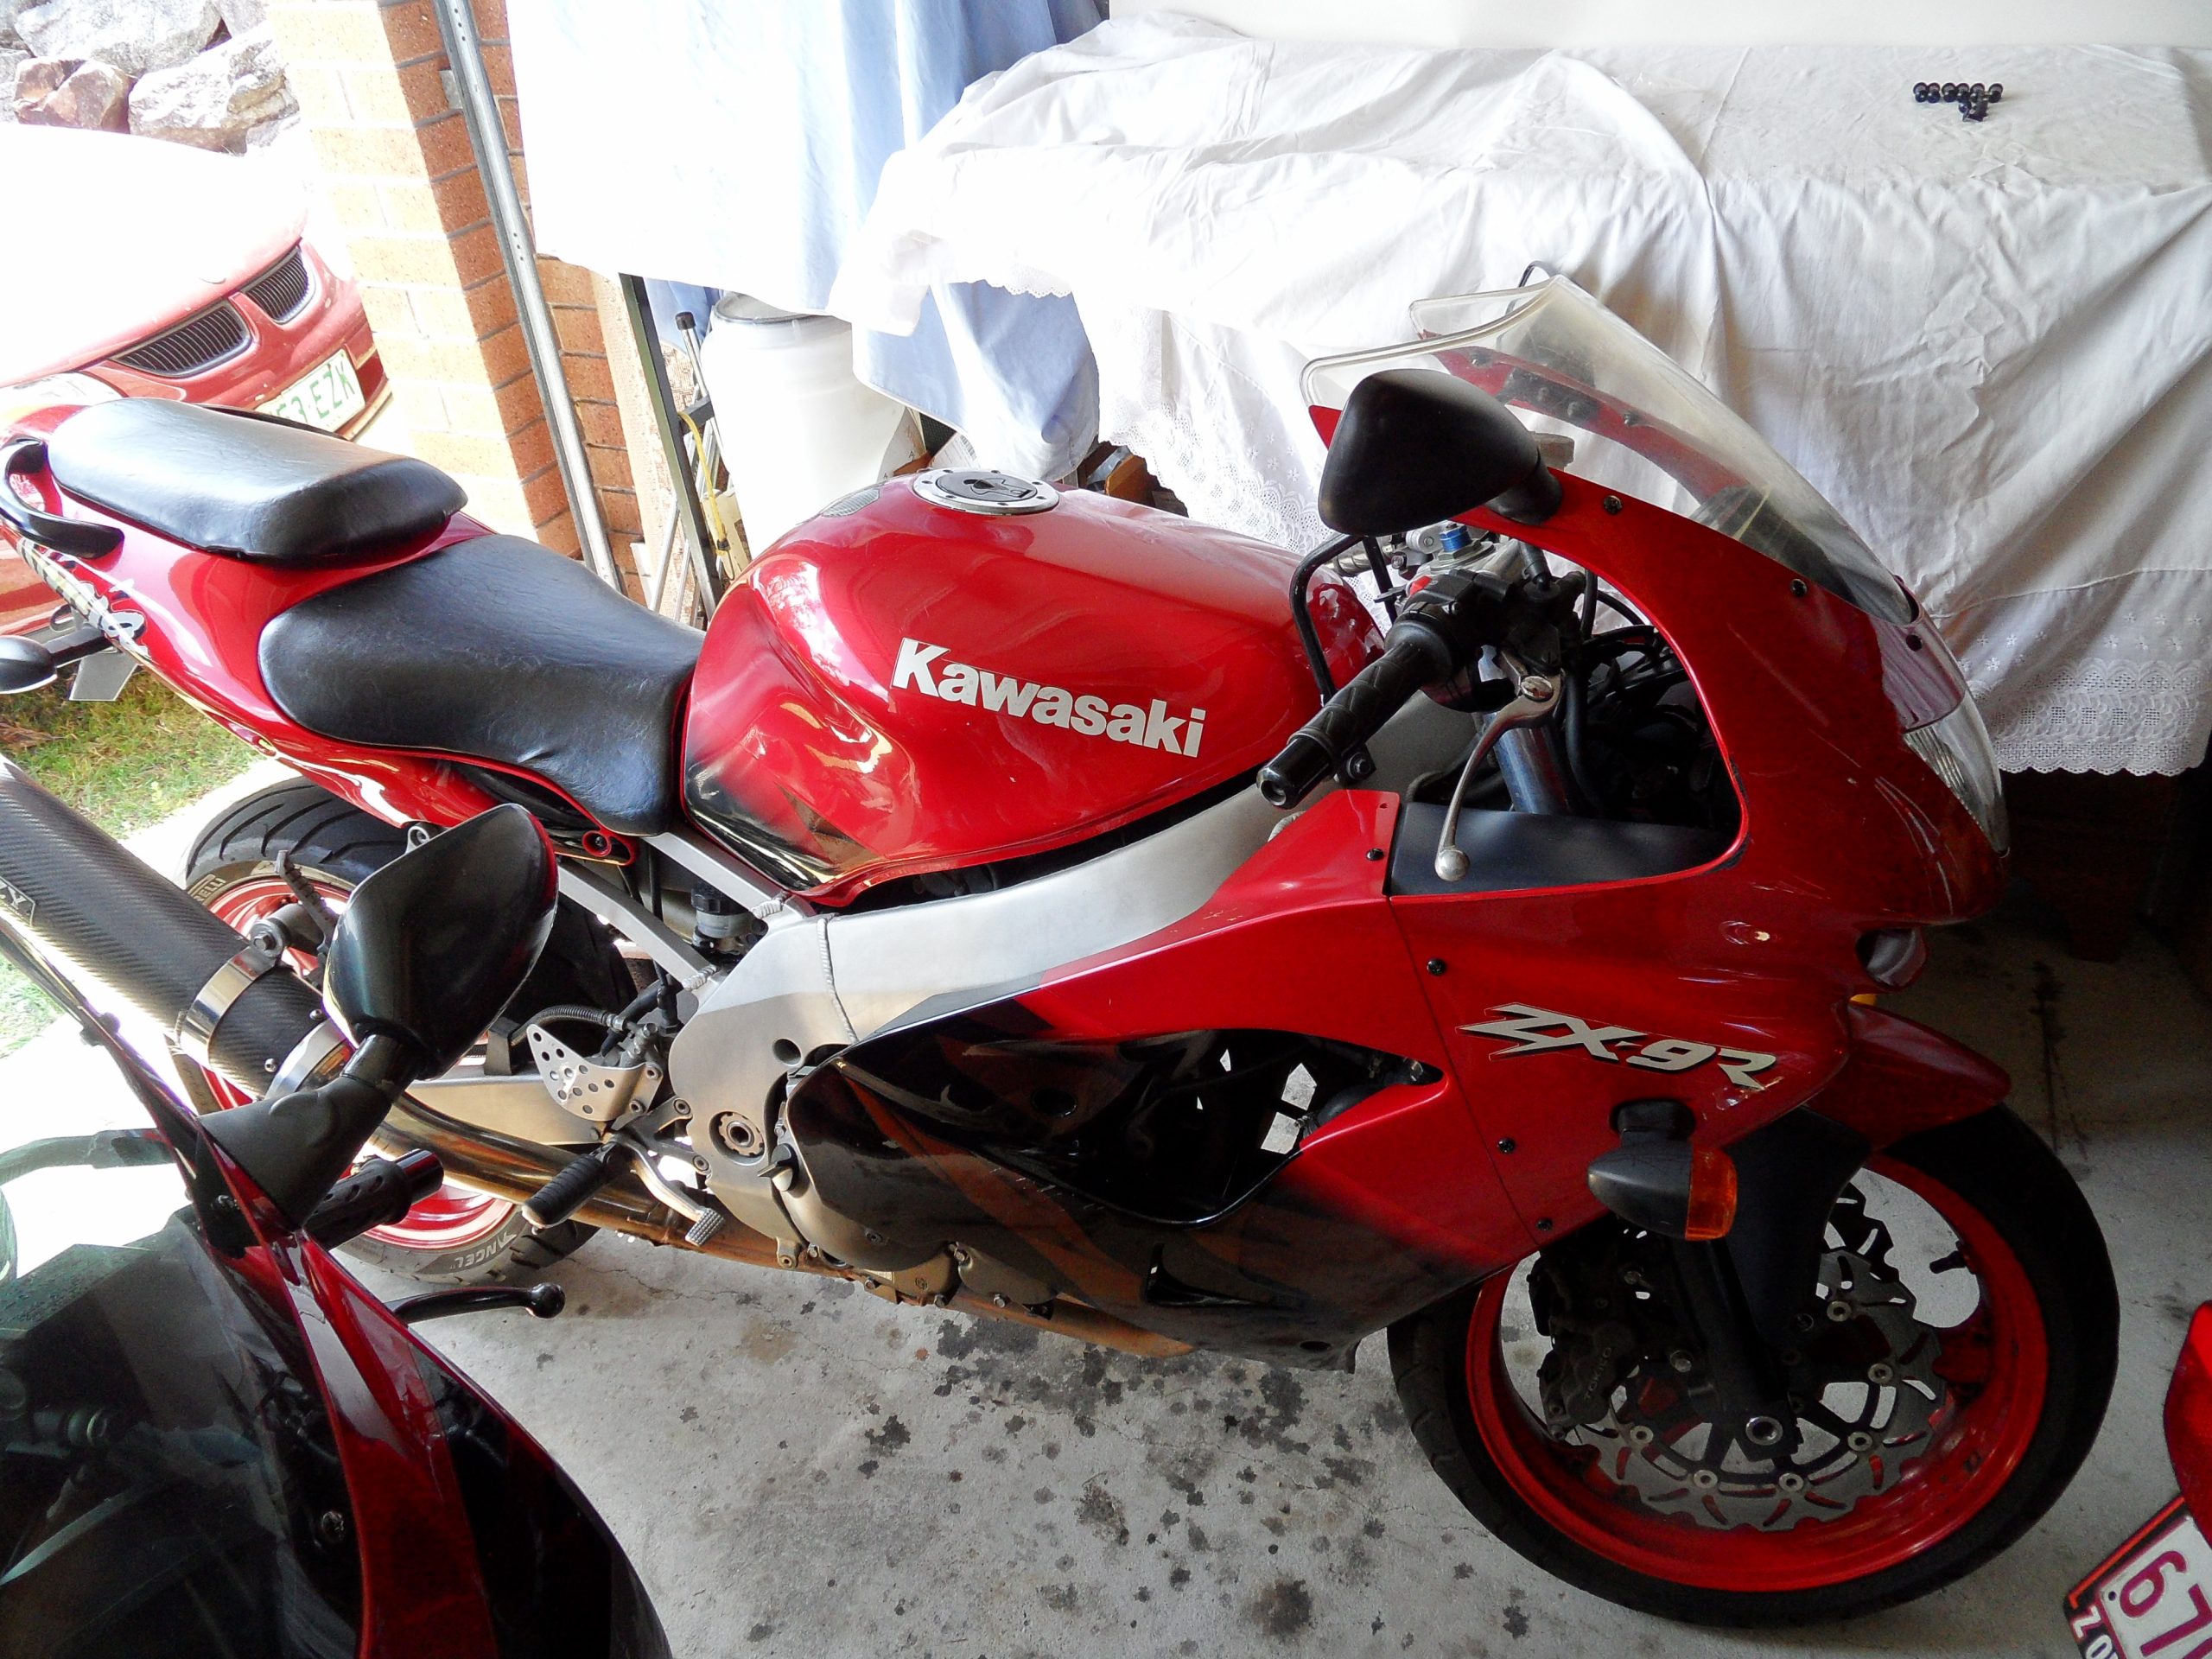
This guide will show the Rear Suspension Rebuilding process using a neglected 1984 gpz900r so you can regain back the factory handling. The GPz900R was a revolutionary bike in its day, apart from being water cooled, 115HP on tap, Anti-dive fork and sleak looks, it also had a well designed Mono-Shock rear suspension which worked beautifully to give you a smooth ride under almost any riding conditions.
Like any old bike that has most likely seen little maintenance, the rear suspension will most likely need a major service, and that’s partly due to the fact it has 10 needle roller bearings of various sizes installed in it. Once replaced, and combined with new wheel bearings and a freshly oiled up rear shock the rear suspension can be transformed back into what the bike felt like the day it rolled out of the factory.
This guide covers removal and refitting of new bearings into the swingarm. This task can be performed by anyone with moderate mechanical skill. If you plan to do a few bike restorations then some of the tools you can get and fabricate will make the job a lot easier.
Tools and Equipment
To remove and refit the bearings a few simple tools will be needed, some are optional, but if you have them, then the job gets to be a lot easier and more precise.
Shop Press
Bearings
The GPz900R swingarm has 10 bearings!
- 4 are located in the frame-swingarm pivot point. Part# HMK2530
- 4 are installed in the Uni-Trak Suspension Arms. Part# HMK2015
- 2 are located in the Uni-Trak Rods. Part# HMK2025
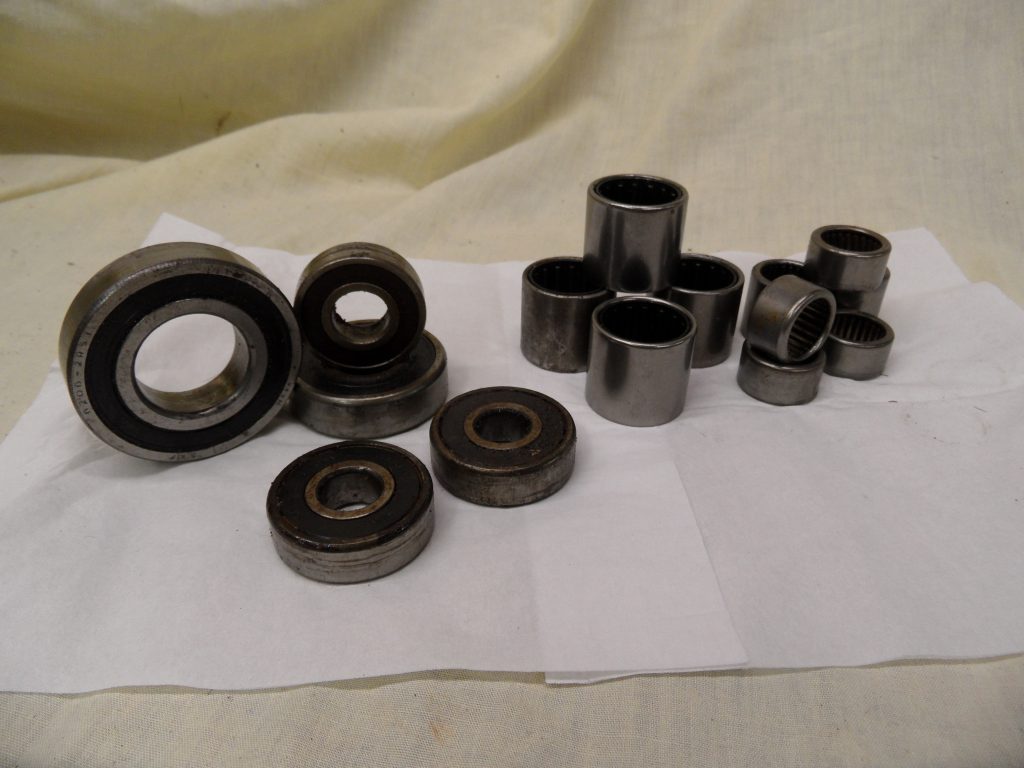
I strongly urge you to use SKF, NSK, CBC or another US, Japanese or European bearing manufacturer. You may pay a few dollars more but it is worth it!. It’s a small price to pay for something that will work perfectly for 20 years.
You should also consider replacing the wheel bearings once you have finished the Rear Suspension Rebuilding process.
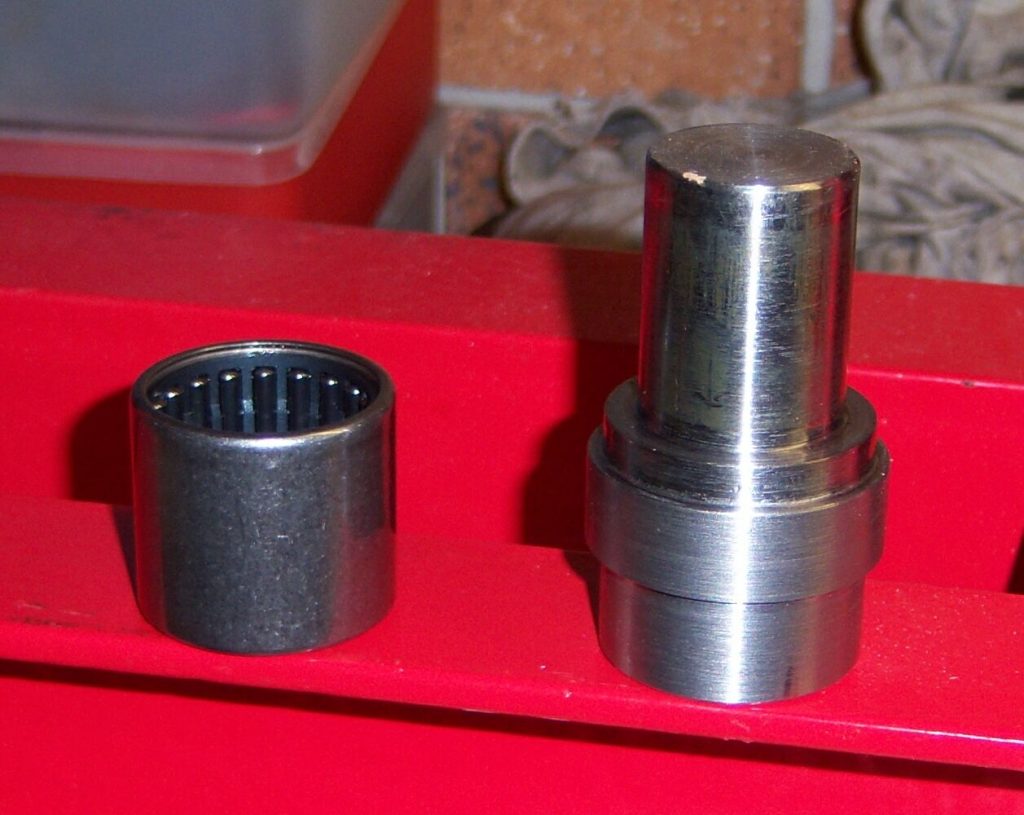
Bearing Insertion Tool
This handy tool I had spun up by a local machinist is used to push the bearing into the pivot point. It has a built in depth limit so the bearing can be seated exactly where it needs to be.
Tools
The minimum tools needed (assuming the swingarm has been removed) are:
- Bearing Drift (Steel Rod).
- Hammer.
- Insertion Tool OR a selection of Metric sockets.
- Bearing Grease.
- Torque Wrench
Removing the Swing Arm
To begin the process of replacing the swing arm bearings you first need to remove a few pieces. According to the service manual you need to remove the Seat, Side Covers, Mufflers, Rear Wheel and the Rear Shock Absorber.
With all the big items off you then need to remove the swing arm pivot nuts, right side foot peg bracket, rear brake reservoir mounting bolts, then take off the rear master cylinder and the rear caliper.
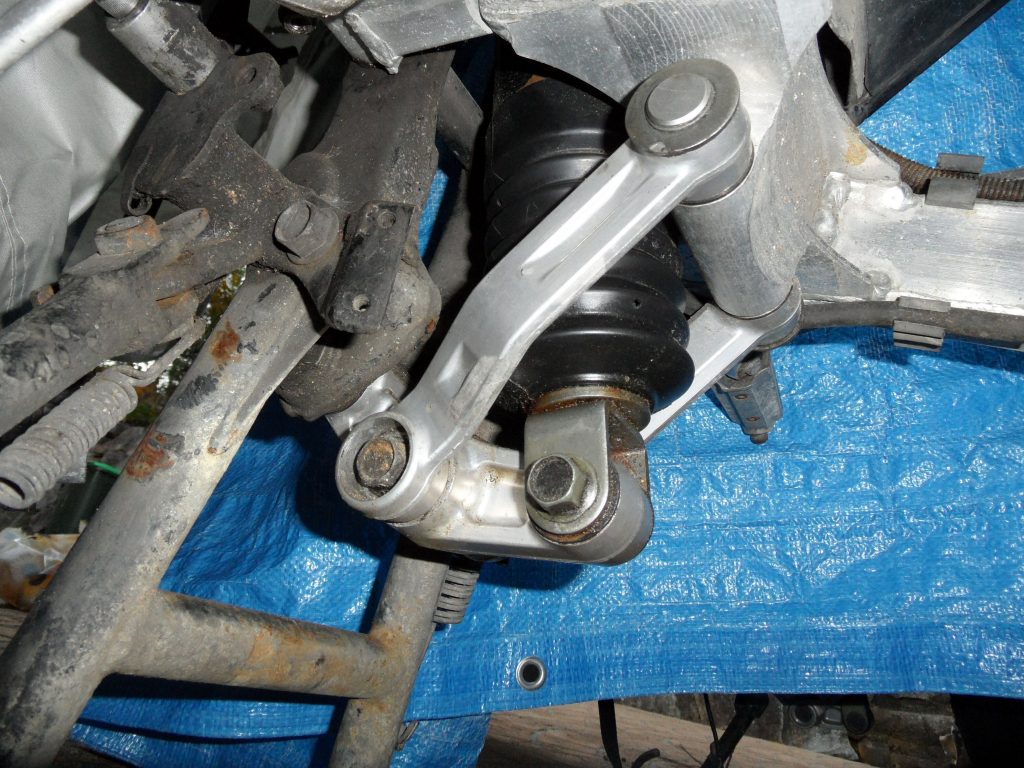
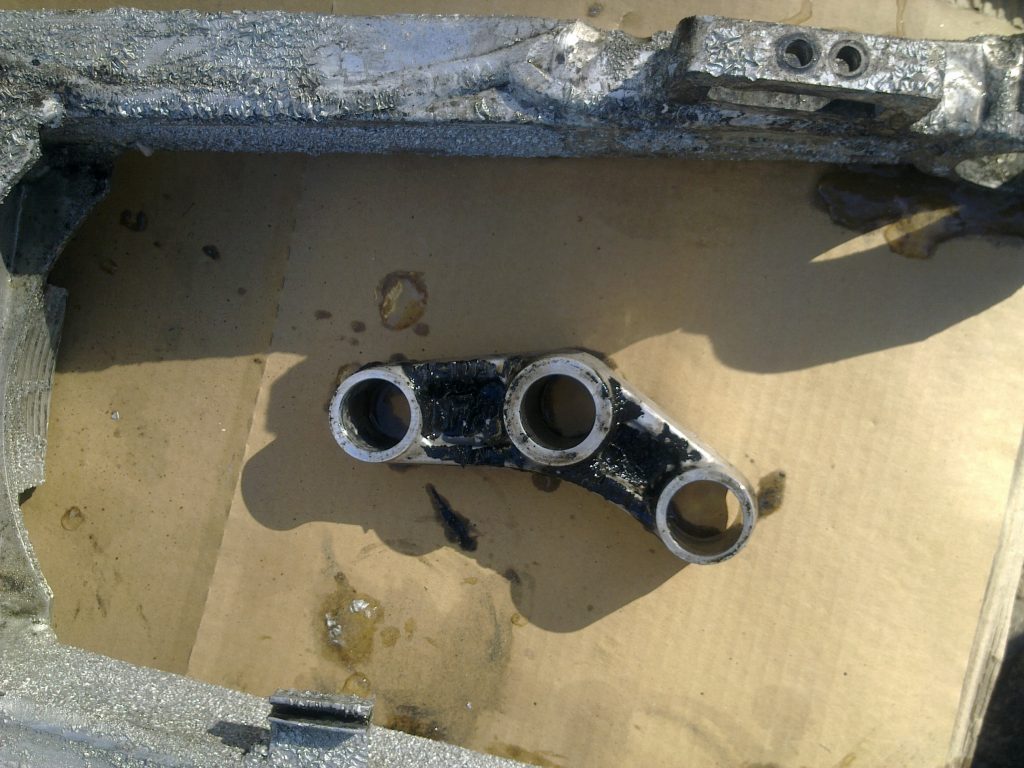
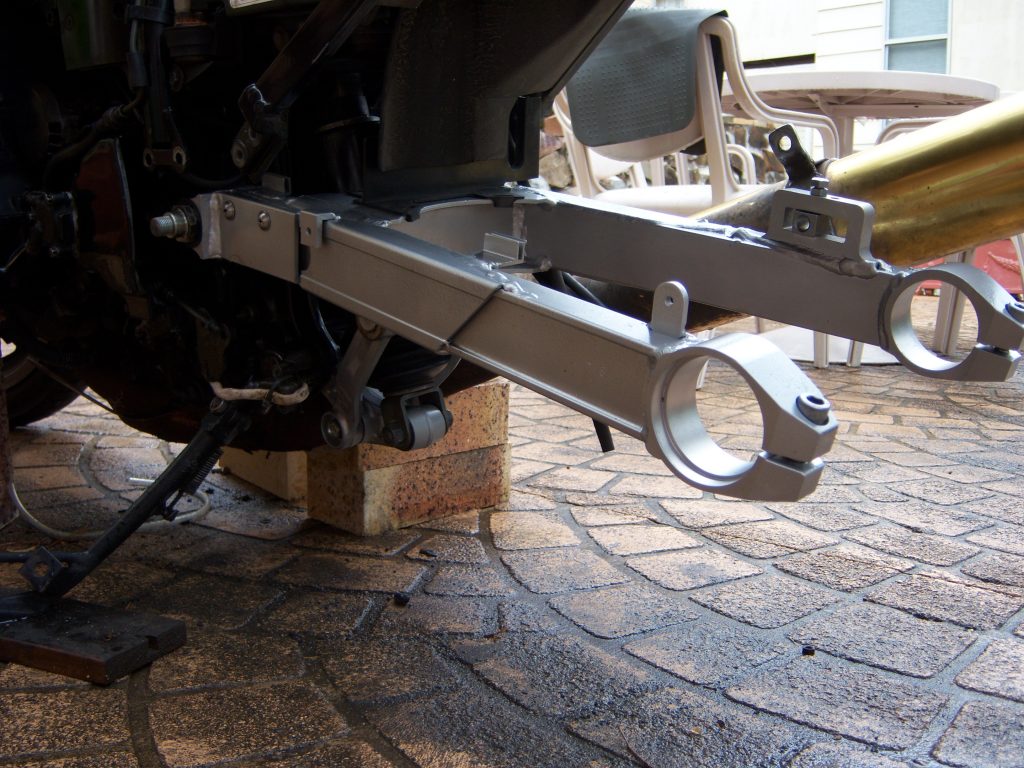
With no weight on the swing arm, you can prop it up and unbolt the tie-rods from both the swing arm and the rocker arm (shown below). Then remove the pivot nuts if not already done and remove the bolts holding it to the frame. This should just leave the rear suspension shock absorber and rocker arm.
Once the swing arm is removed, you can start on the rocker arm first, then the shock absorber.
While I had the chance, I de-greased the parts so they were as clean as possible, stripped off any old paint and pressed out the bearings (making a note of which goes where) and sent the alloy parts in to get Wet Blasted. Once all the parts returned I started to install the bearings.
Installing the Bearings
Now the fun part begins, and when I mean fun I really mean enjoyable, as we can now see the parts come back together to be returned to as good if not better than the original factory state. It doesn’t matter which part we start on but the Tie Rods and Rocker Arm are easiest to do.
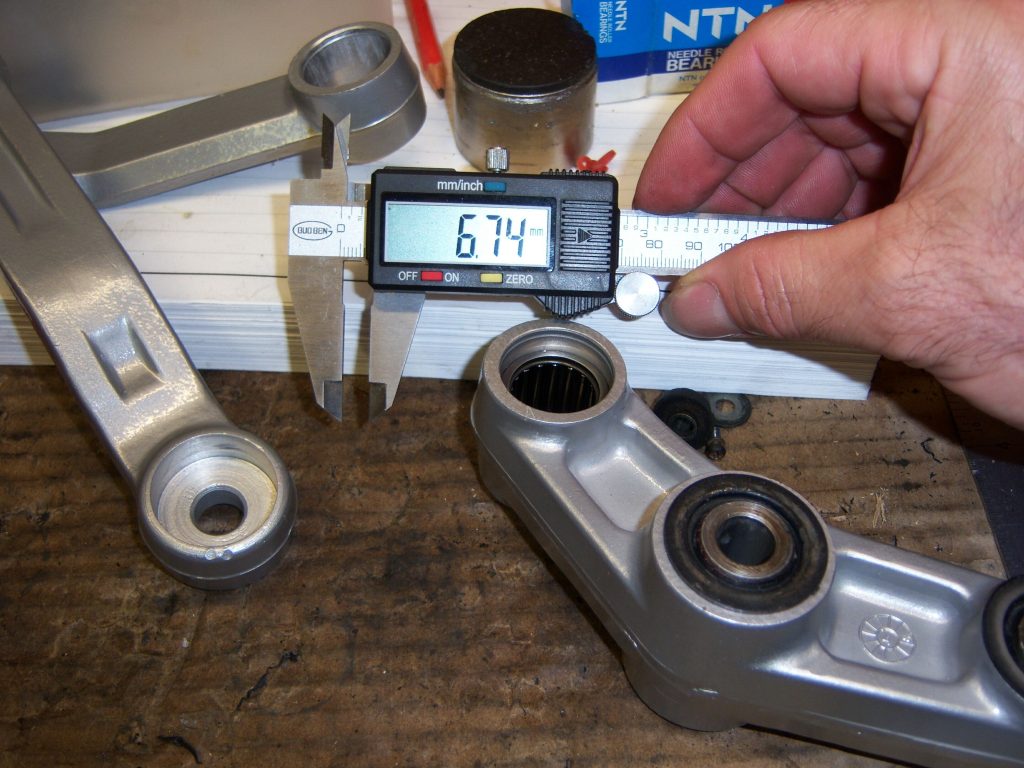
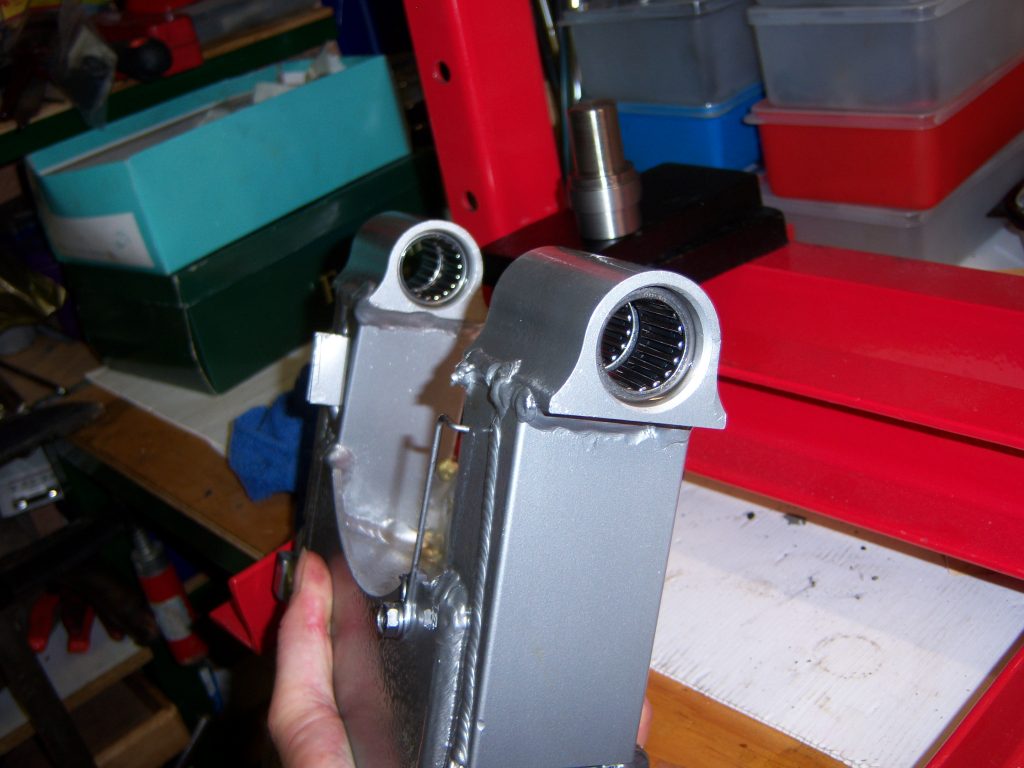
I started with the rocker Arm and took two of the HMK2015 bearings, applied some grease to the hole and pressed them into the middle hole so they were equally pressed in, the other two HMK2015 bearings get pressed into the Tie Rods. The trick to getting them right is to measure the hole depth and the bearing, take the difference and half it, that’s how deep you need to press the bearing in.
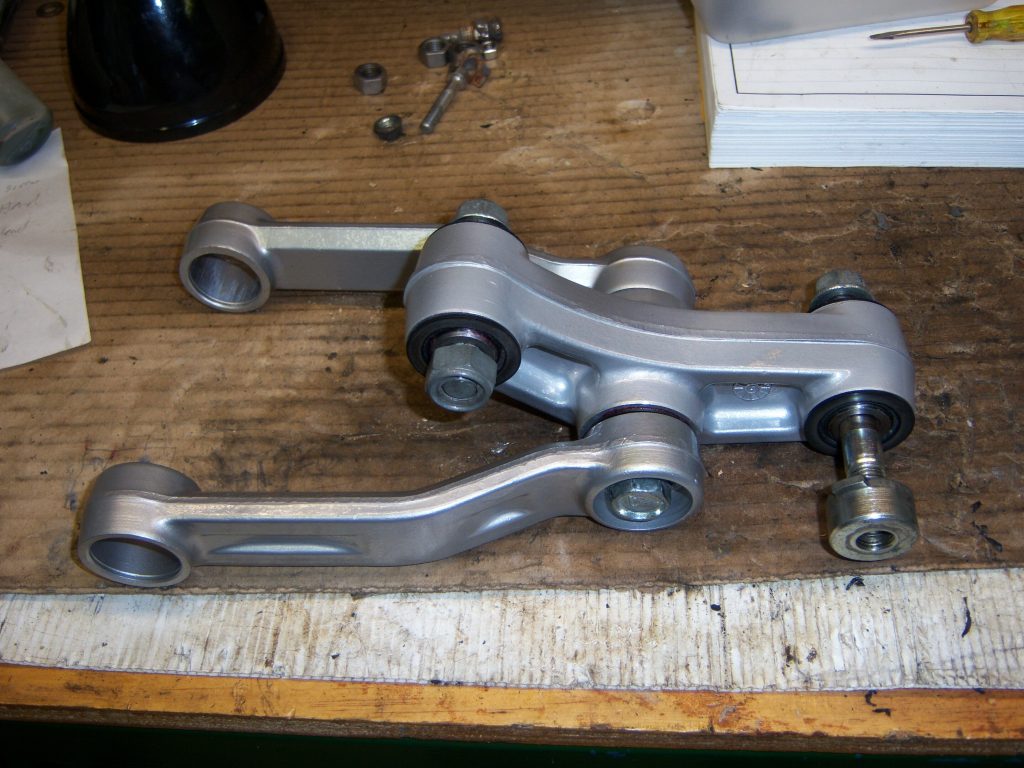
After you press the bearings in put the dust seals in. I put some additional grease in the needle rollers before refitting the original bolts. Below is the partially assembled components. After the Rocker Arm bearings are in press the tie rod bearings, again, calculate the depth first so you know how far they need to go it.
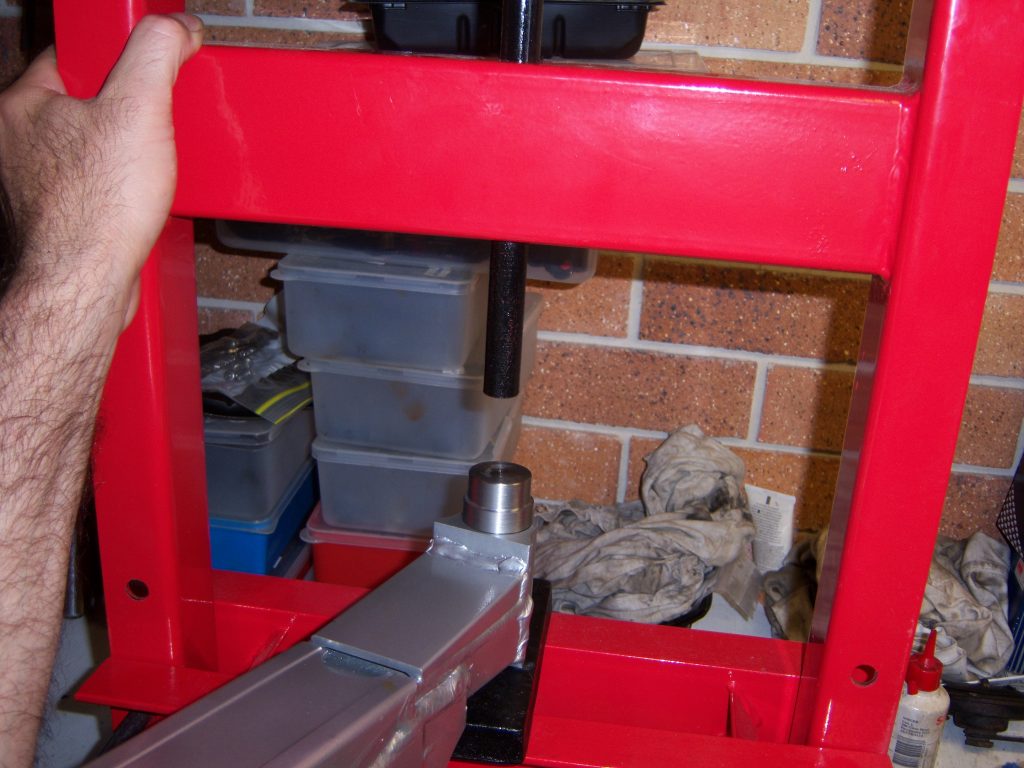
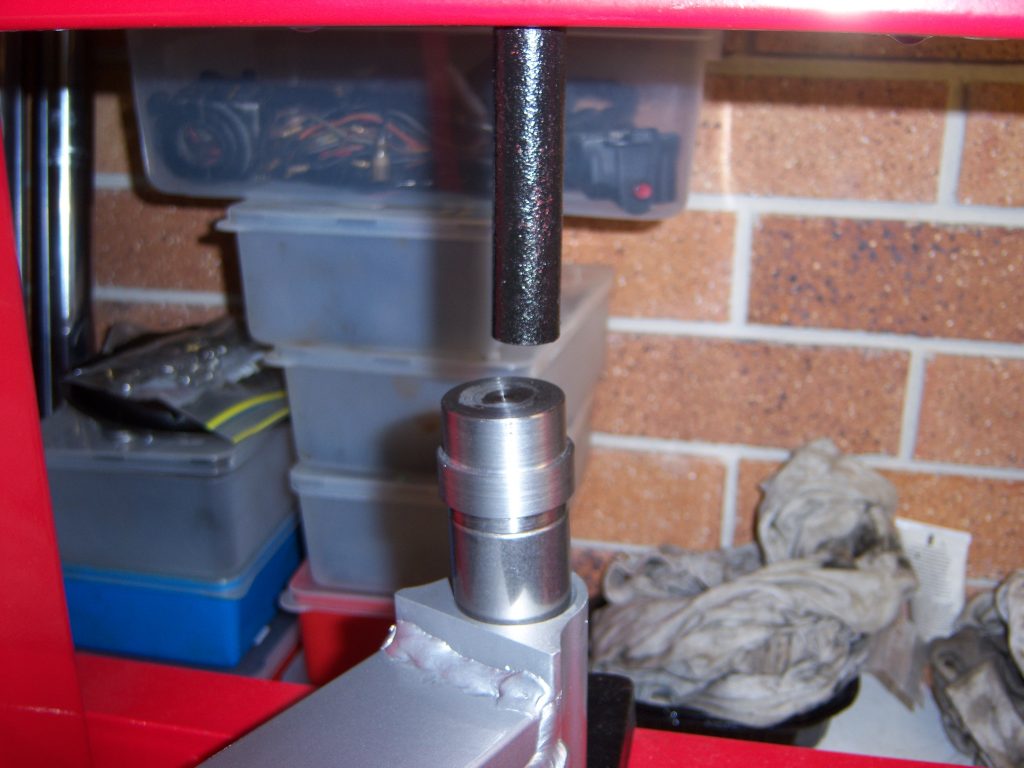
The easiest way to install the Swing Arm bearings is to use a 6 Ton Shop Press, failing that you can gently tap them in with a hammer. The Swing Arm takes four of the HMK2530 bearings, as you may have guessed by now the bearing is 30mm long and 25mm outside diameter.
To make the job easier I had a friend spin this tool up so the bearing sits on it and you can push the bearing in and seat it at the correct depth.
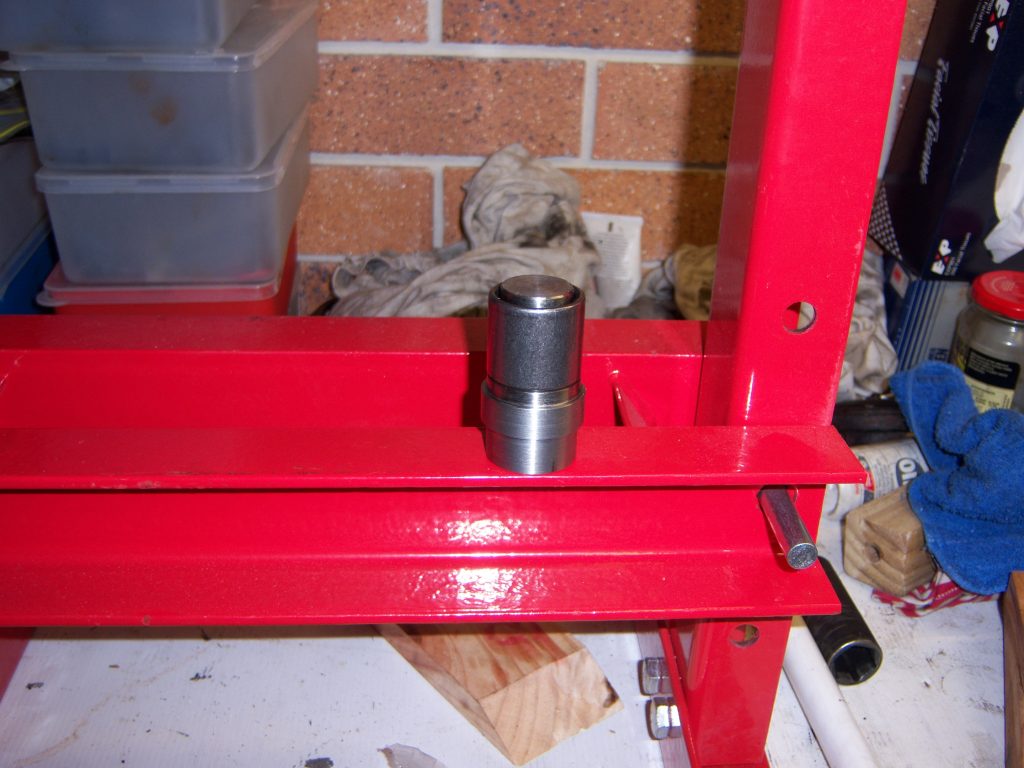
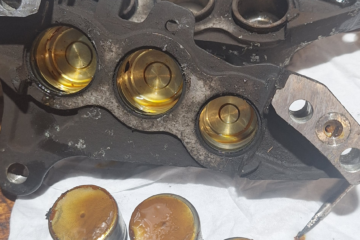
To get started try pressing the inner bearings in first. Use some grease on the inside surface of the swing arm pivot to help slide the bearing in.
In the picture below you can see my special bearing tool in action, as it will seat the bearing to the correct depth you can press down till the tool touches the swing arm the bearing will be seated correctly. Turn the Swing Arm over and you can line up to do the other inner bearing.

Re-Assembly
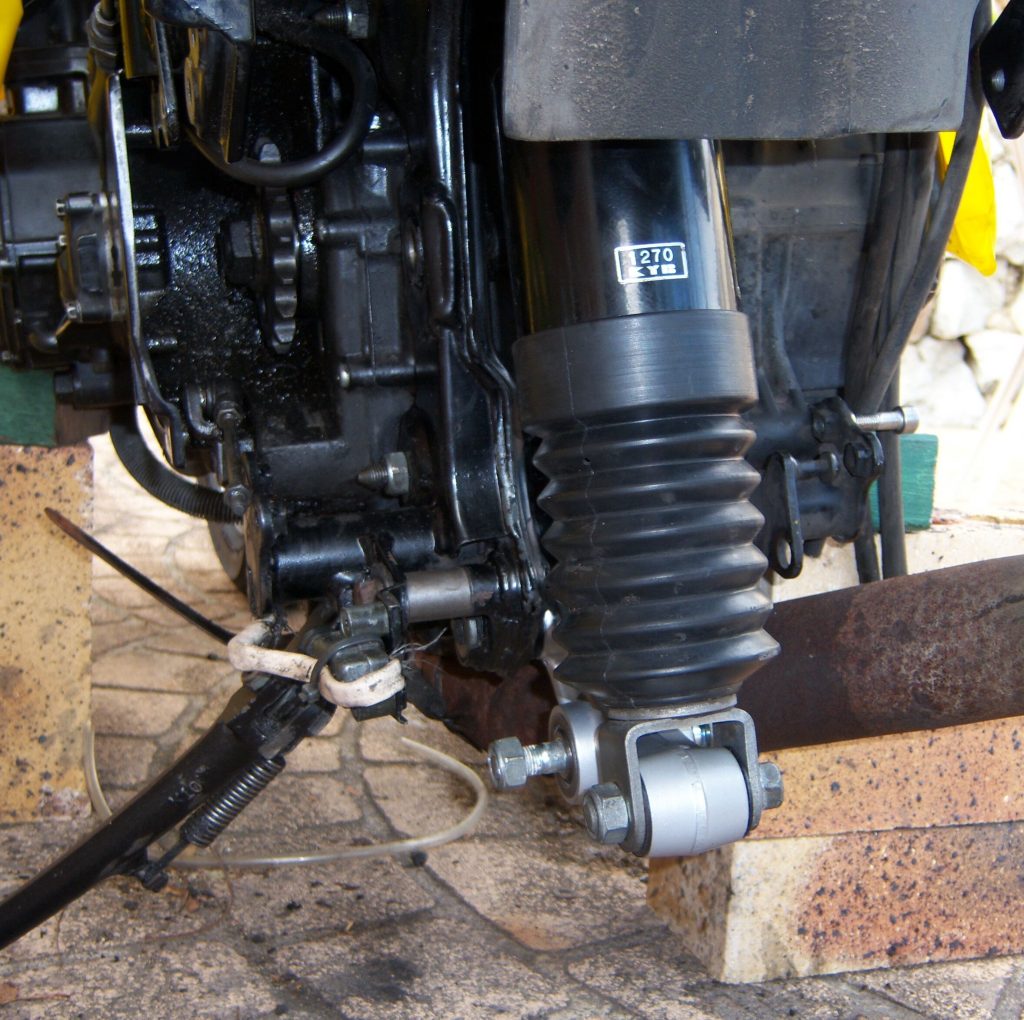
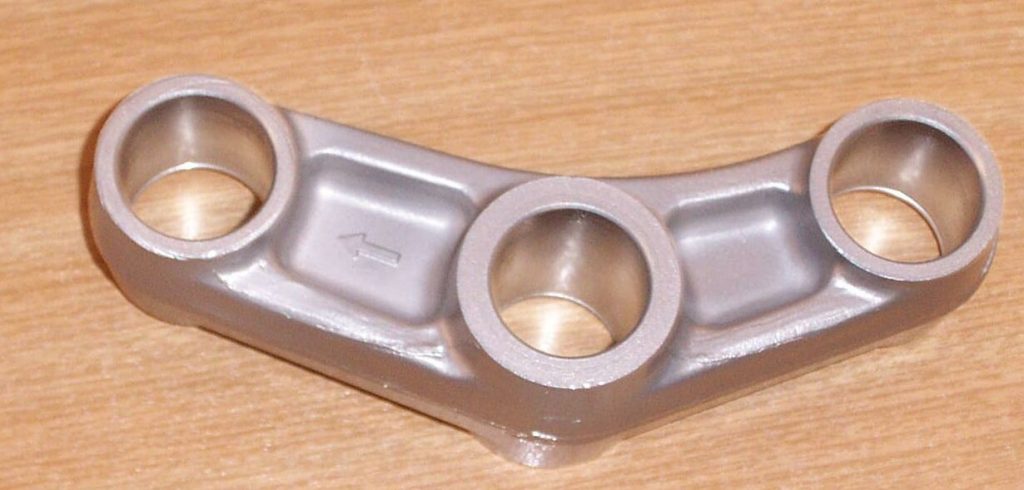
Once all the bearings are installed you can start to reassemble the Rocker Arm to the frame and the rear shock absorber. The Rocker Arm has an arrow mark on it, this goes towards the front. Then attach the Tie Rods so they are ready for the Swing Arm, make sure the sleeve is installed inside the Arm so the bolt sits correctly.
Finally mount and support the Swing Arm. Attach the Tie Rods to it and Torque everything to the correct Torque Setting.
The service manual records 13 different Torque settings for the rear suspension so it is vital you review this and use a Torque Wrench so everything is correctly secured.