Introduction
This tutorial originally appeared on my z900collector wordpress site, however I’ve decided to move it to this site and publish it here with some very minor detail fixes and link the content back to wordpress.
There are also some references to this work in my book, you can read part of it here on google: https://books.google.com.au/books?id=EMNOCQAAQBAJ&printsec=frontcover&source=gbs_ge_summary_r&cad=0#v=onepage&q&f=false
Before you start
The repair process requires removing the motor from the frame, turning it upside down and removing the bottom half of the engine (bottom engine case). You need to do this because the Starter Clutch is located in the middle of the engine.
Difficulty scale – EASY but very time consuming, expect to spend 10+ hours getting the job completed if you have never done it before.
What you need
- Gasket set for Engine Side Covers – Available from the GPzZone UK Shop.
- Liquid Gasket (3M Threebond – http://www.threebond.com.au/liquid-gaskets.html) also sold by each manufacturer i.e. “Kawasaki Bond”
- Starter clutch kit (springs at the minimum).
- Tools
- Suitable Car Jack
- Clean work area
- Oil filter
- Fresh Oil
Getting Started
The first two things you need to do are:
- Drain the engine of oil and
- Remove the engine as per the service manual.
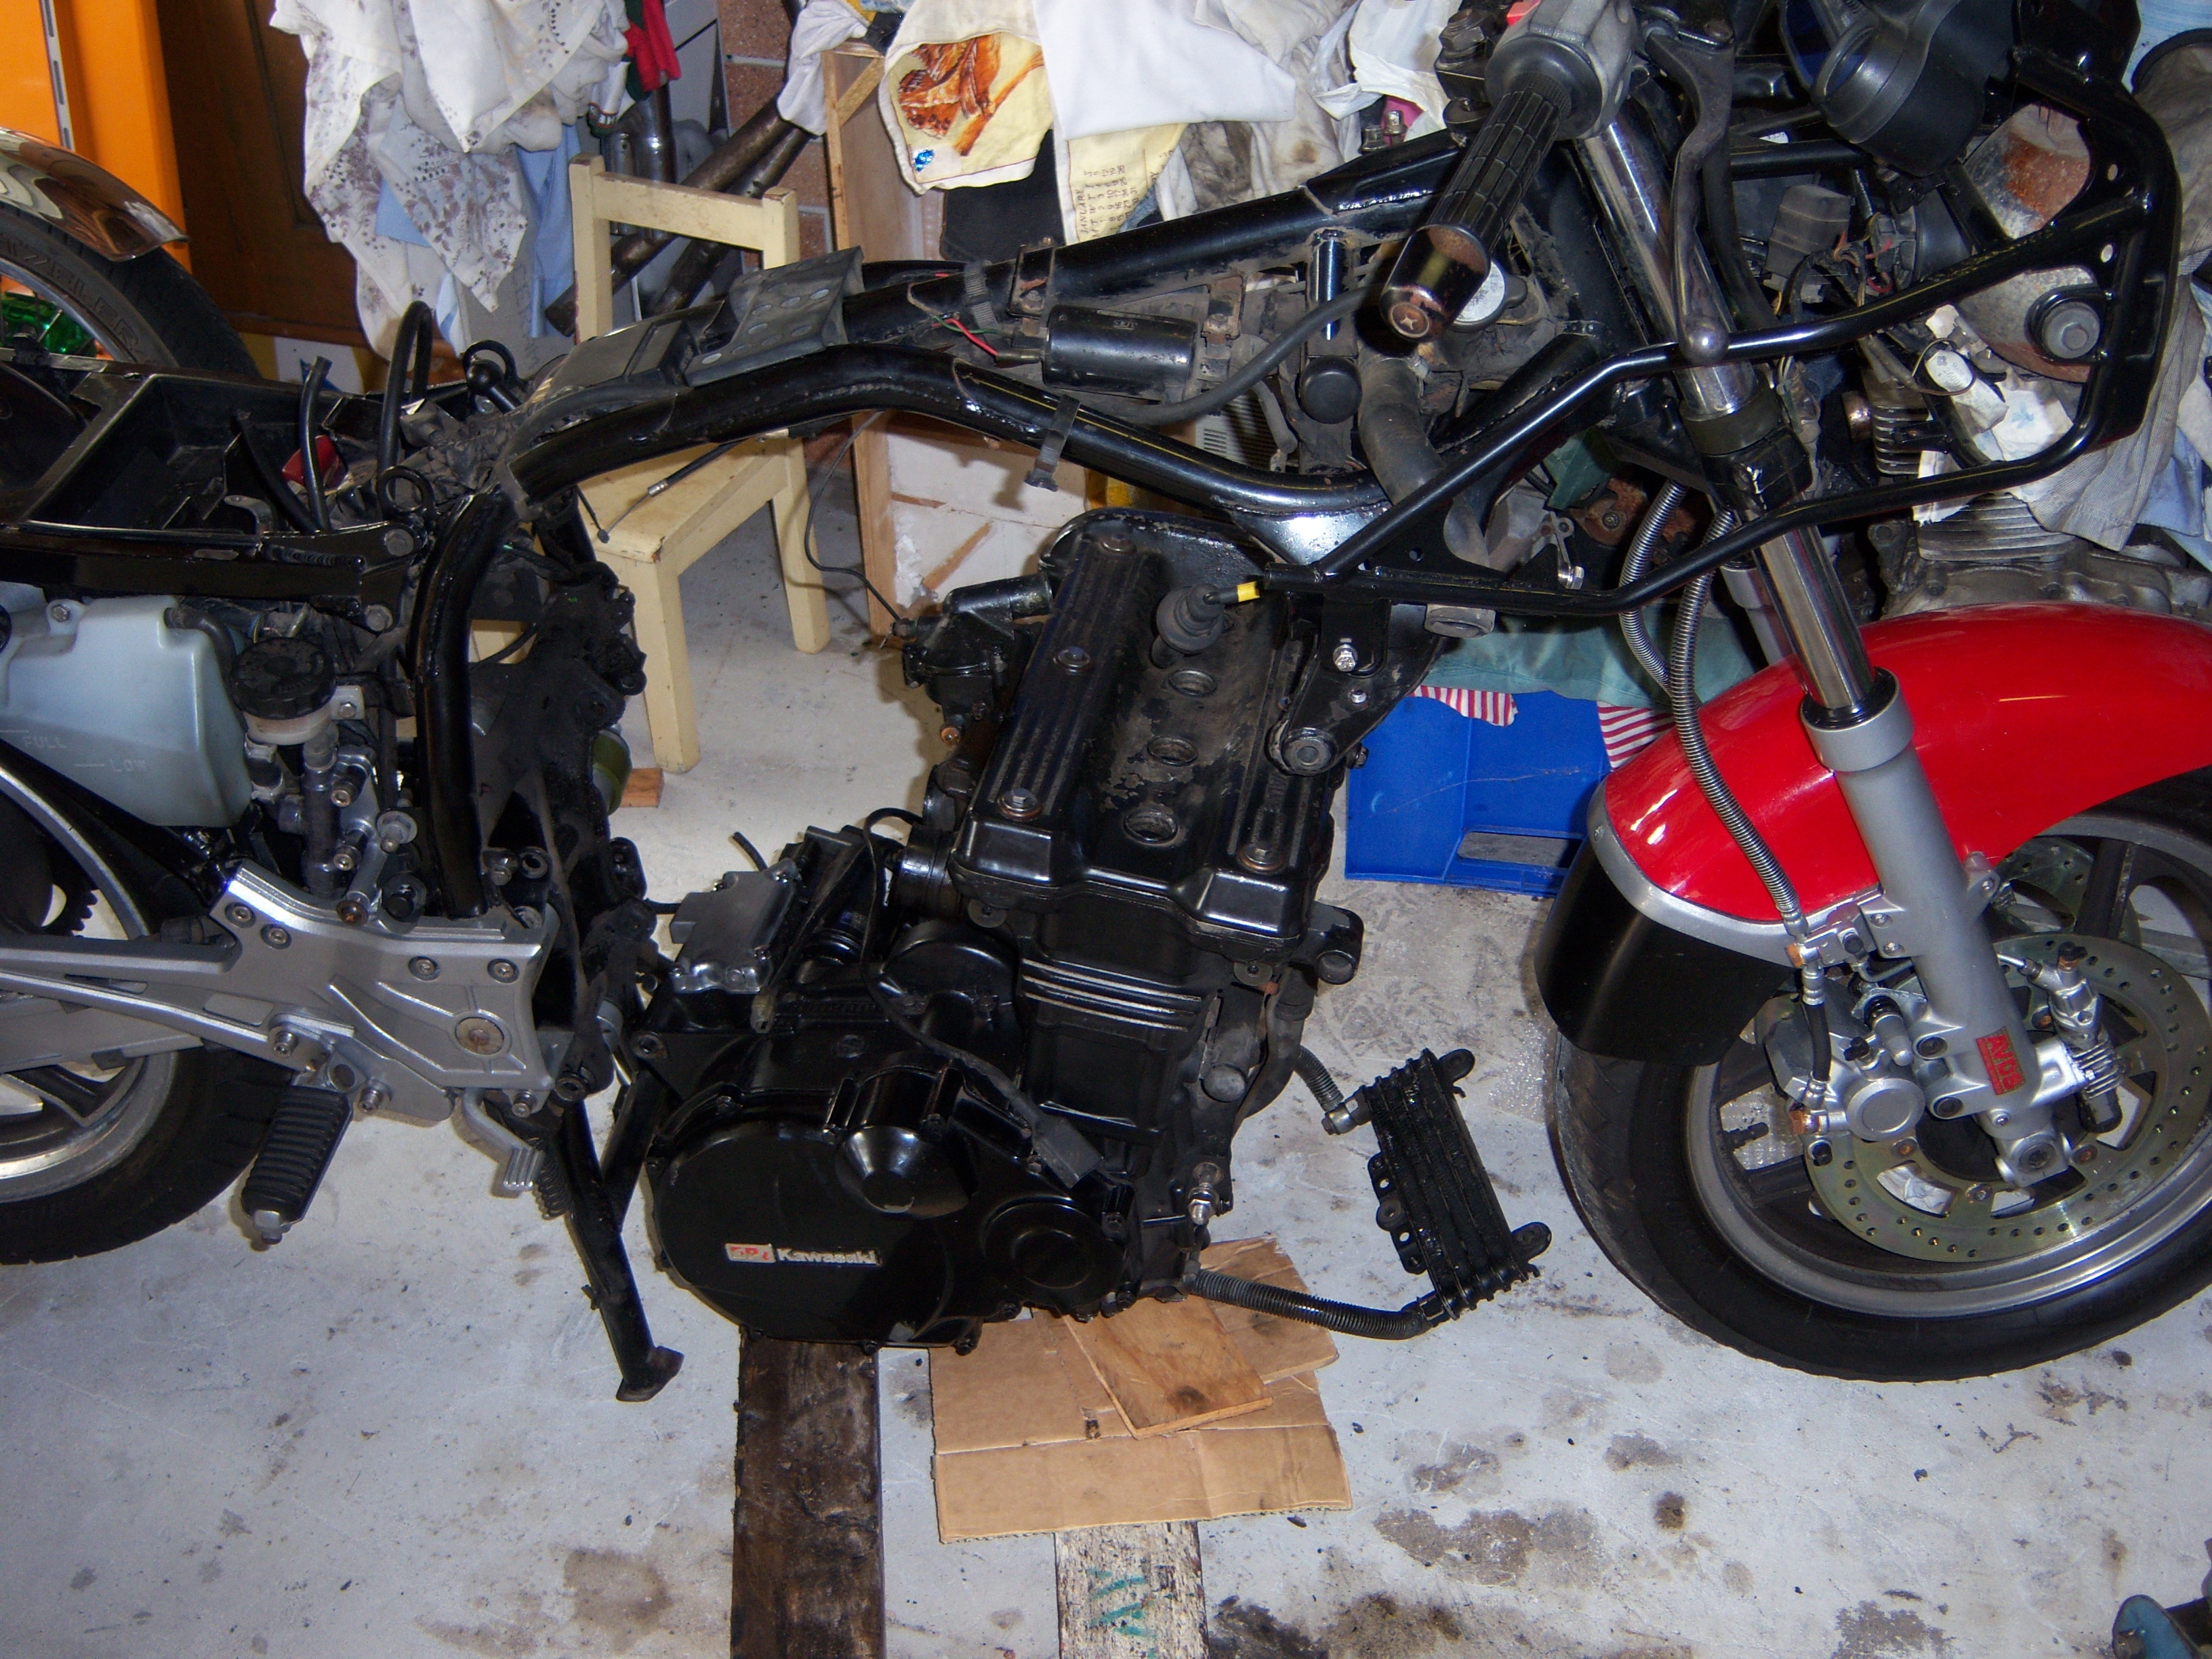
Once the engine is removed you need to carefully tip the engine upside down and secure it so it does not rock around. You will need access to both sides and the entire bottom end. First piece to remove is the sump, then the clutch cover.
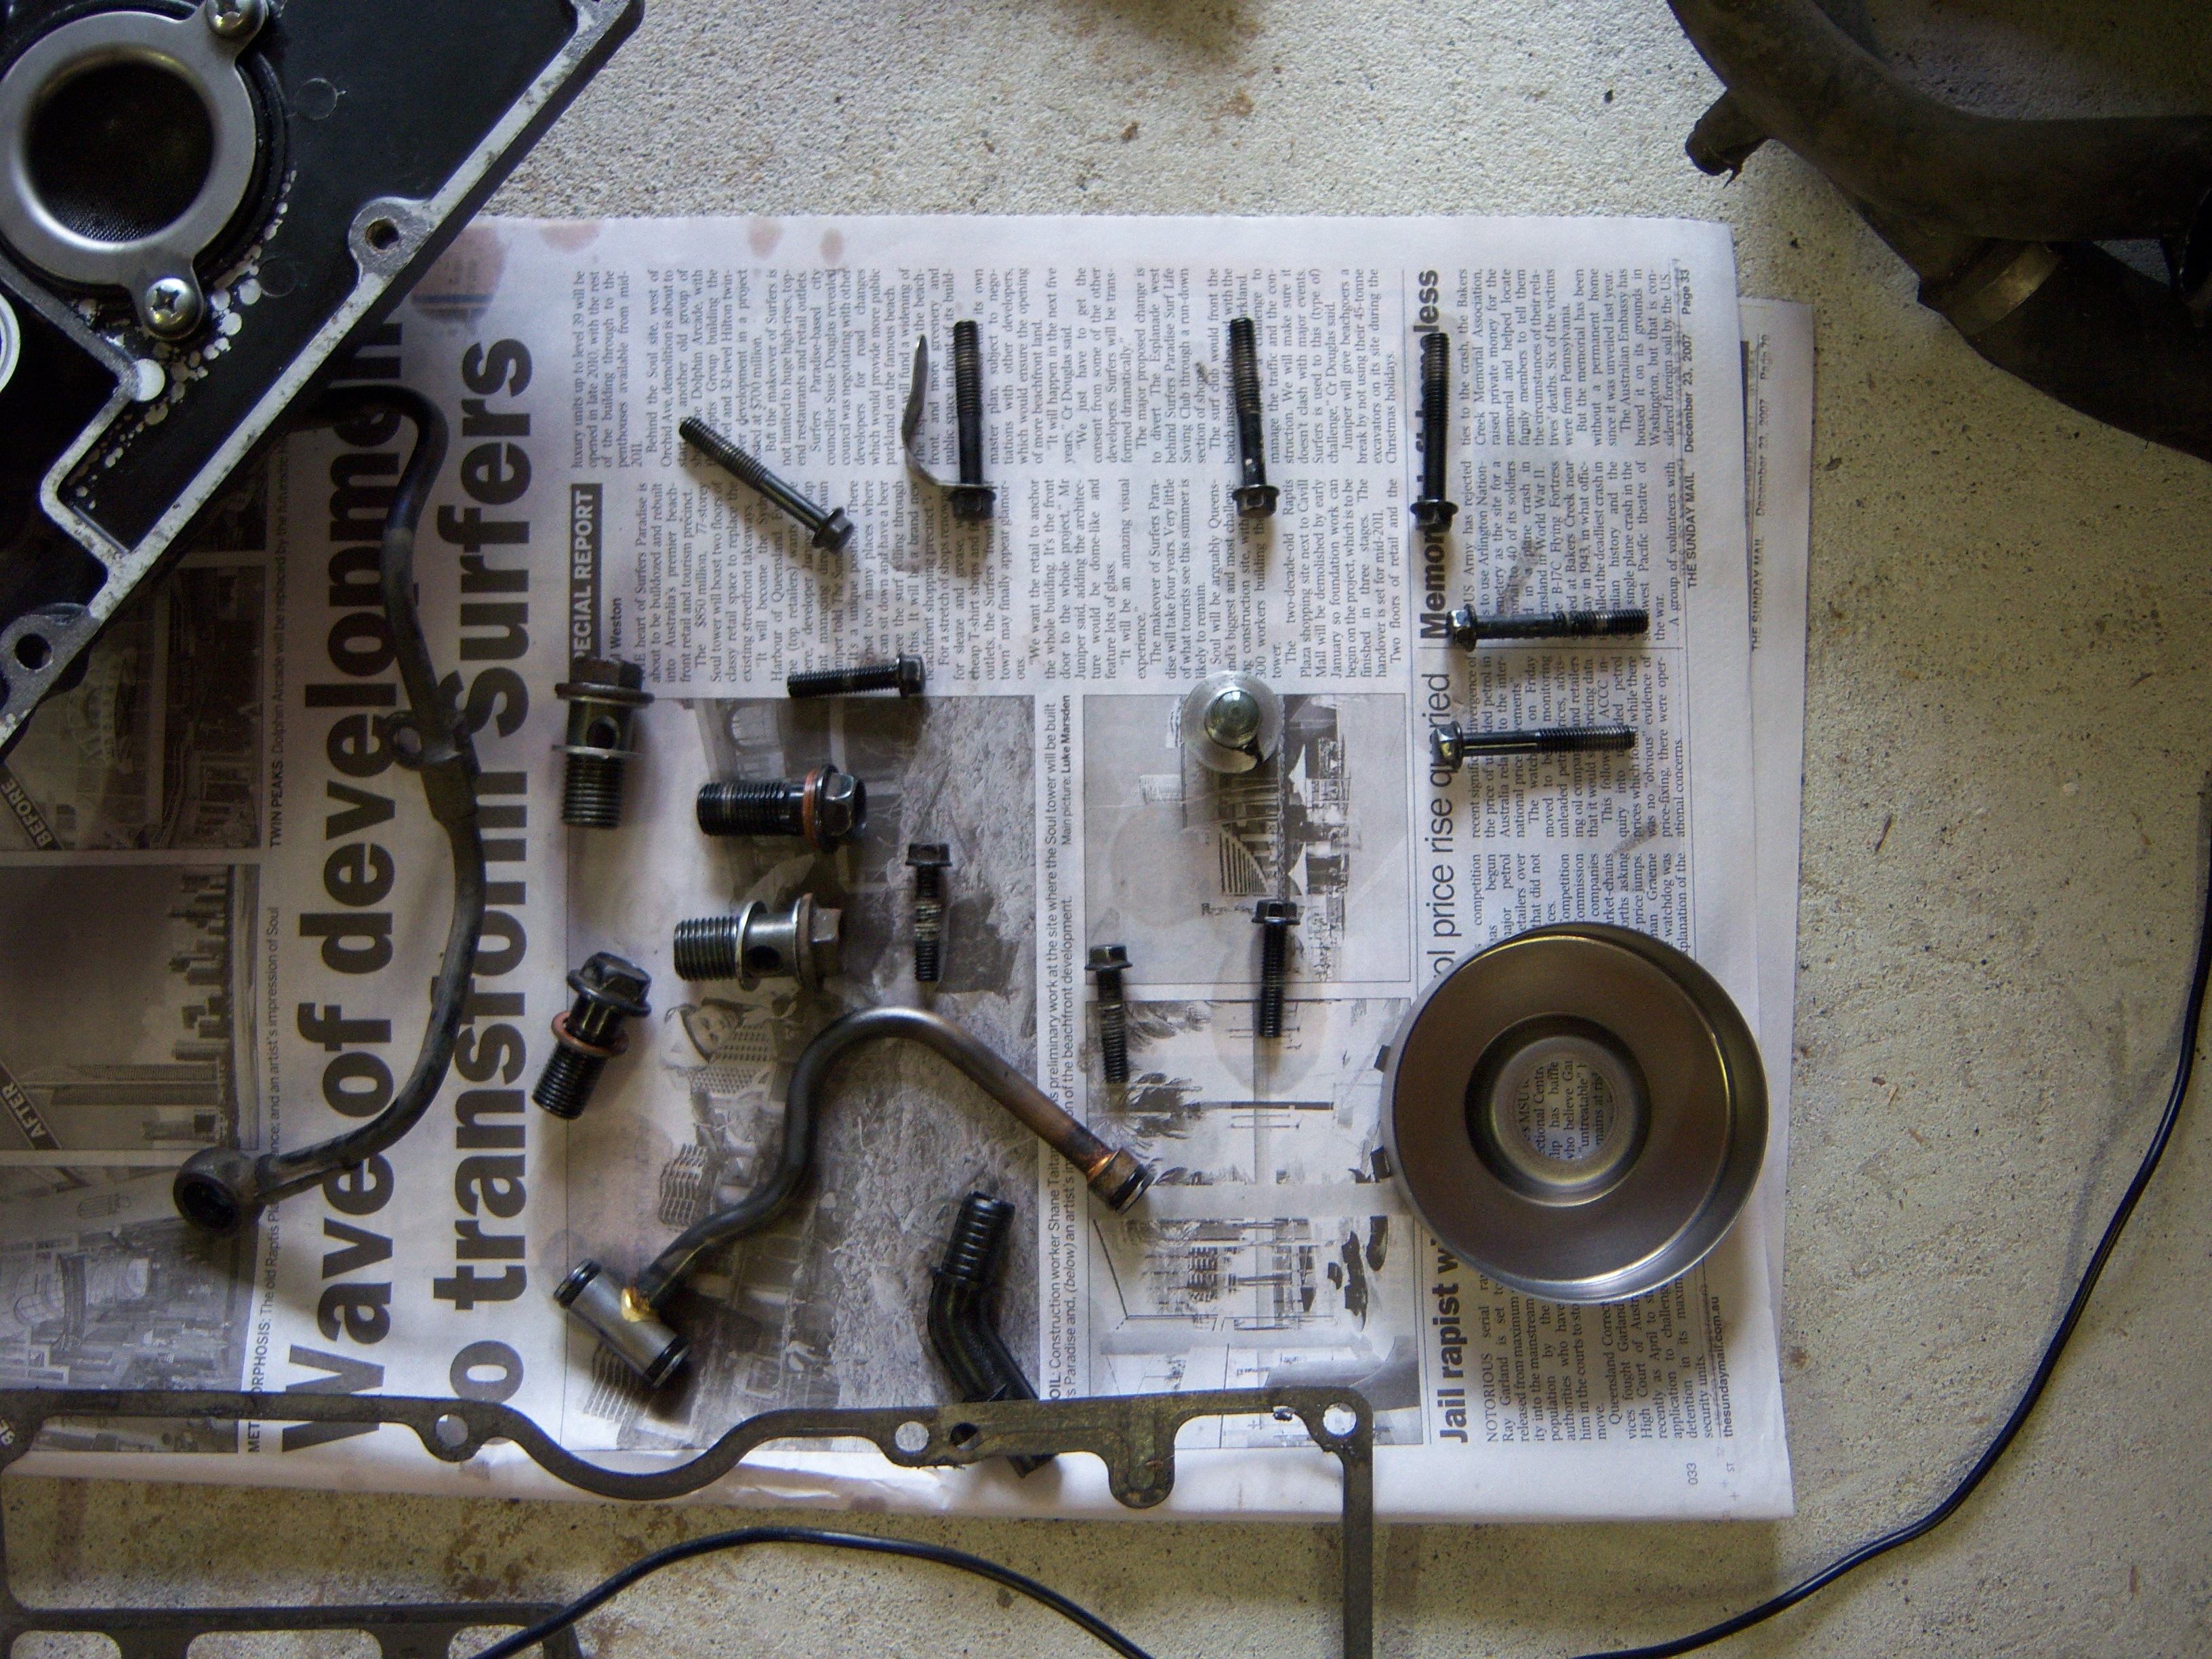
You will need to remove all the Engine Covers that cross both case halves. We need to do this because we will split the bottom case off, so nothing can be left on that attaches to the bottom case.
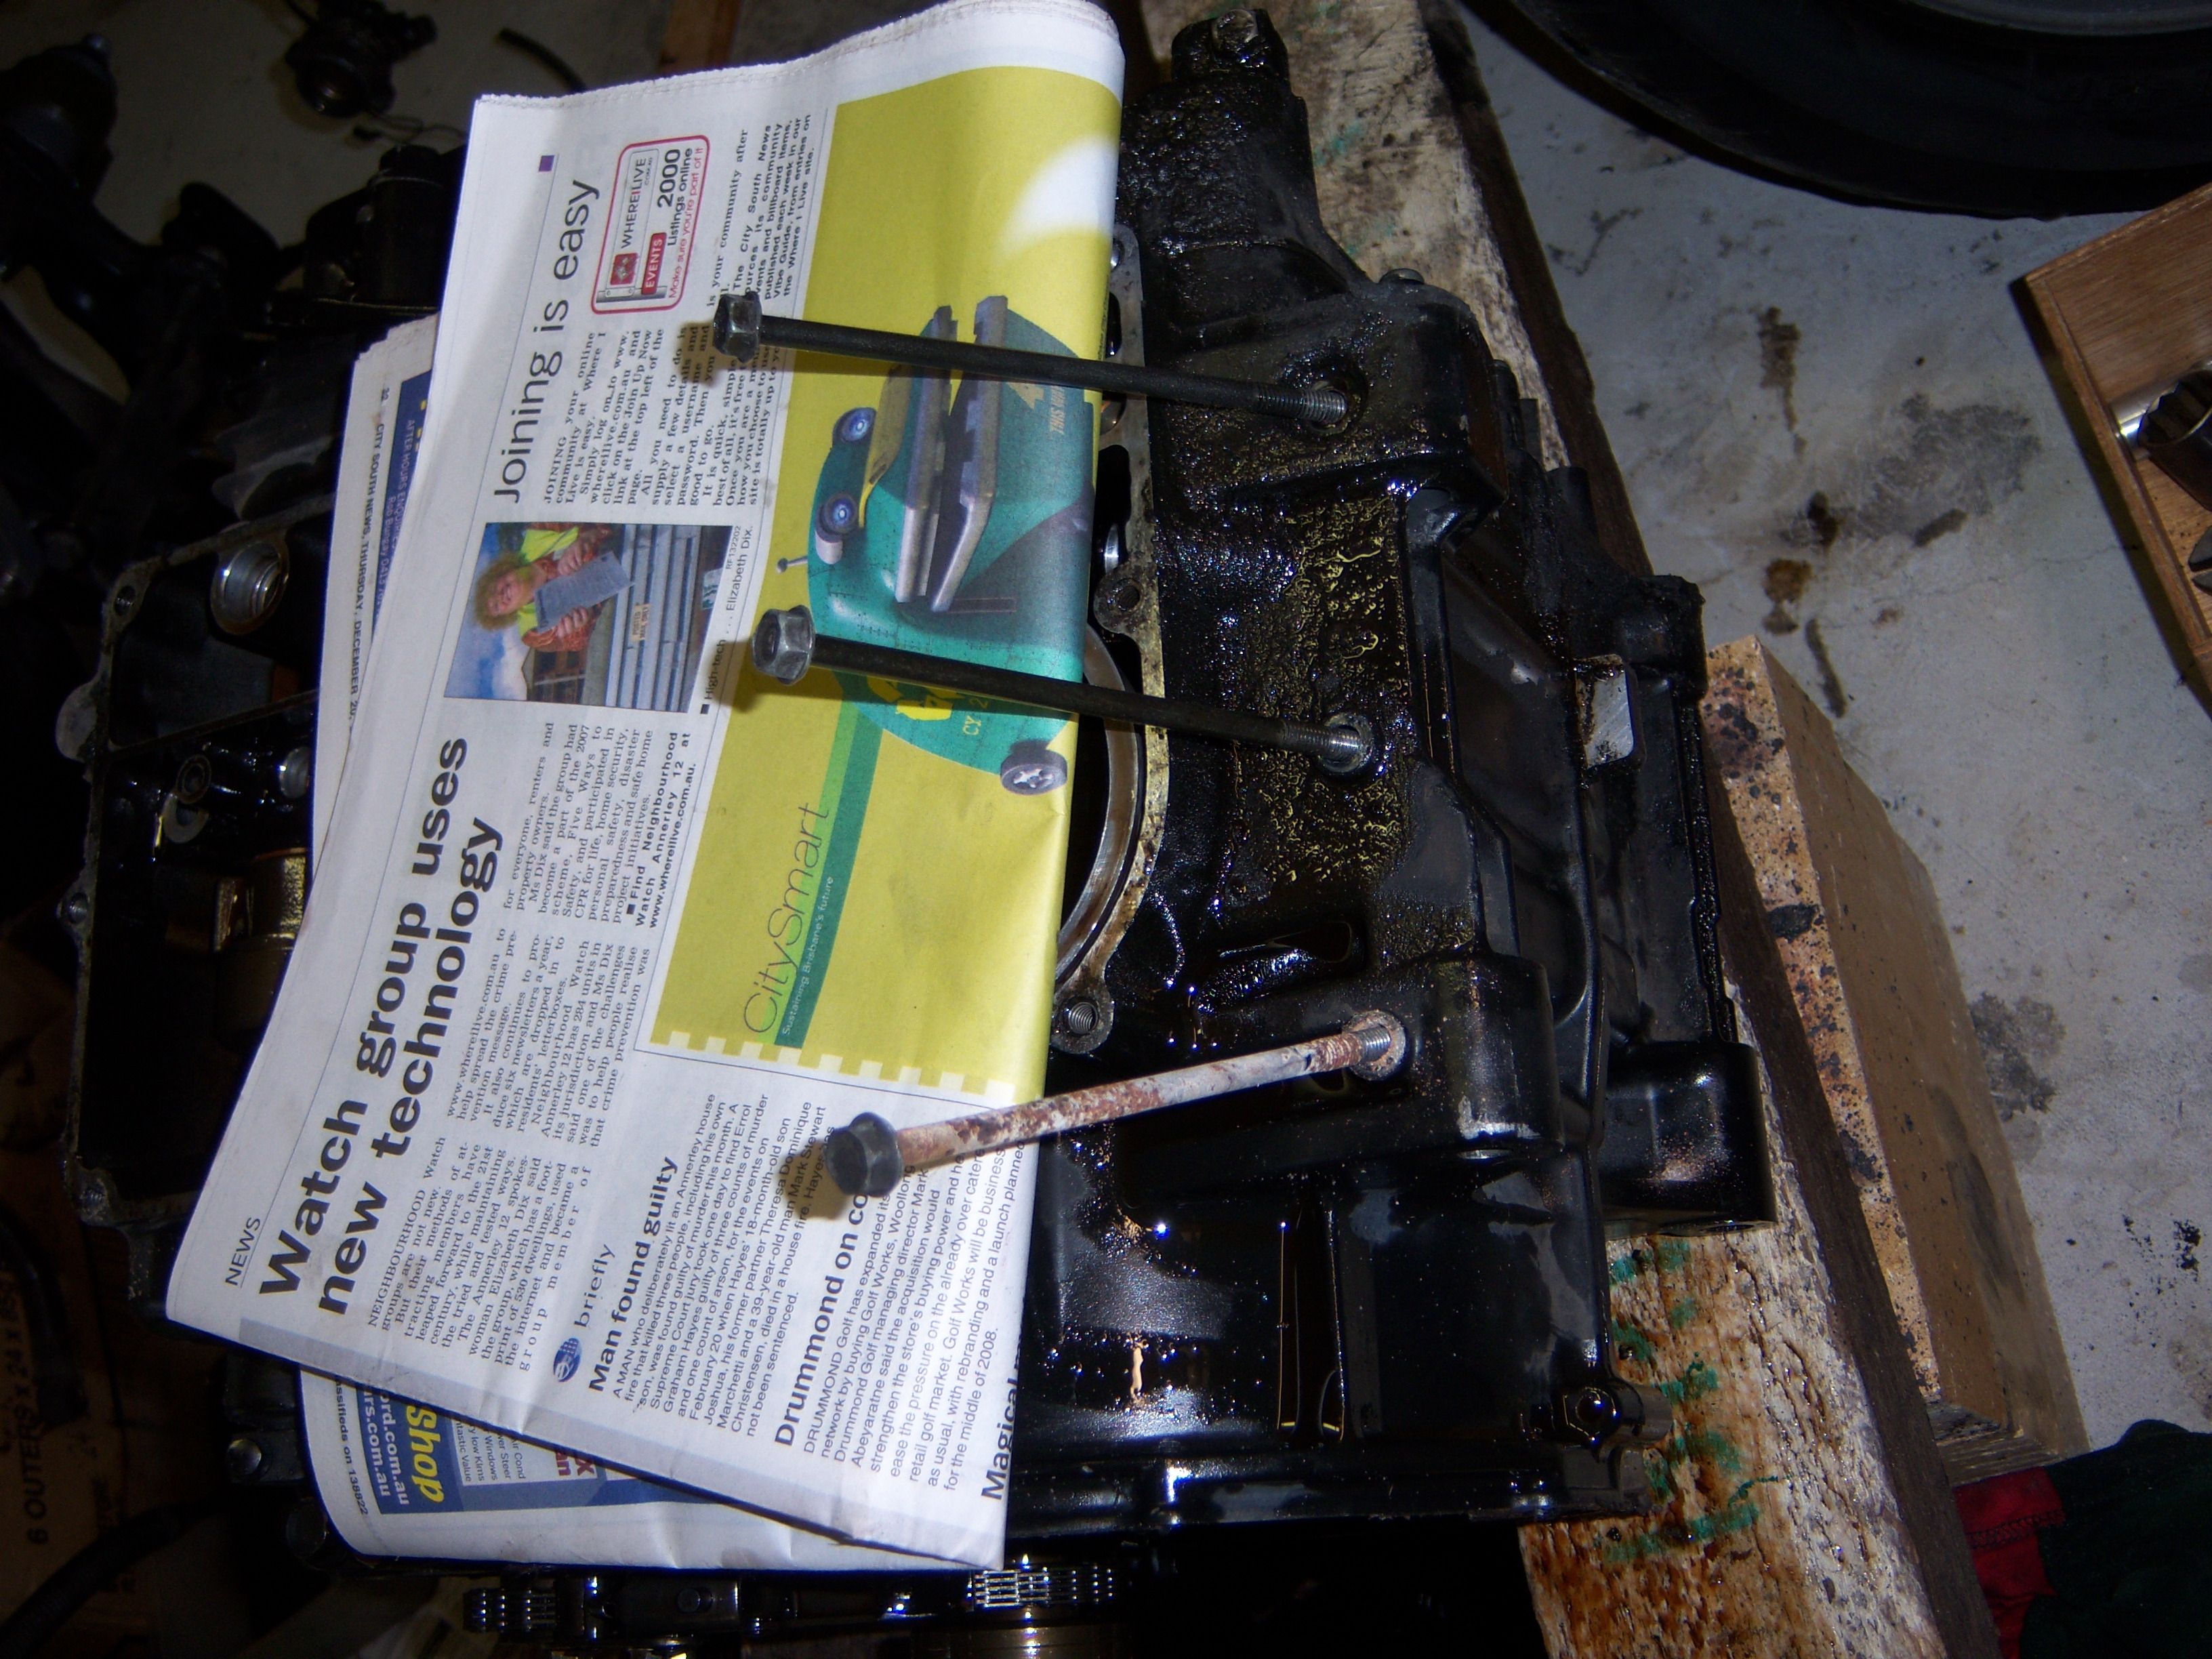
- Remove all the 8mm bolts that hold the cases together, there are 3 in the sump and 6 that hold the crankshaft directly.
- Remove the 6mm bolts that hold the cases at the front and the 3 long ones at back of the engine.
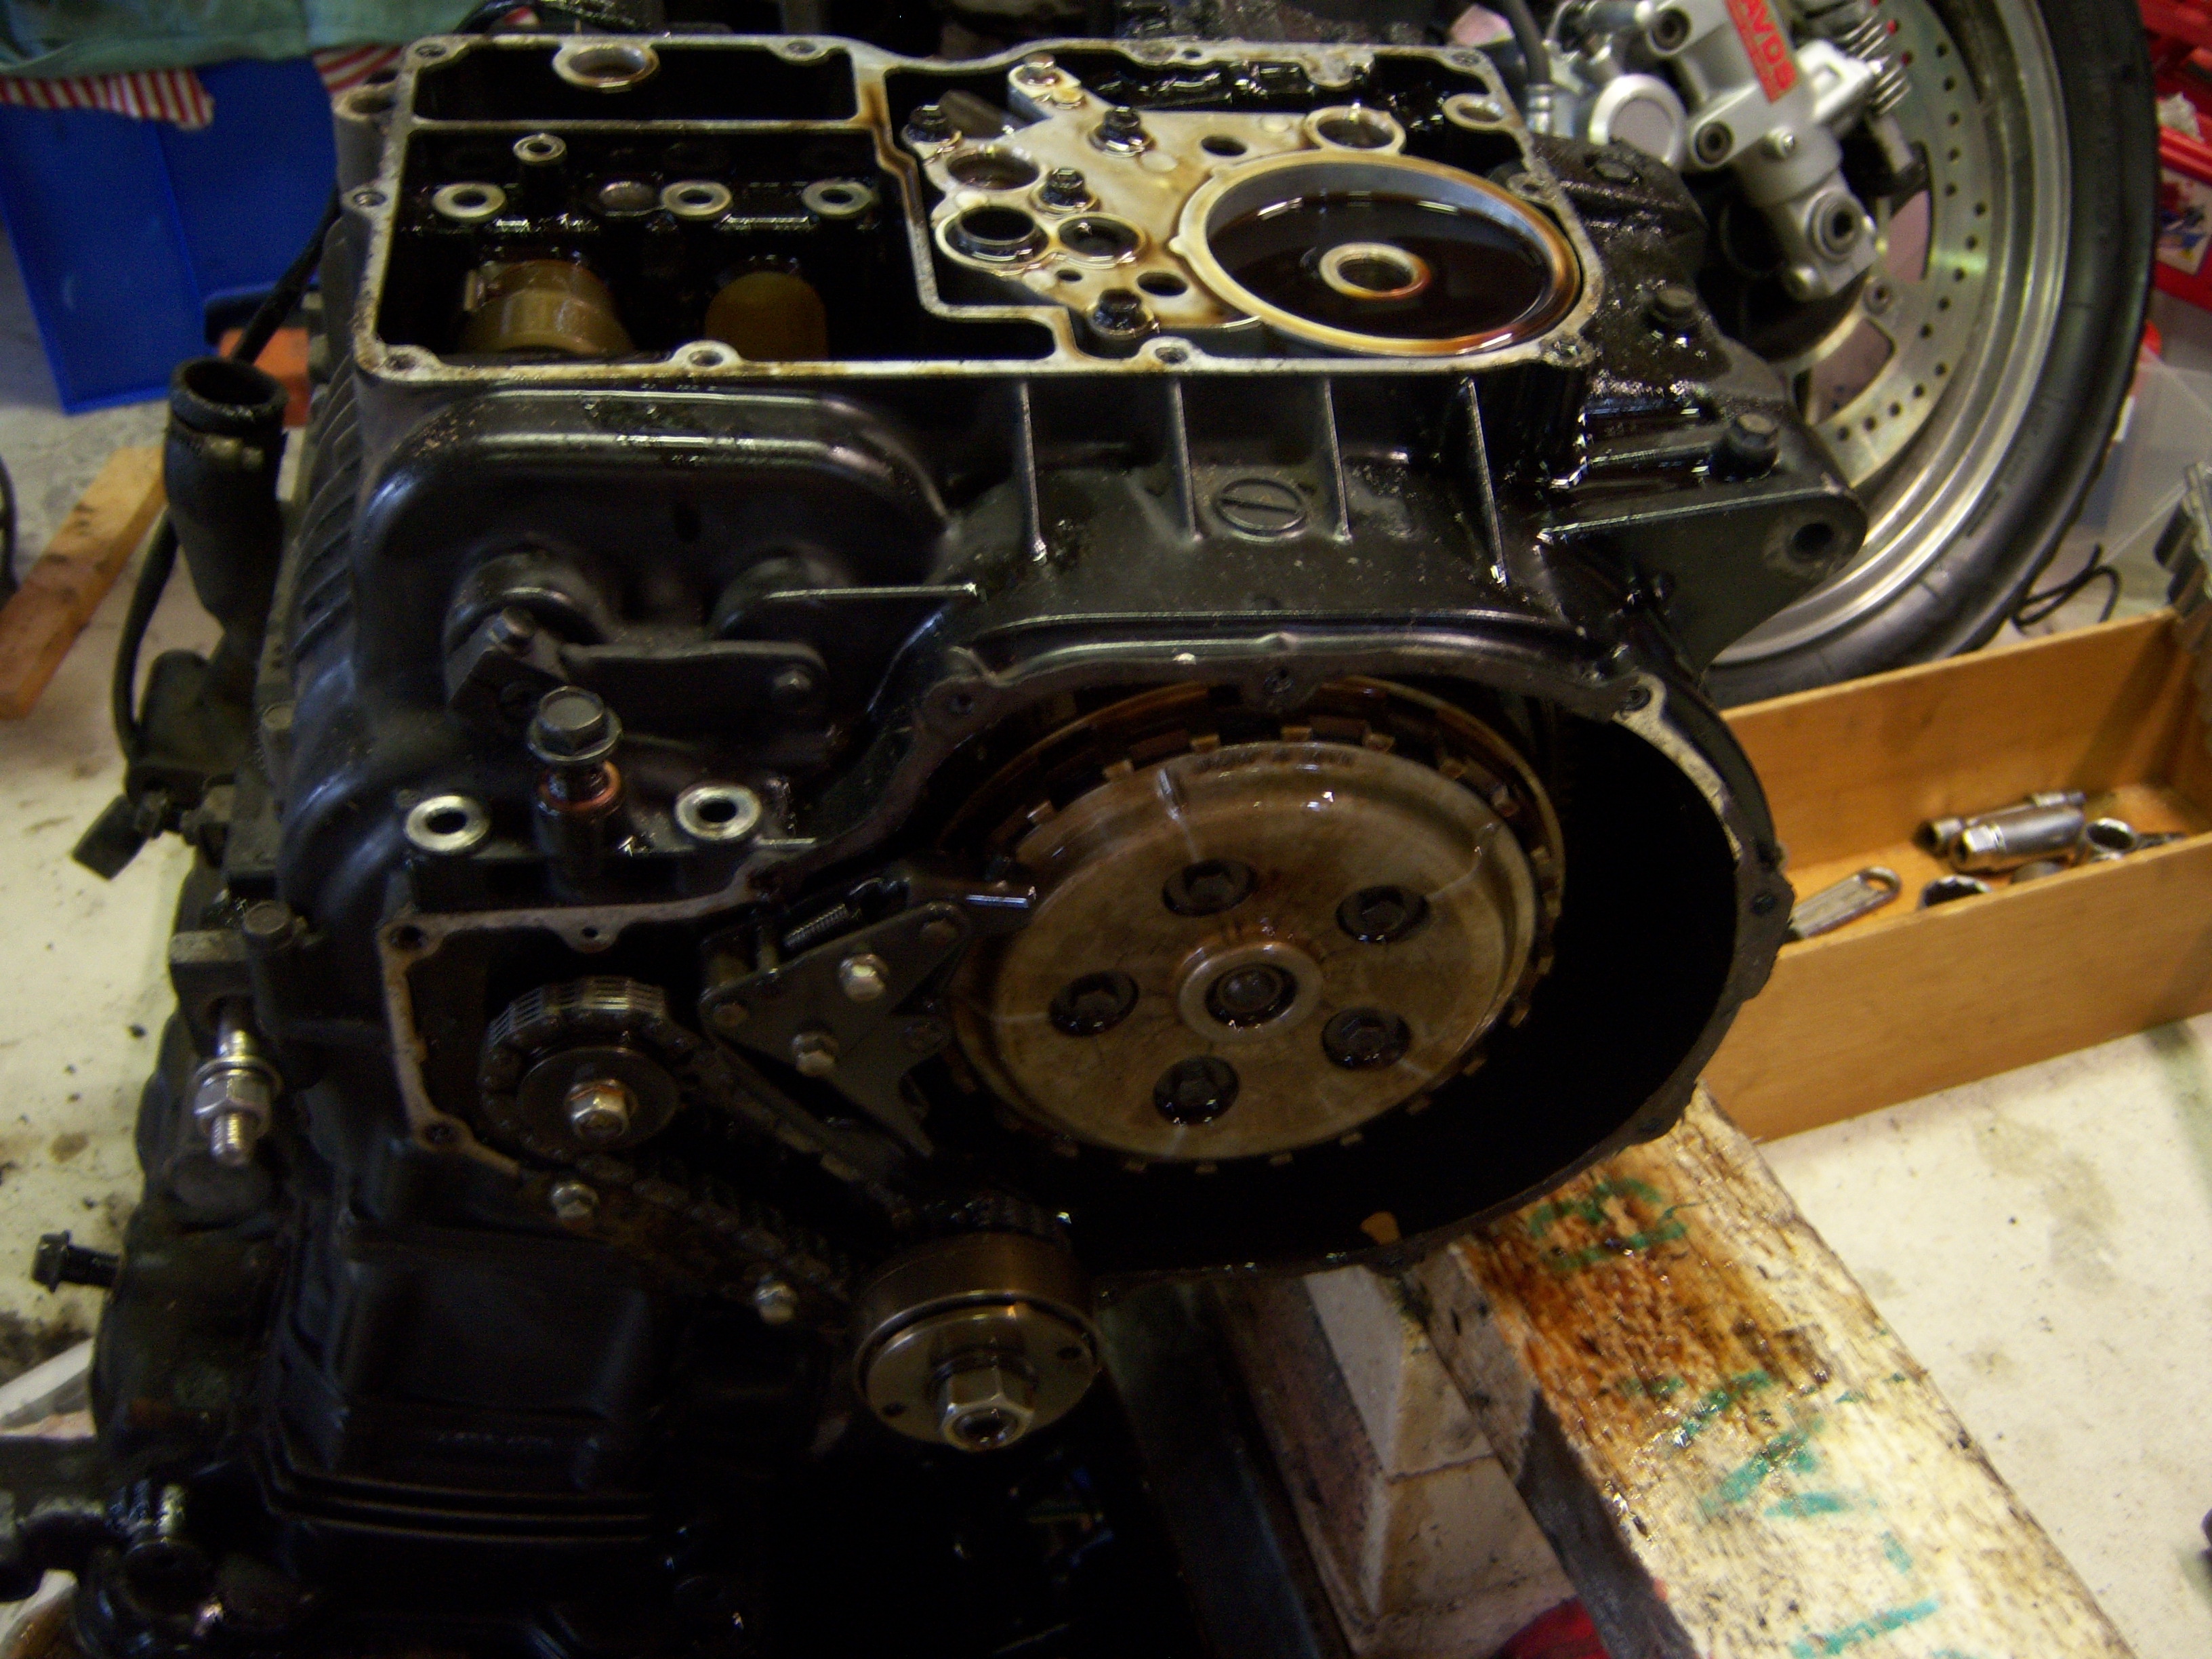
- Remove the side cases – clutch cover, ignition cover and chain drive cover.
- Remove the sprocket and remove the transmission cover under it. Be careful of any seals, avoid damaging them or oil may leak out later.
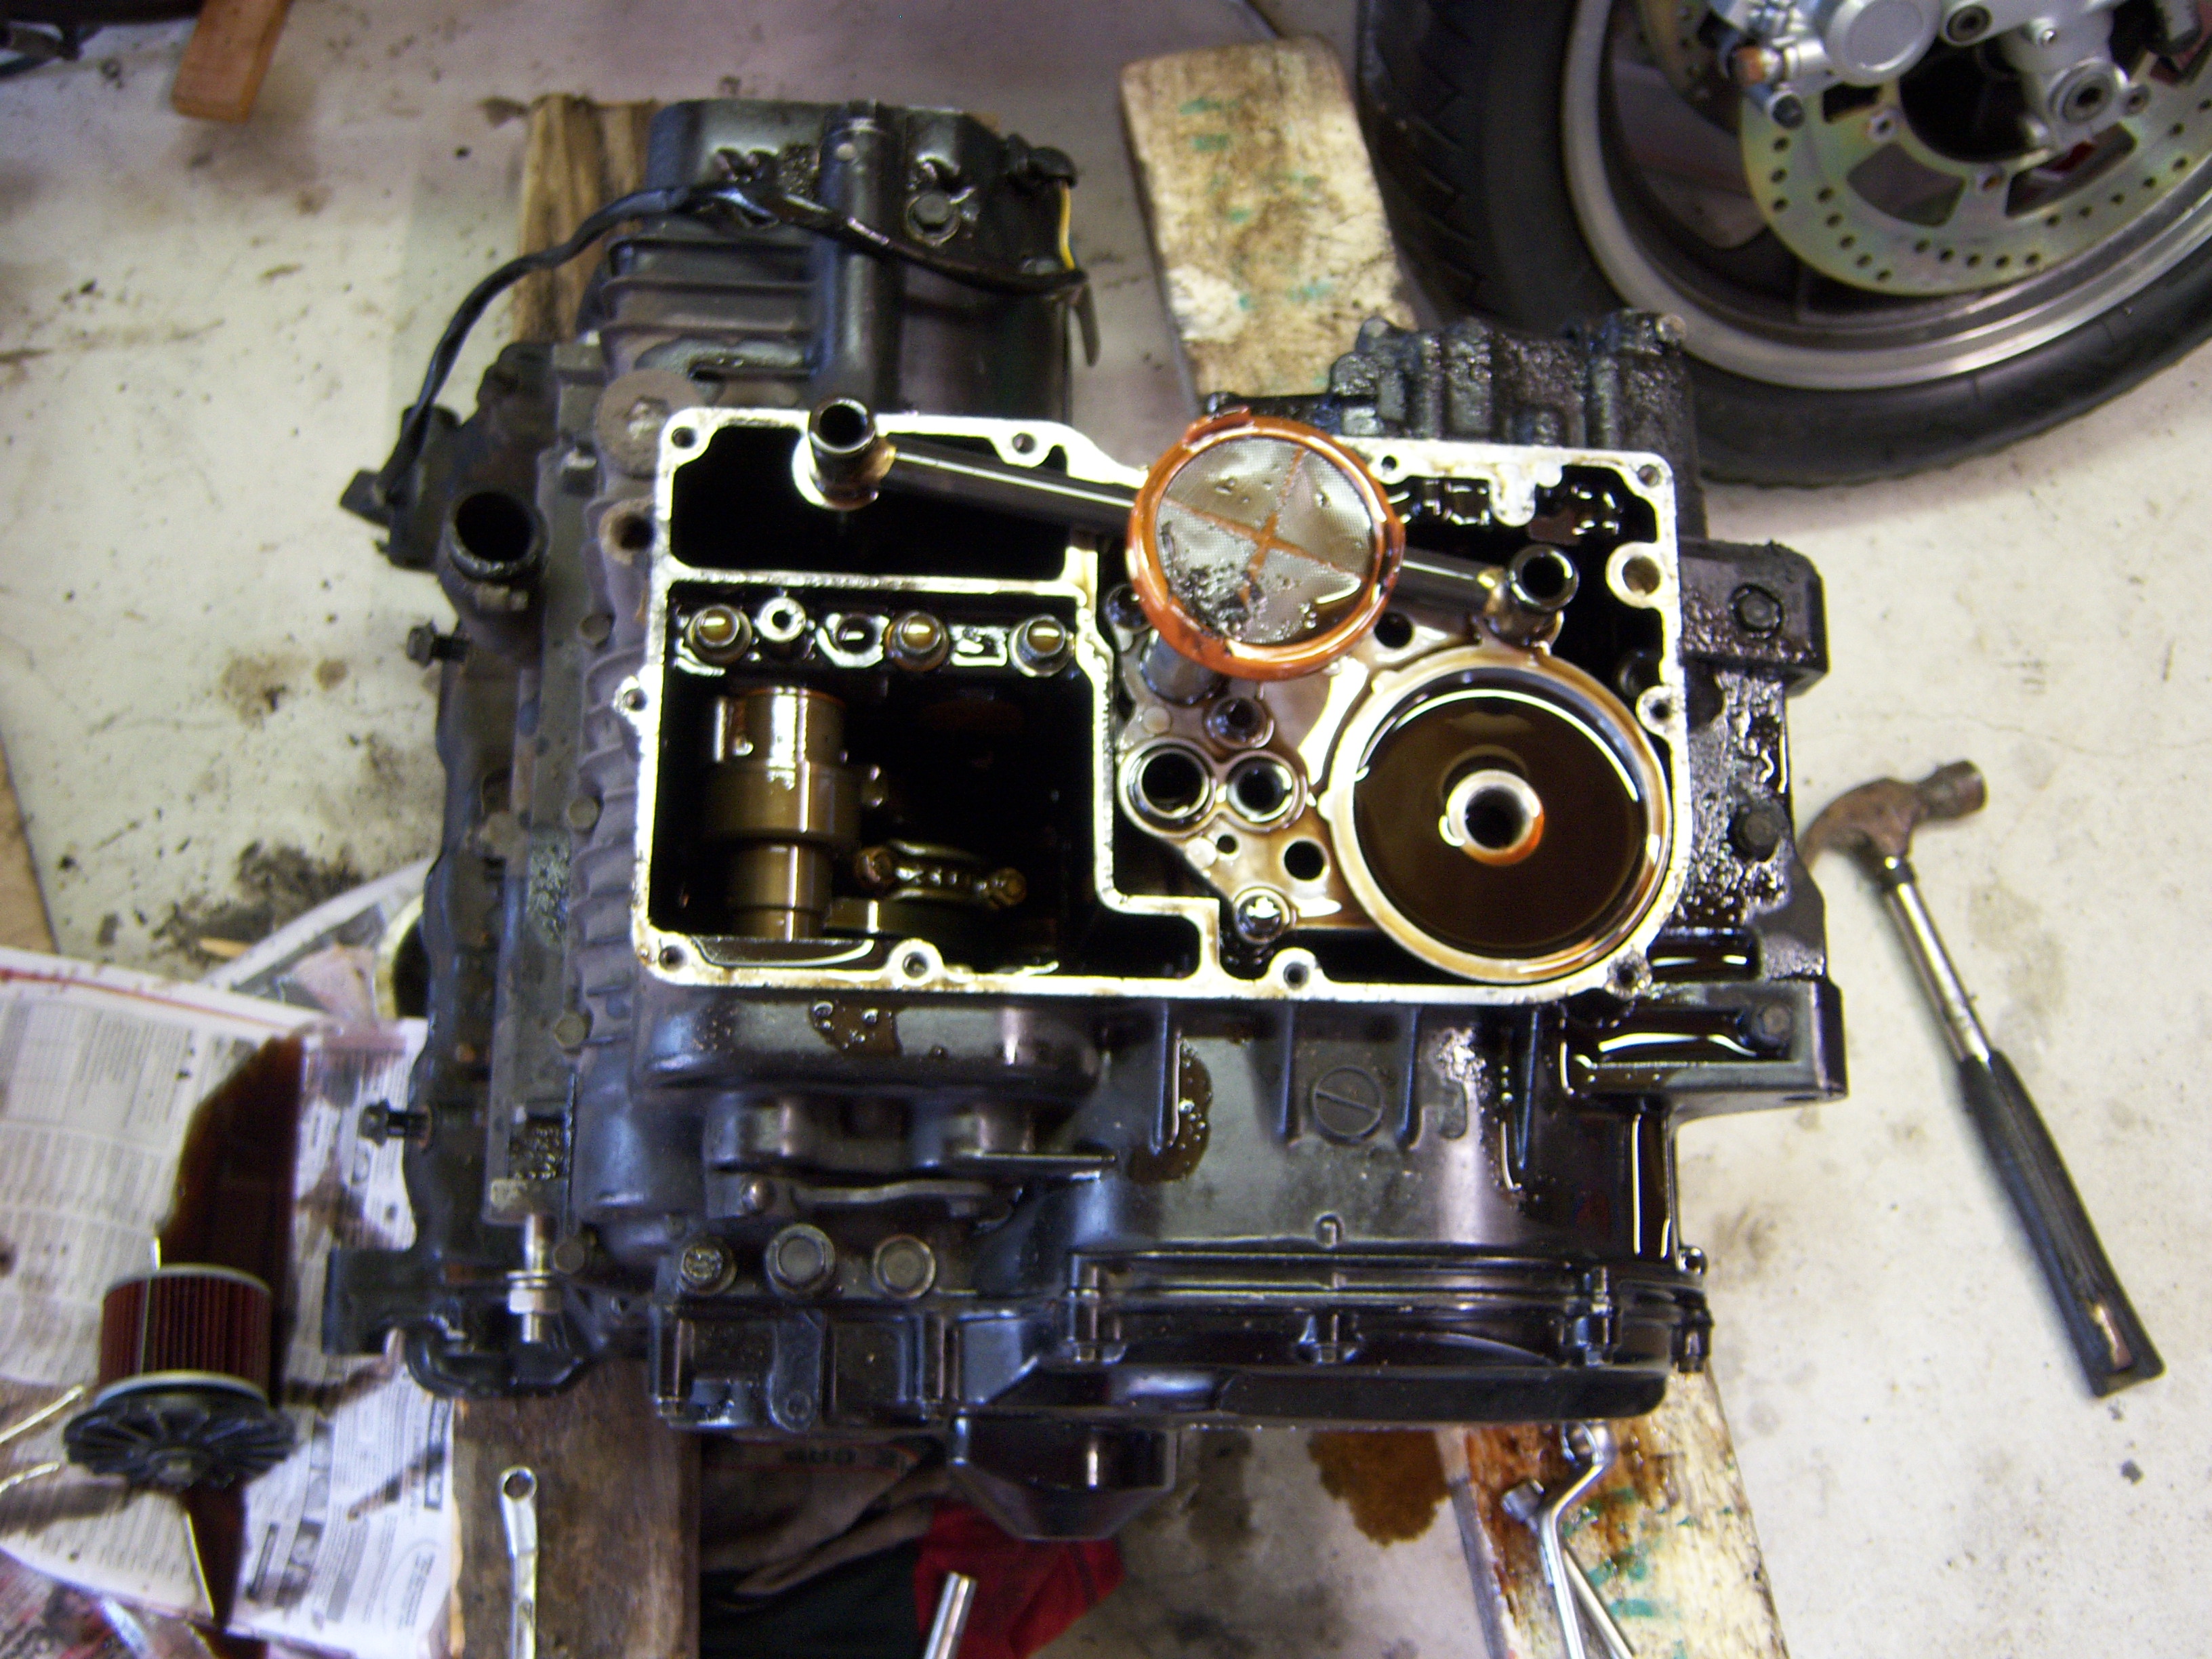
With the sump off, you need to remove the oil filter gauze and plumbing. Then you also need to remove the oil pump, one of its set screws is hidden in that puddle of oil you can see above.
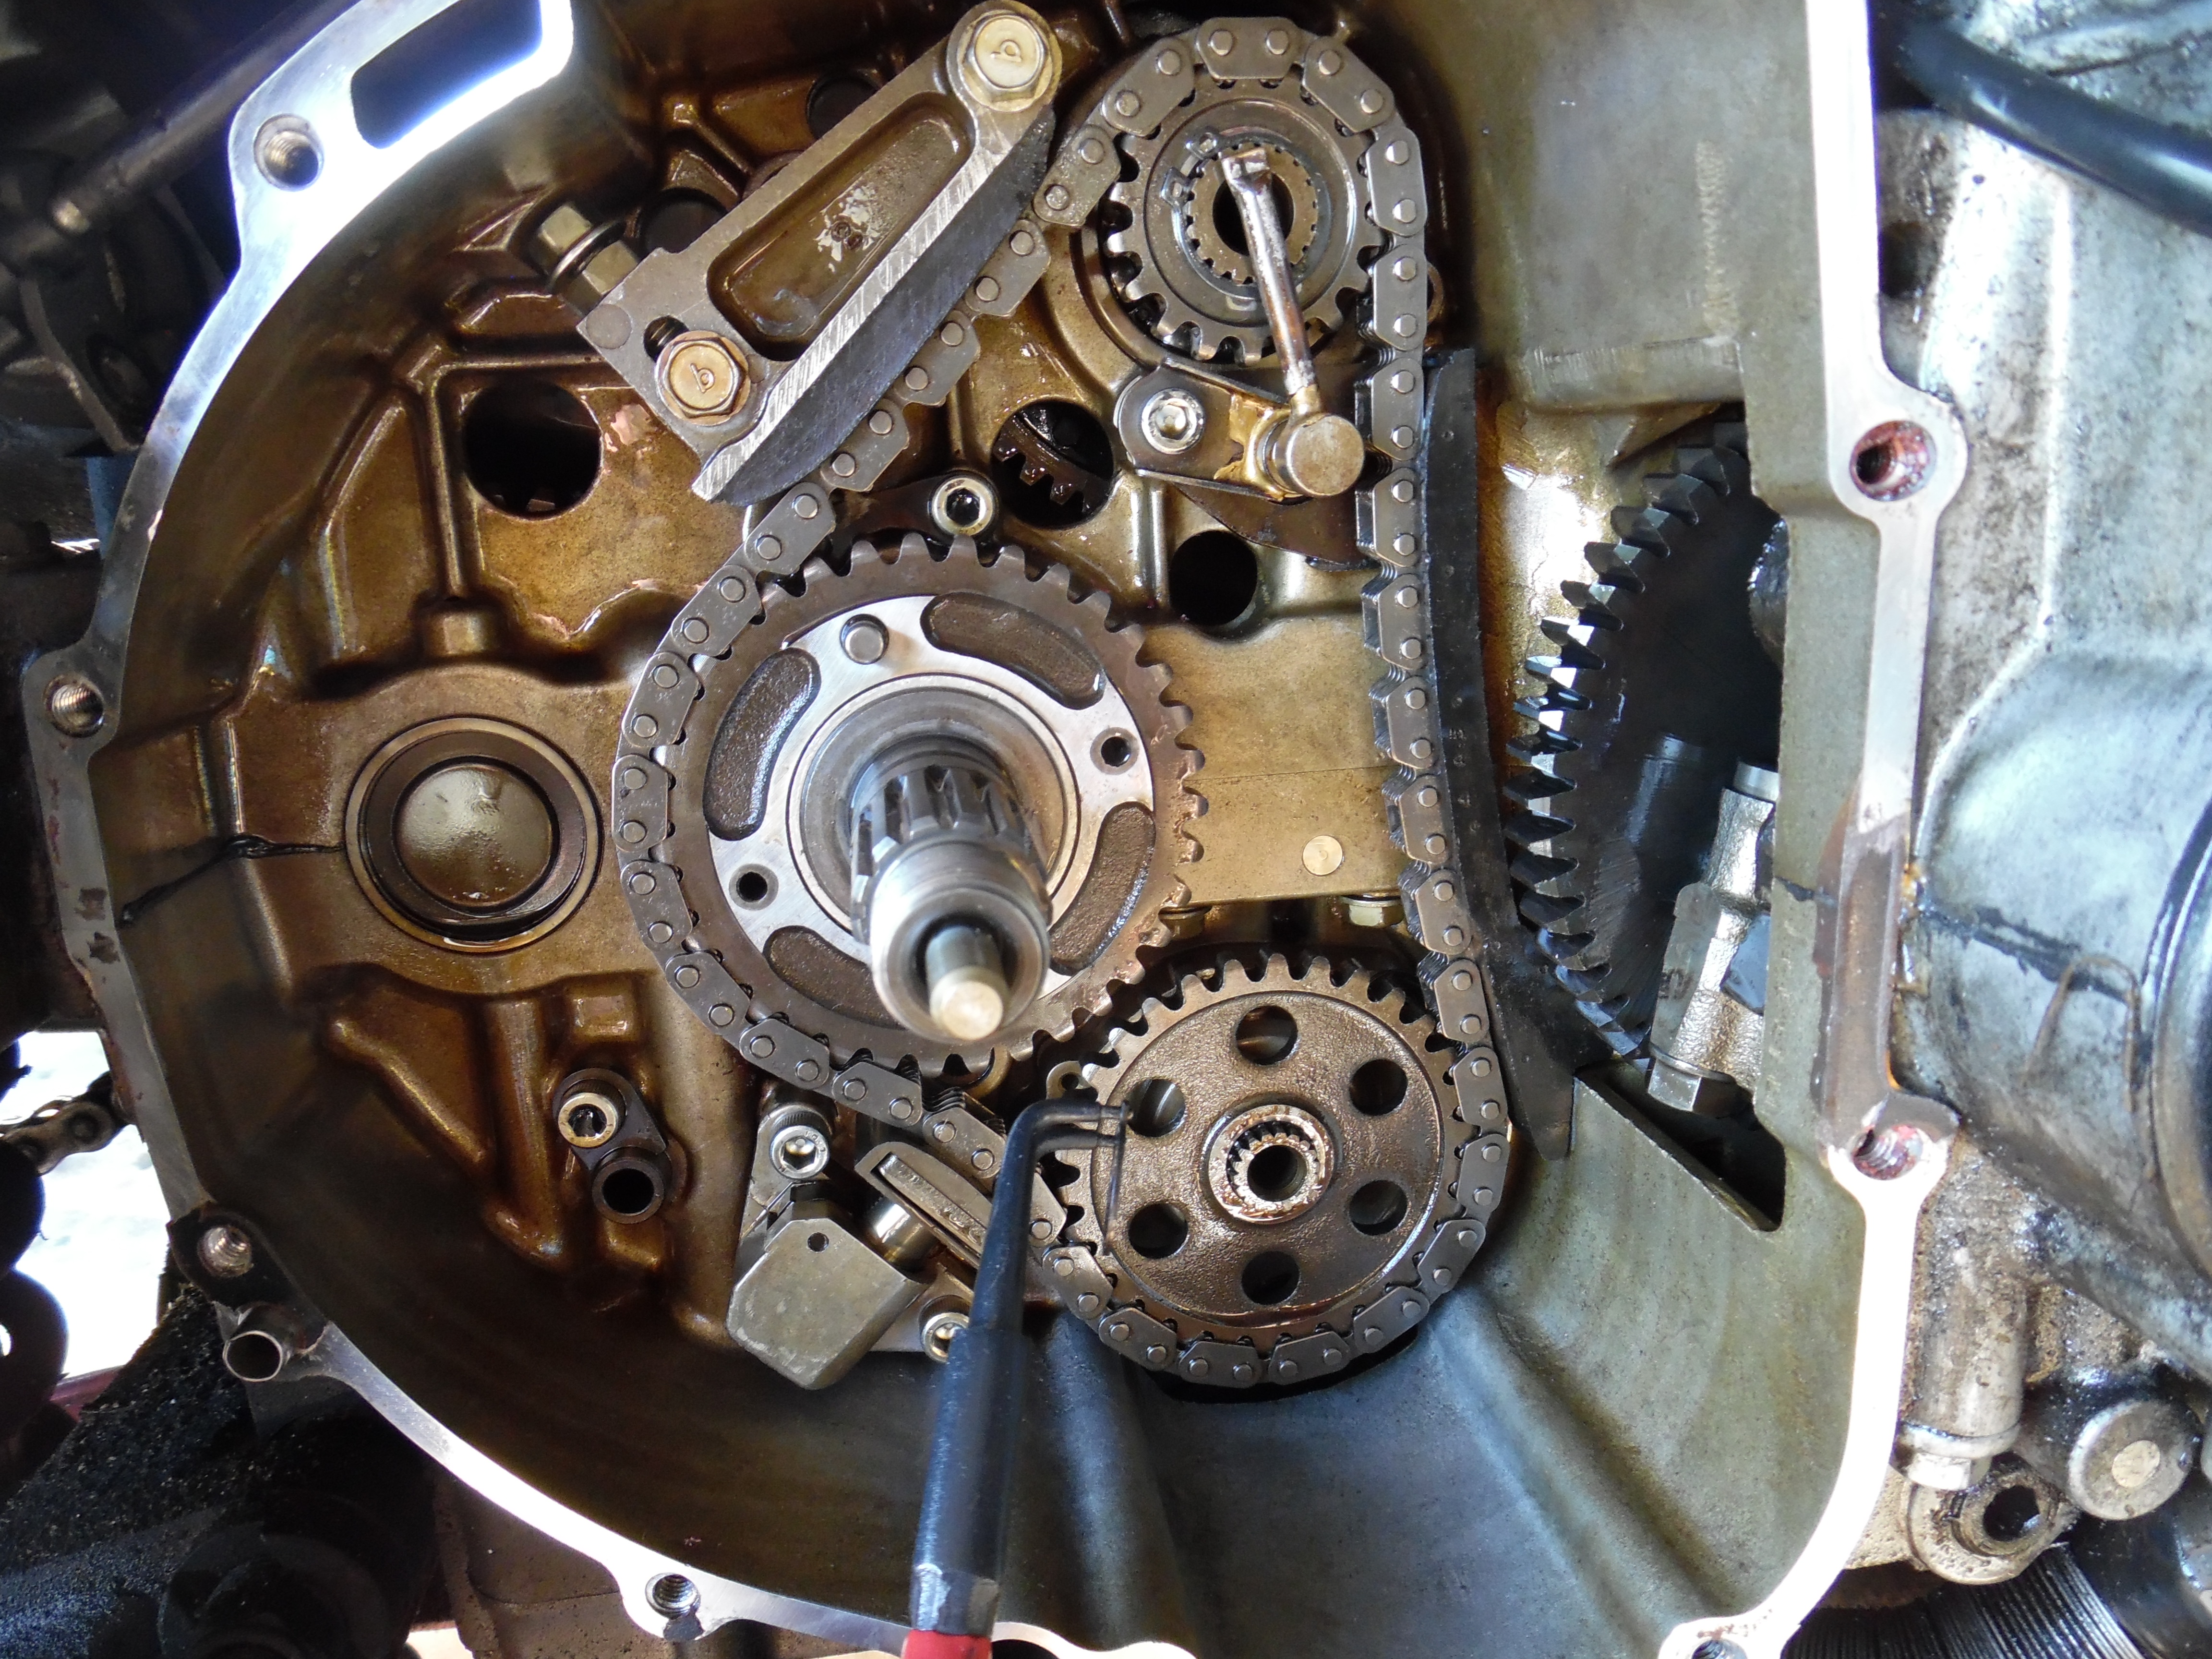
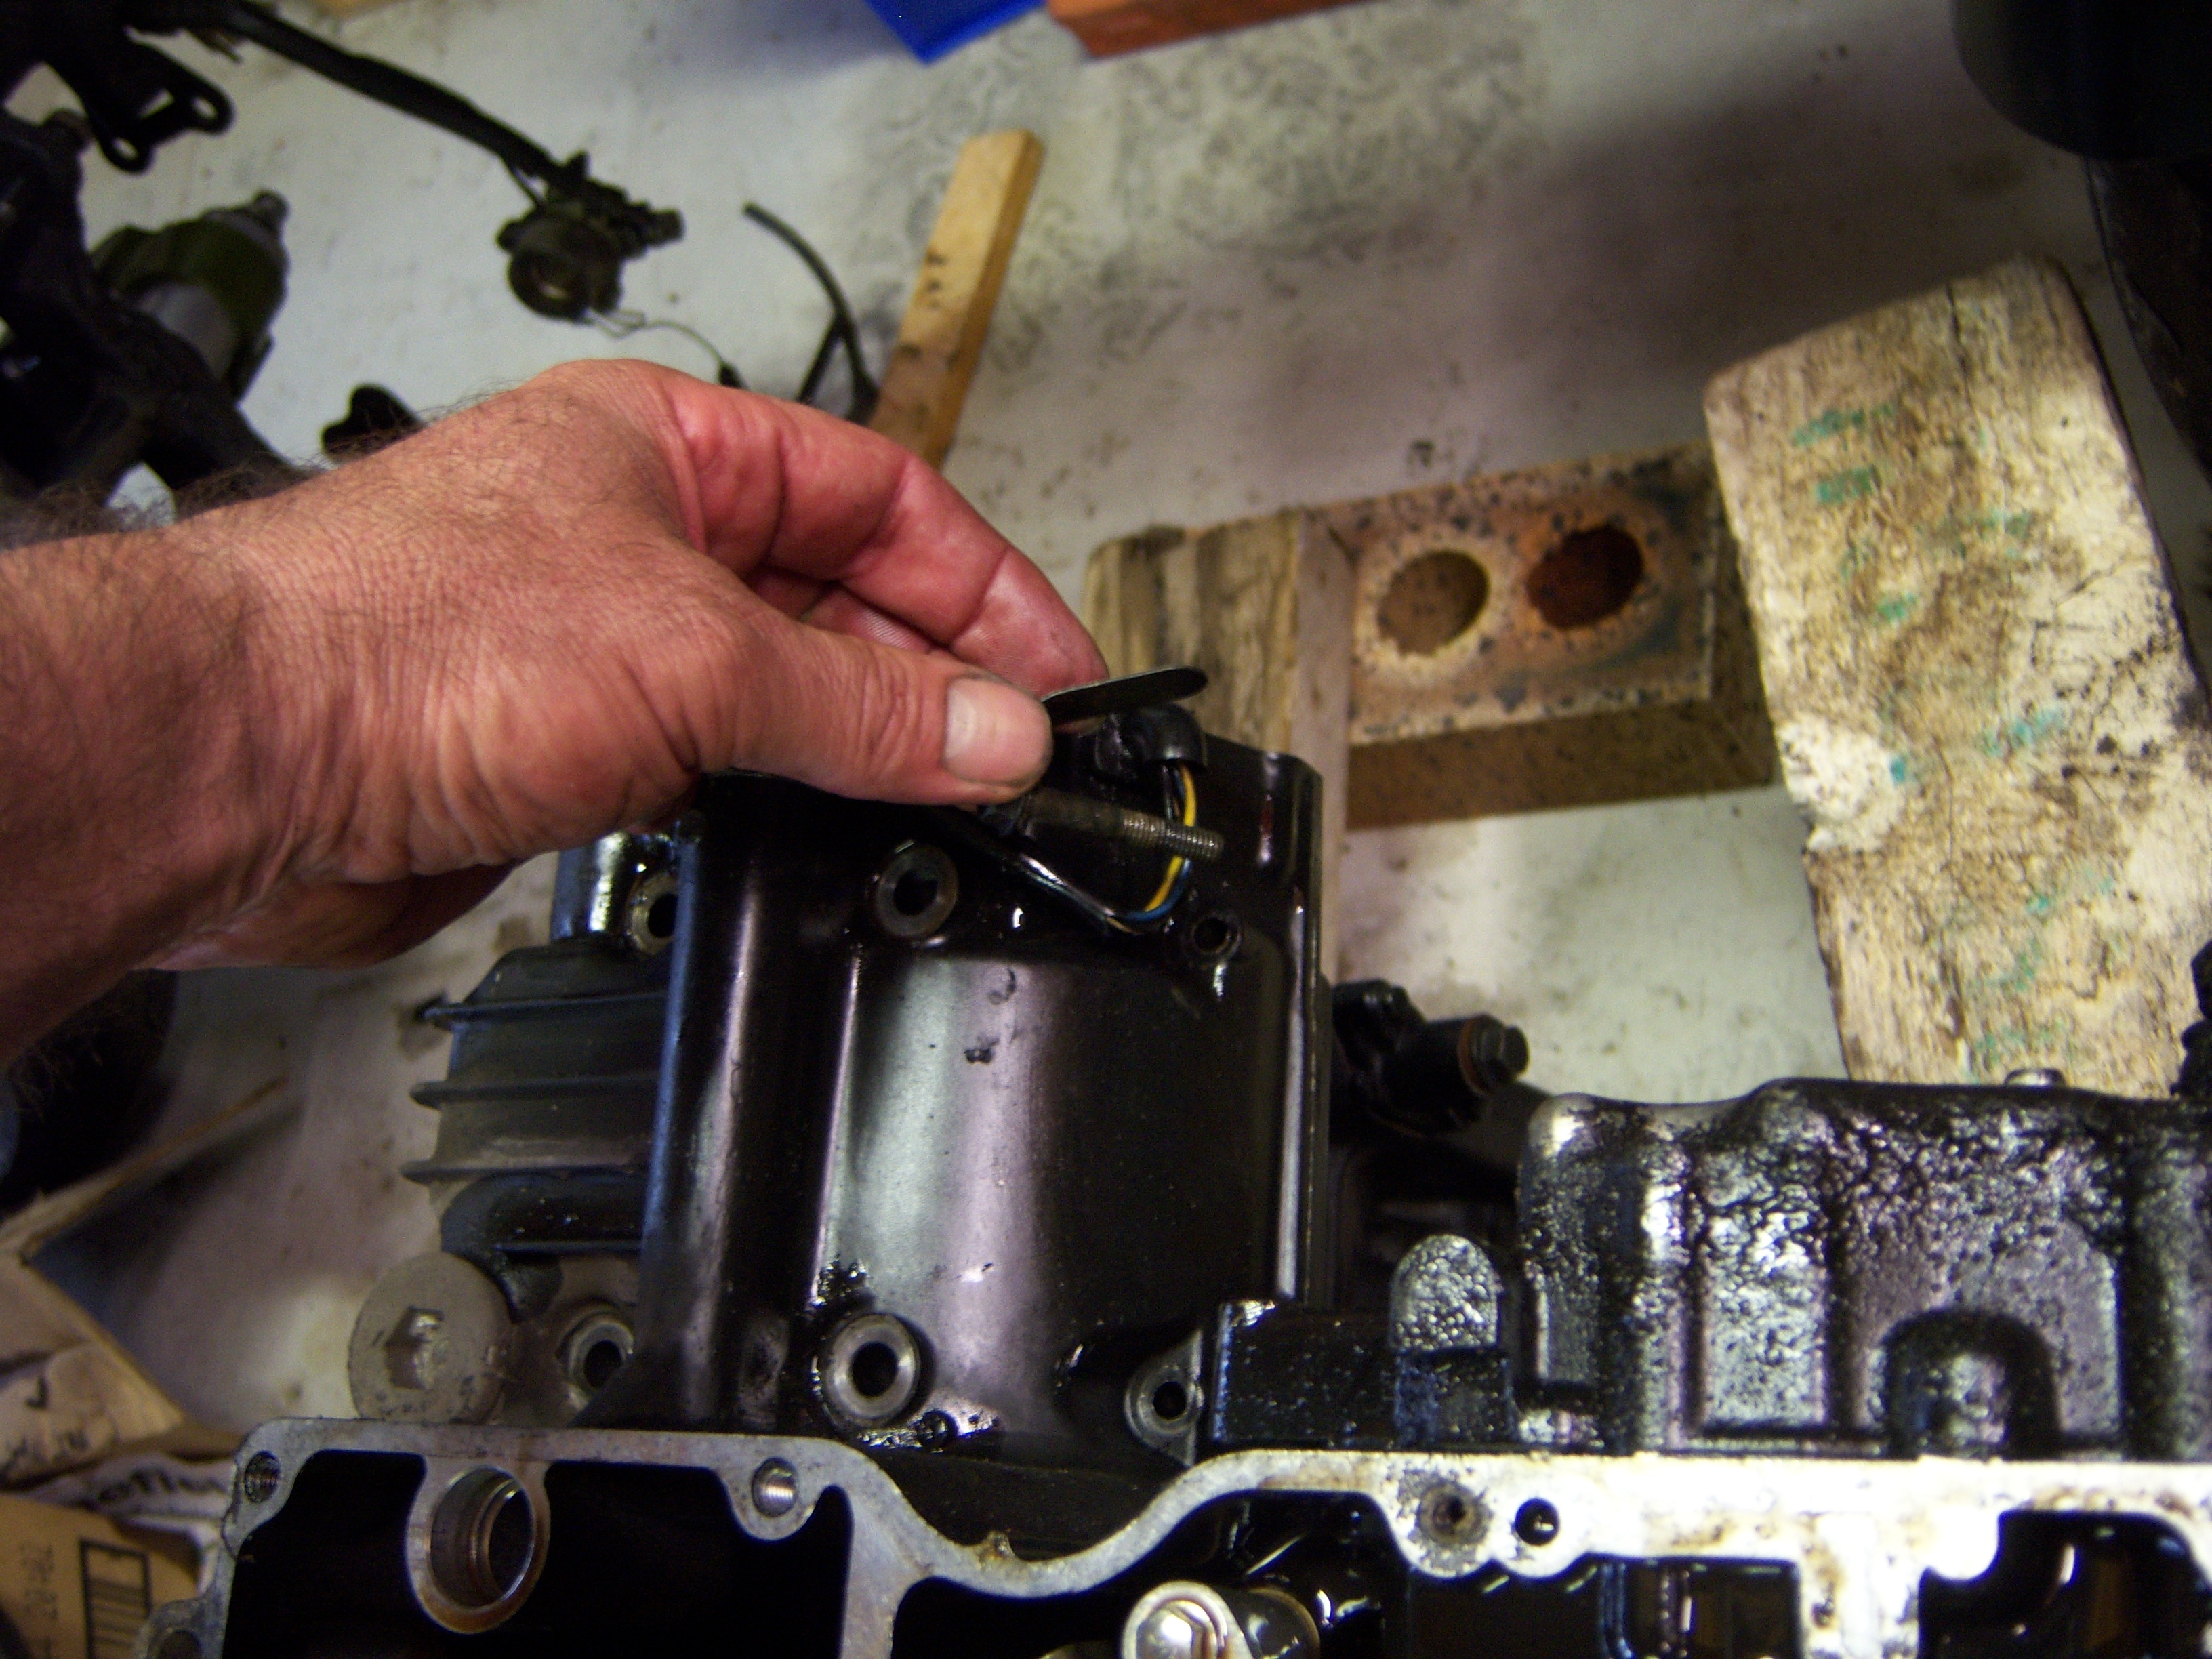
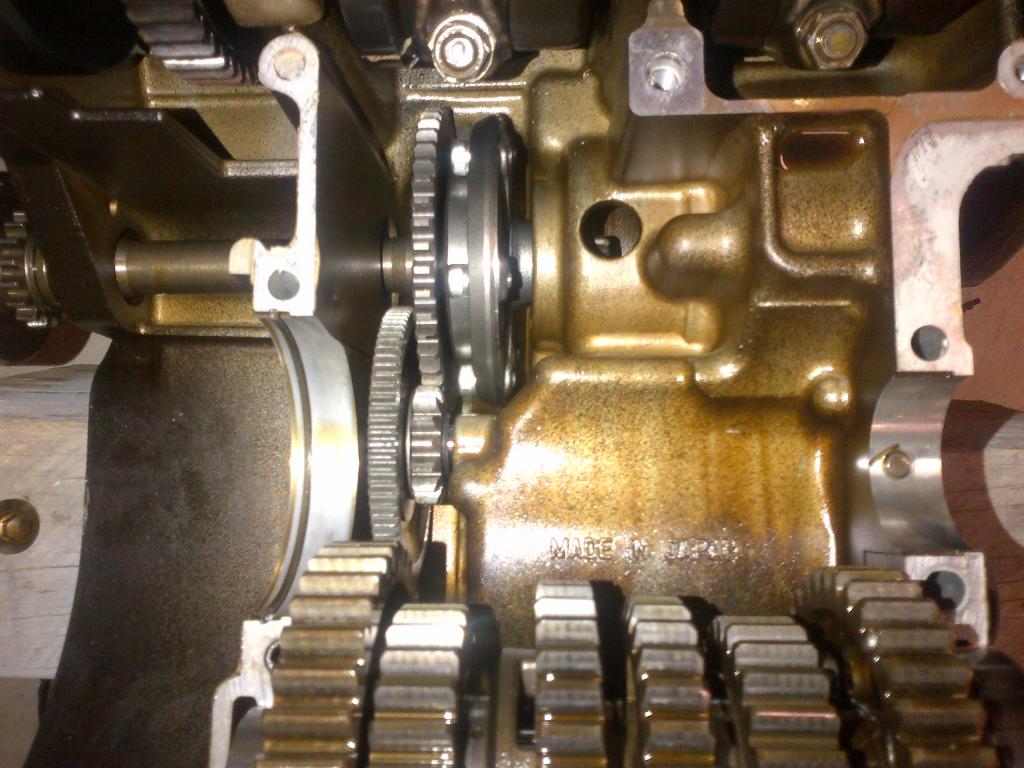
While the timing disk is part of the crank, the sensors sit over the two cases and need to be unbolted at this time. There is no special alignment for them during re-assembly.

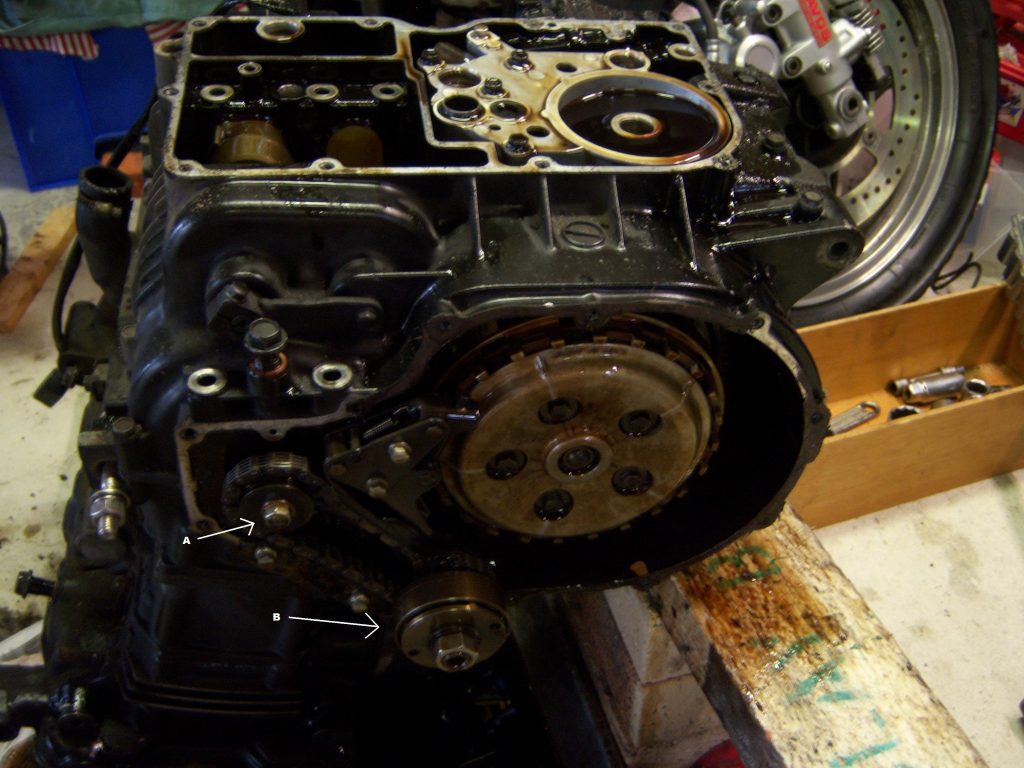
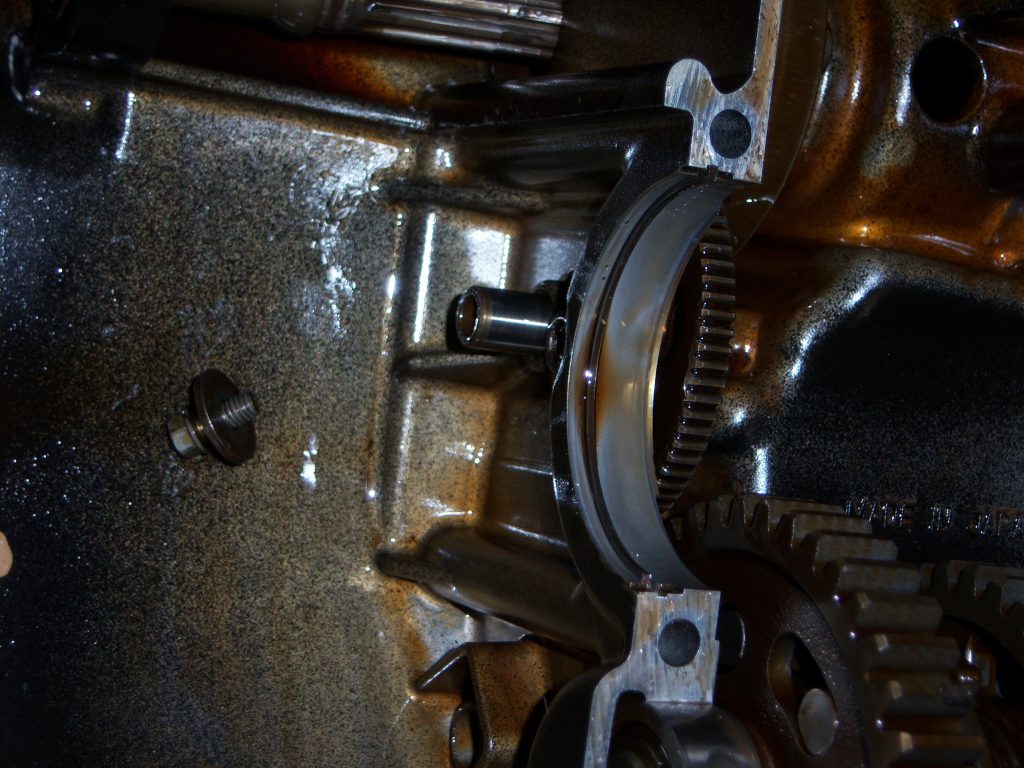
The next component to undo is the Alternator Shaft, you need to pull it forward after you release the chain. In the photo below, you need to undo bolt “A”, then release the tensioner and finally unbolt bolt “B”.
Separation
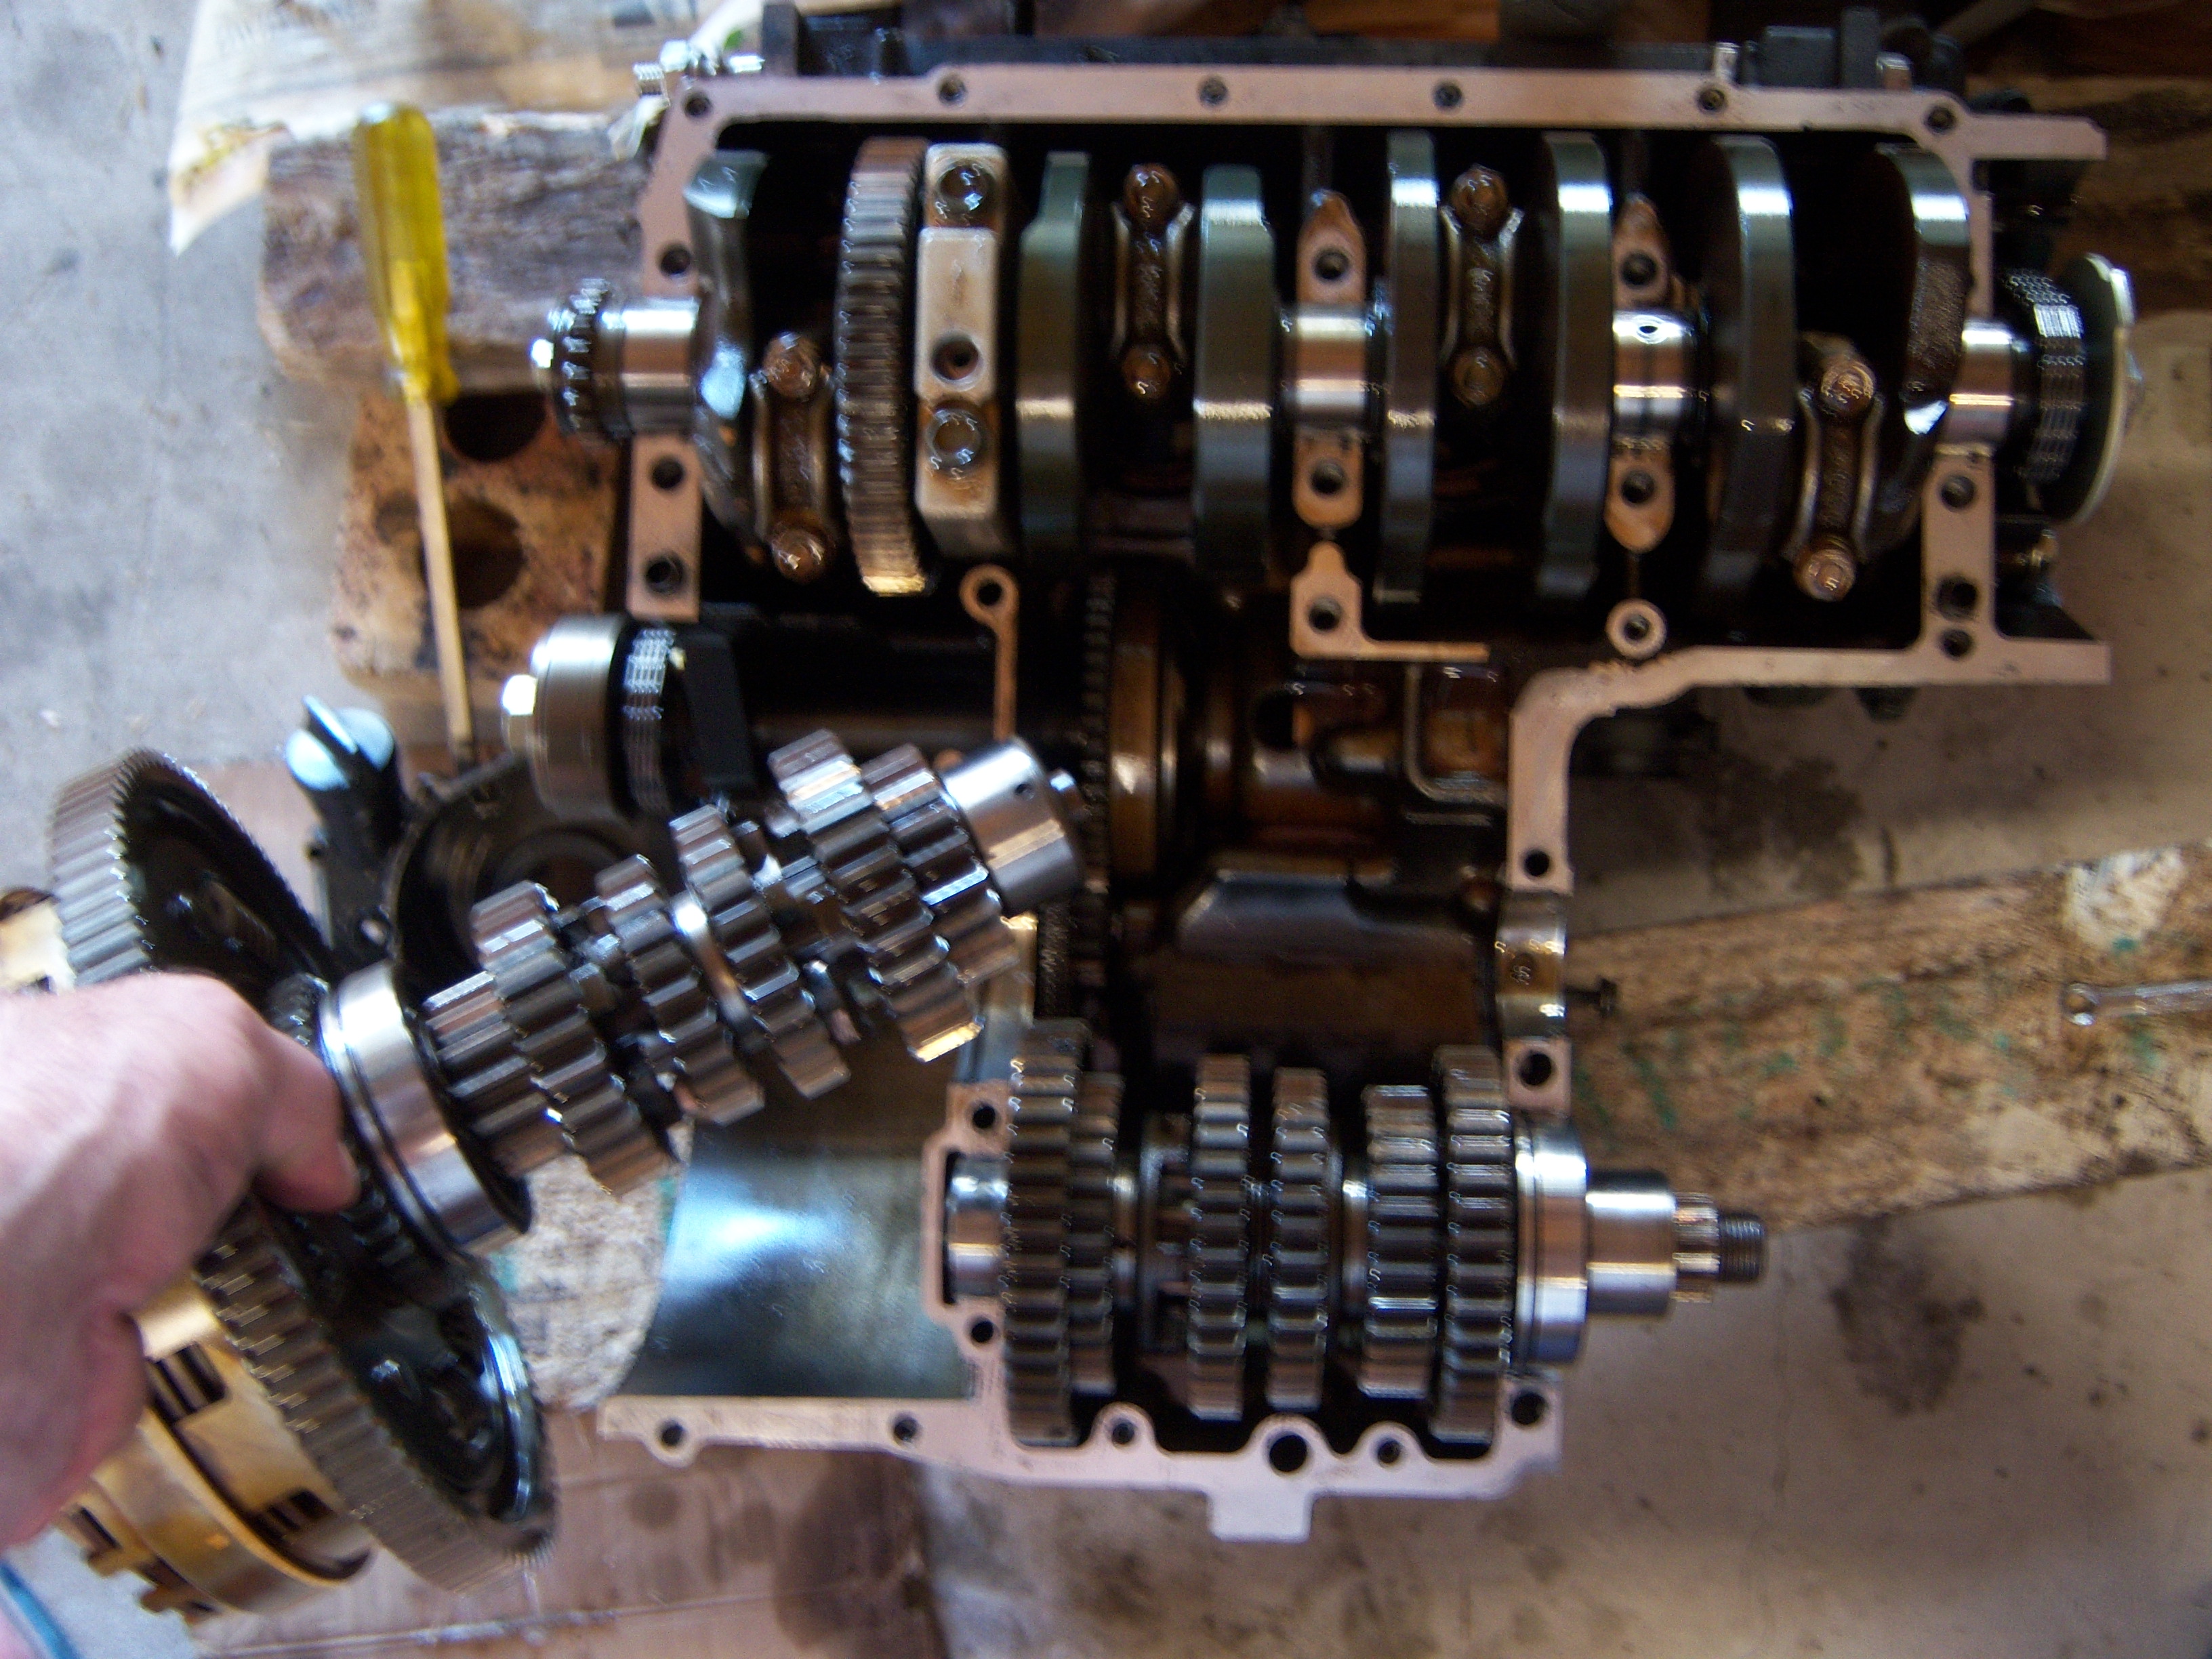
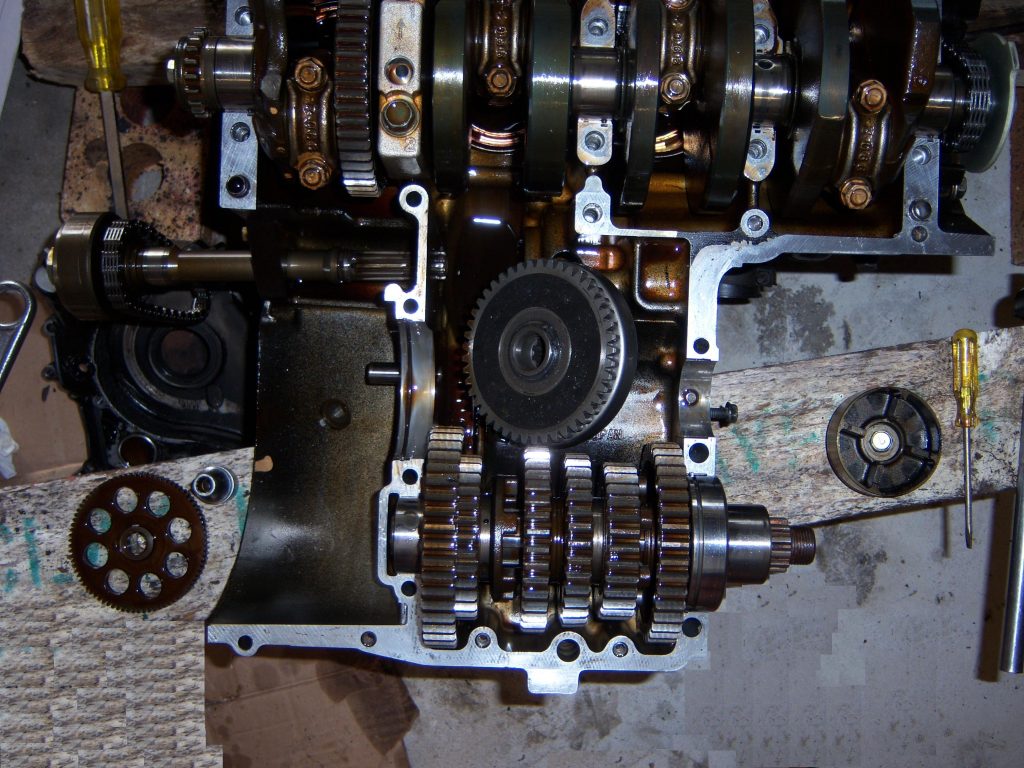
Once all the cases that attach to both halves of the engine are removed, as well as the oil pump, you can then work towards removing the bottom engine case, two things to note, the shift dogs for the gears and the Counter Balance shaft are located in the bottom case, read the service manual on how to align the balance shaft before you pull the case off so you can re-align it during re-assembly.

Notice the ignition timing sensors are just hanging free.
Looking at the top case we can now see the Starter Cluch Assembly, to access it we need to lift out the clutch basket and gear set. It’s heavy so take care.

Once you lift out the Clutch Basket, you have full access to the Starter Clutch and Idle Gear
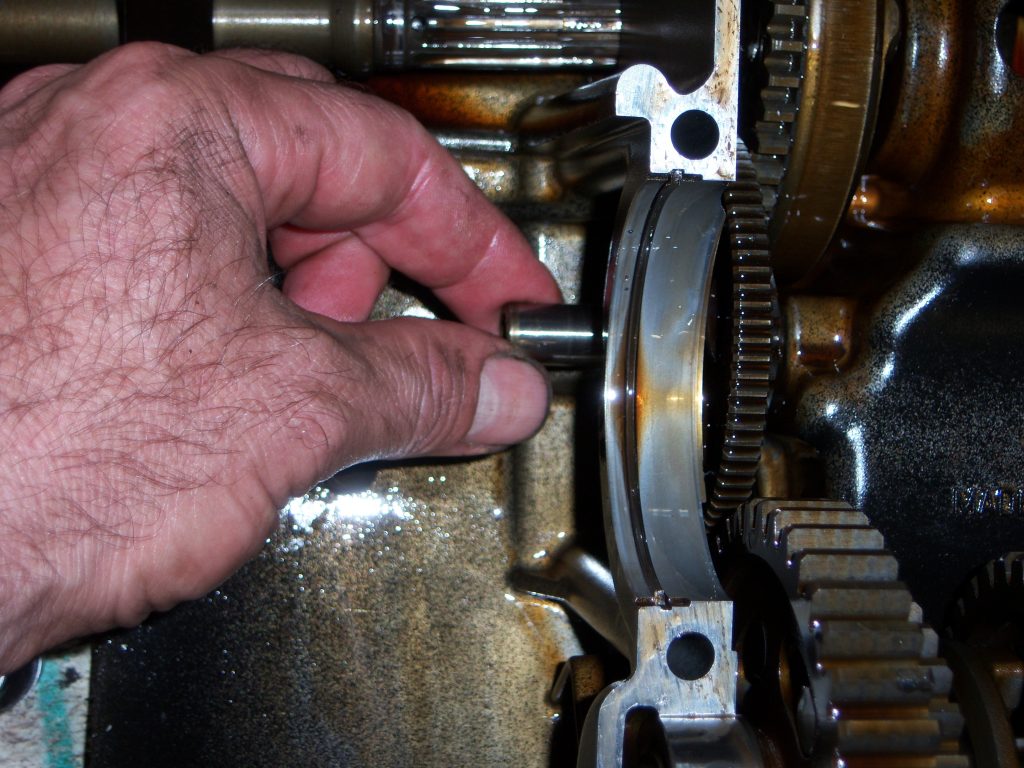
Here we have a clean shot of the Starter Clutch, the Alternator Shaft has been pulled back out so we can now lift out the Starter Clutch.
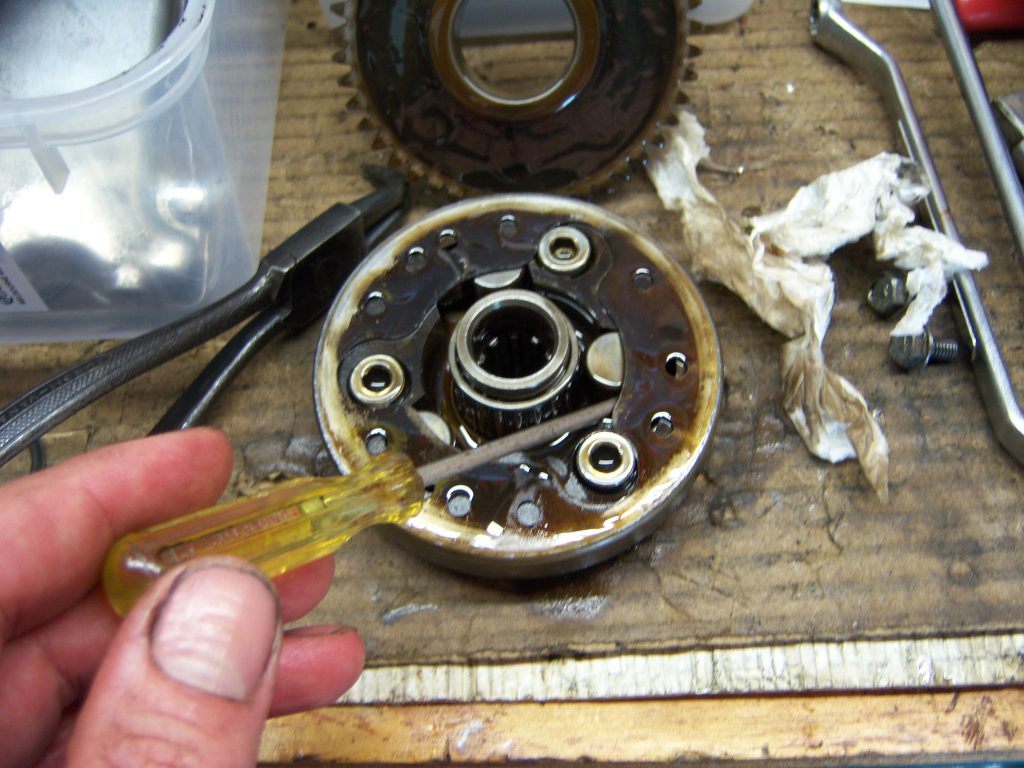
Before you lift out the Starter Clutch, unscrew this set screw which holds the idler gear, then remove the pin it sits on.
I’ve tipped the Starter Clutch on its side so you can see exactly where it sits.
With the Starter Clutch on the bench, we can see the problem, the roller is not being pushed against where the free spinnning gear sits. This is due to a worn or broken spring. The three springs should be replaced at the same time.
Check the housing for cracks and check the pins and rollers for obvious wear, or replace the lot for complete satisfaction 🙂
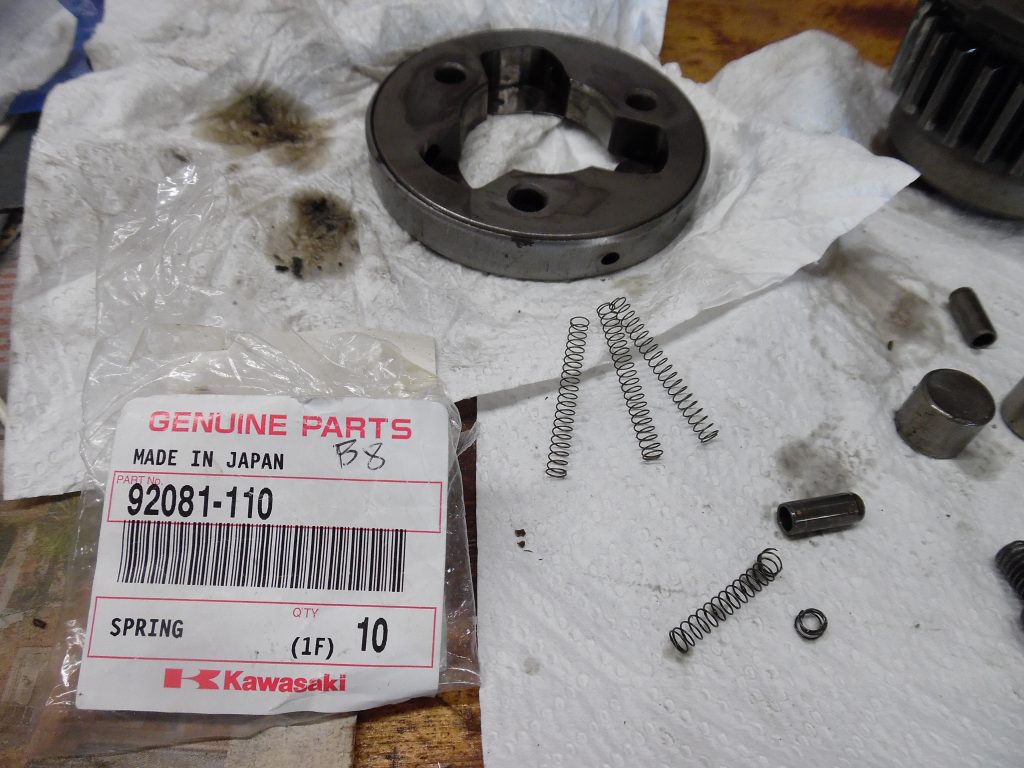
Once you have replaced the three springs and checked the assembly you can now begin the re-assembly process.
Basically you need to reverse the process. The following list will match the photos in reverse order.
- Clean all gasket surfaces meticulously.
- Fit Starter Clutch to Alternator shaft and push in place.
- Fit Idler Gear back in place, install shaft and tighten down the set screw.
- Re-install the clutch basket.
- Put the Alternator chain and Tensioner back in and screw down the set screw on the Balancer Shaft
- Clean all mating surface and apply liquid 3M Three bond to the case halves.
- Fit bottom case, noting gear change dogs and Balance Shaft positions.
- Re-fit the oil pump and plumbing.
- Re-fit ignition pickups.
- Clean all side cover gasket surfaces so they are spotless.
- Fit new gaskets.
- Fit side covers.
- Fit sump and oil filter.
- Tip engine back up and jack back into frame, fit bolts and torque to correct setting.
- Re-fit rest of engine/frame parts.
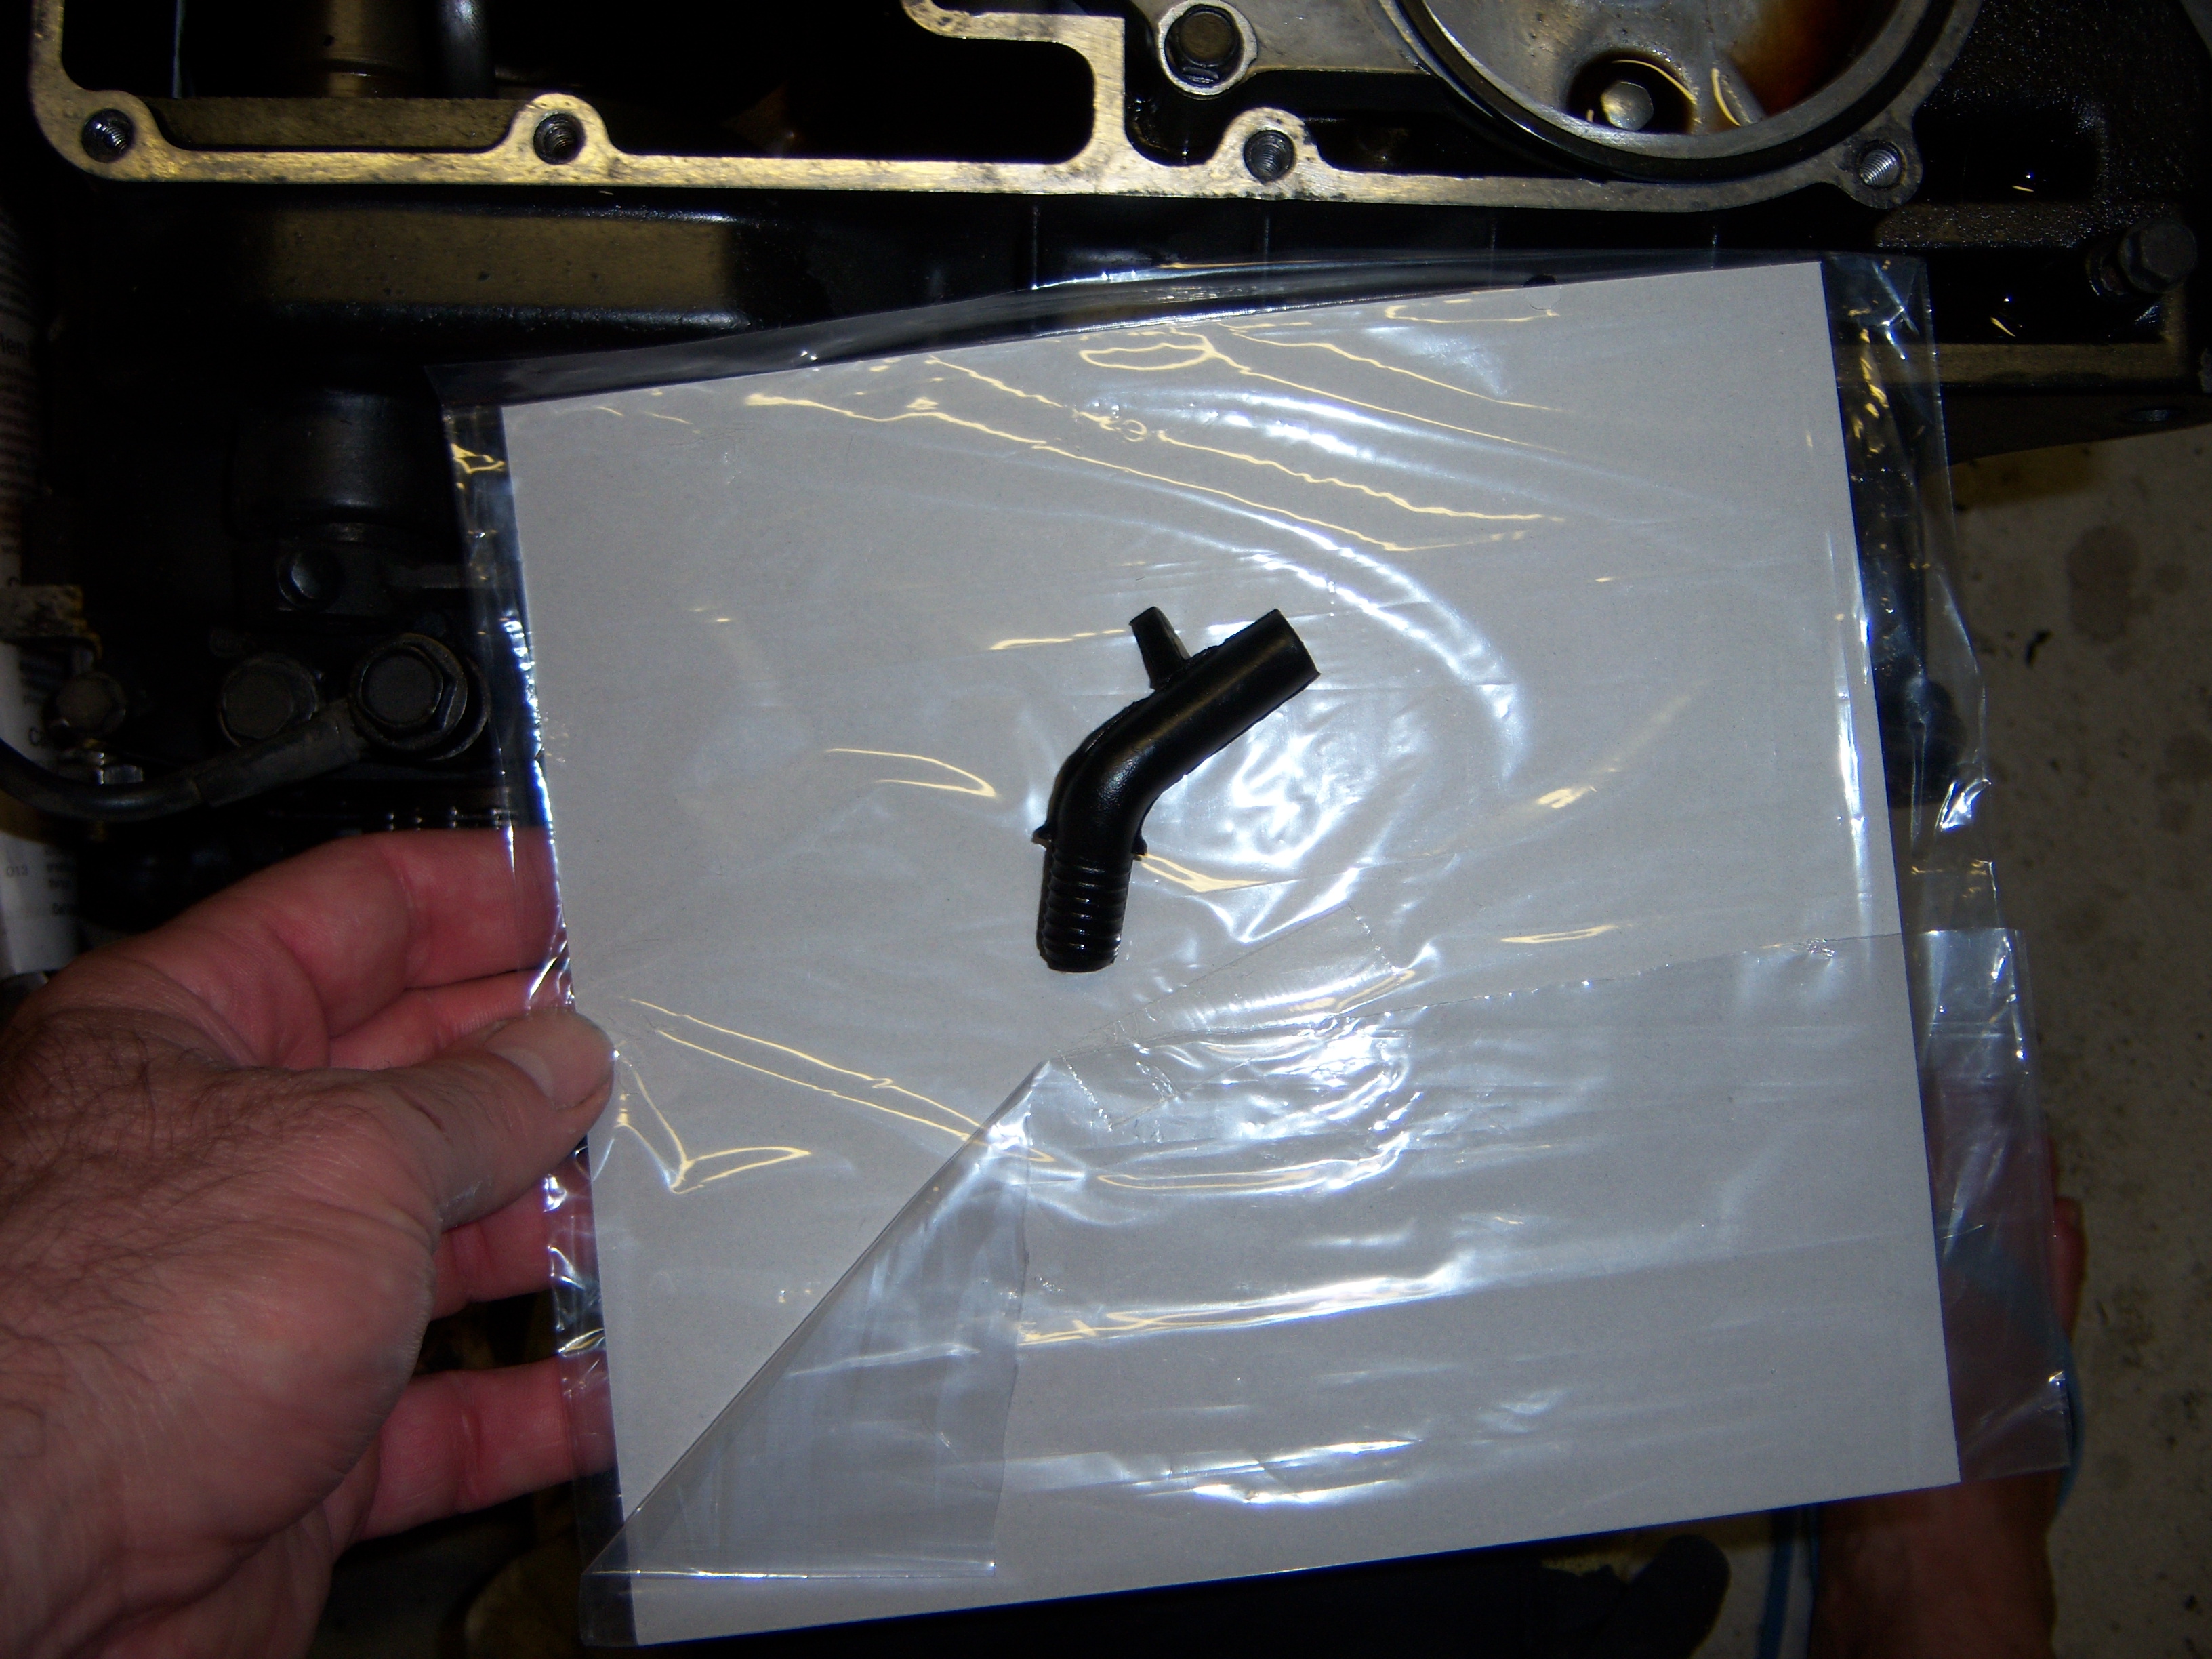
- Re-fit cooling plumbing.
- Refill oil
- Start engine!
Final note, check the balance shaft timing as per the service manual, it’s really the only re-assembly issue you will have if you methodically follow the re-assembly steps in order.