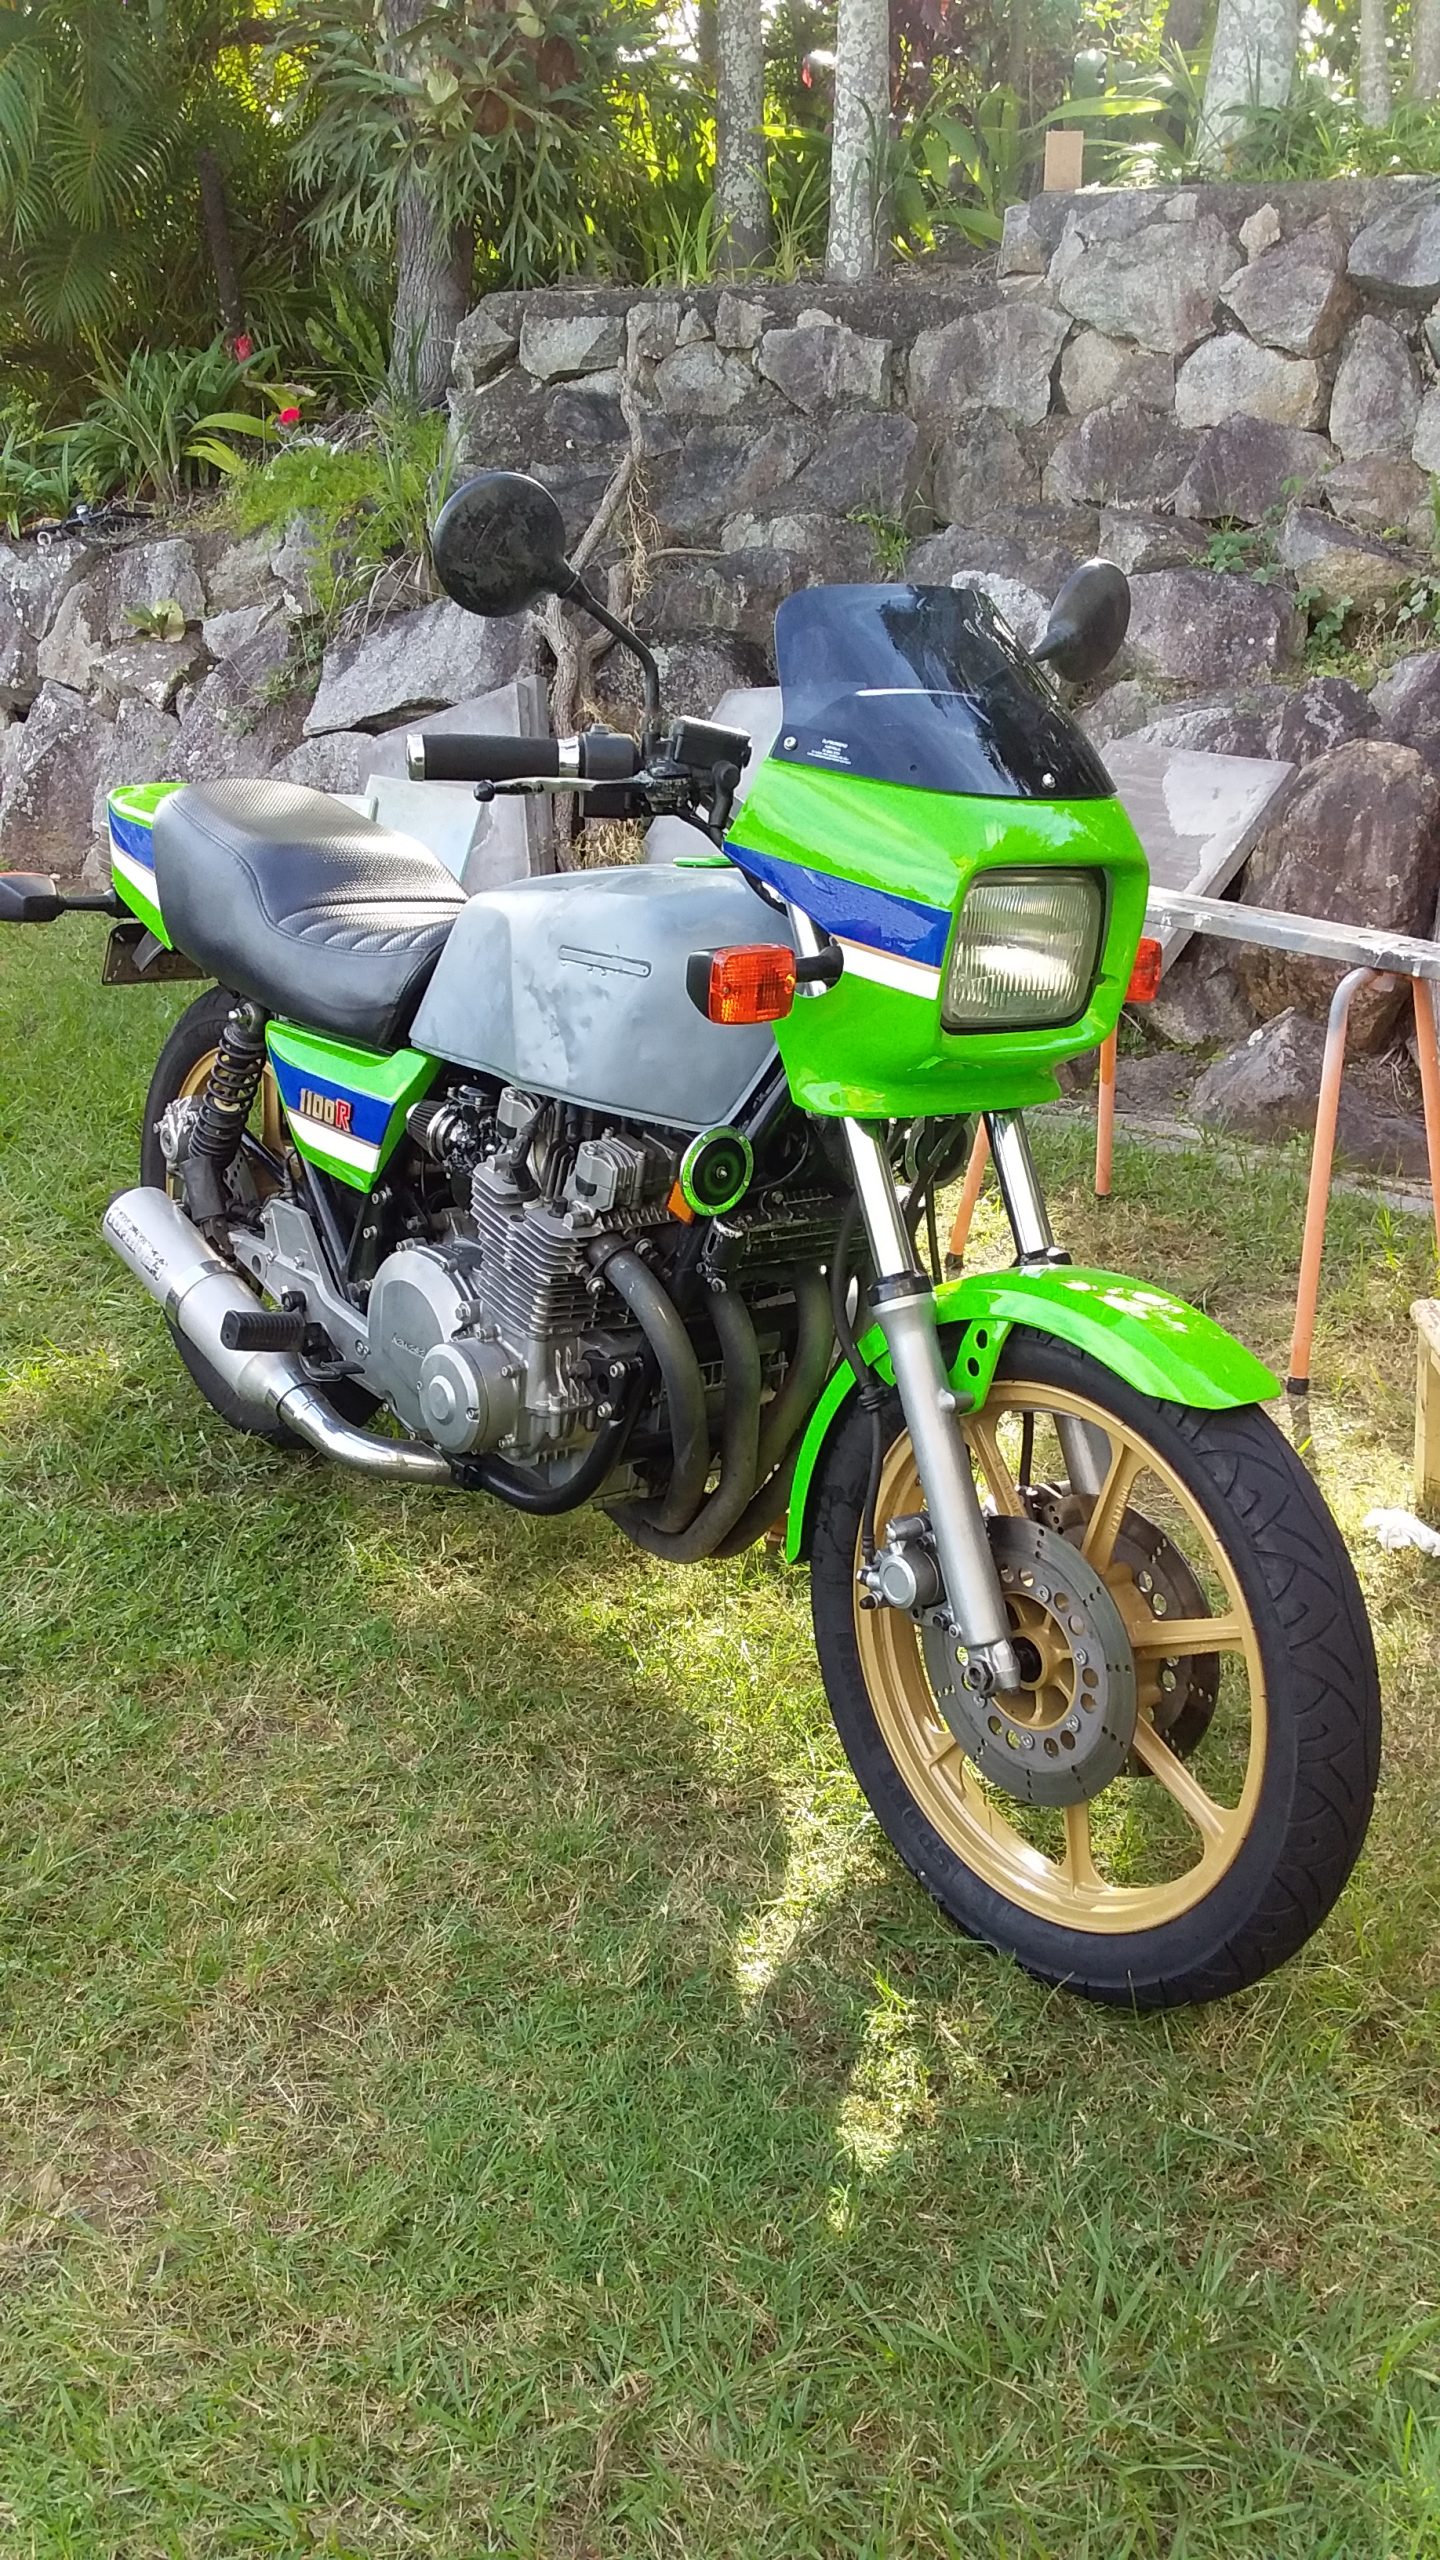
One morning I started my 1994 zx9r when I heard the sound of a chain rattling. Yes its 25 years old but I keep it maintained and didn’t expect to hear odd chain noises that disappeared when the engine warmed but re-appeared when riding.
There is nothing more worrying than hearing noises, especially a chain noise coming from your engine that wasnt there yesterday!
I had a flick through the factory service manual and decided I needed to check both the cam chain and alternator chain.
The cam chain adjuster is externally mounted for easy access. However a cam chain usually keeps making noise regardless of rpm when its loose so it looked more like it was not the problem.
I should point out that “Easy access” is a bit of a miss-leading term on a zx9 since you still need to remove the fairing and take the air resonance box off to get access down the side of the right hand carburetor to remove the adjuster.
Having removed the fairing etc I discovered something disturbing, the Cam Chain Adjuster had come loose by a few millimeters. Removing it and resetting it back in fixed that.
The next chain to check was the Alternator chain and its two tensioners. This requires removal of the clutch cover followed by the removal of the clutch hub. My 1994 B1 model is different to later models, it has a slipper clutch. Once its out we have full access to the chain.
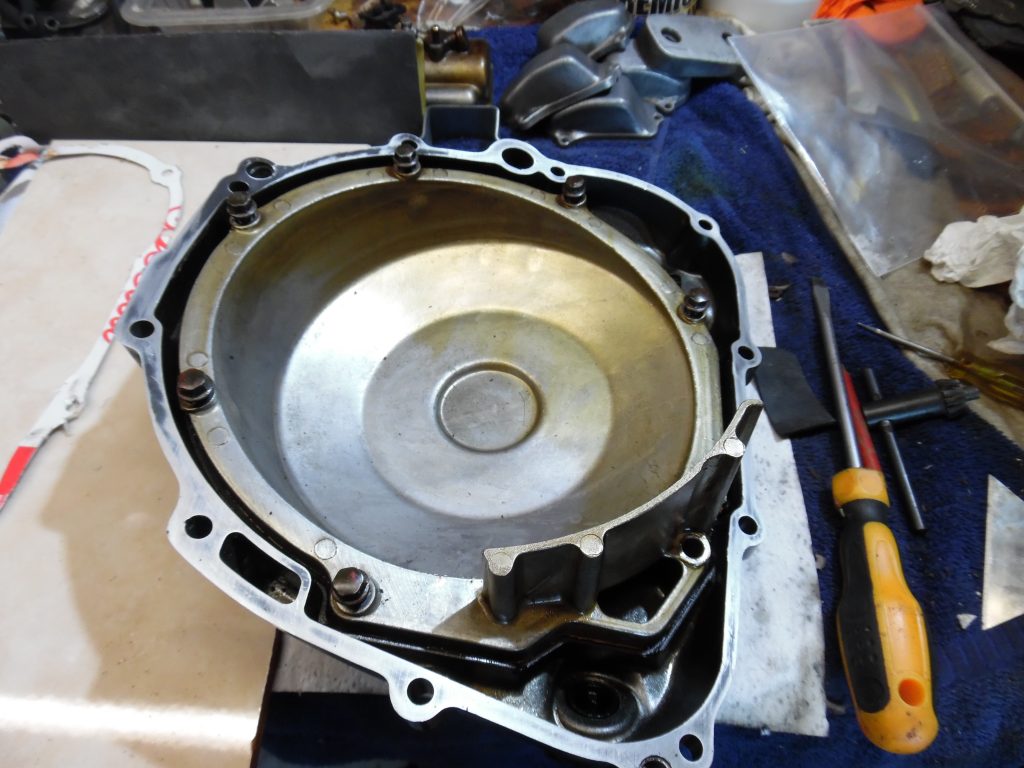
Removing the clutch cover
The clutch is housed on the right hand side of the engine when your sitting on the bike, its behind a cover held by ten 6mm screws. Once you’ve removed then, you will be able to see the clutch hub and behind it the Alternator Chain.
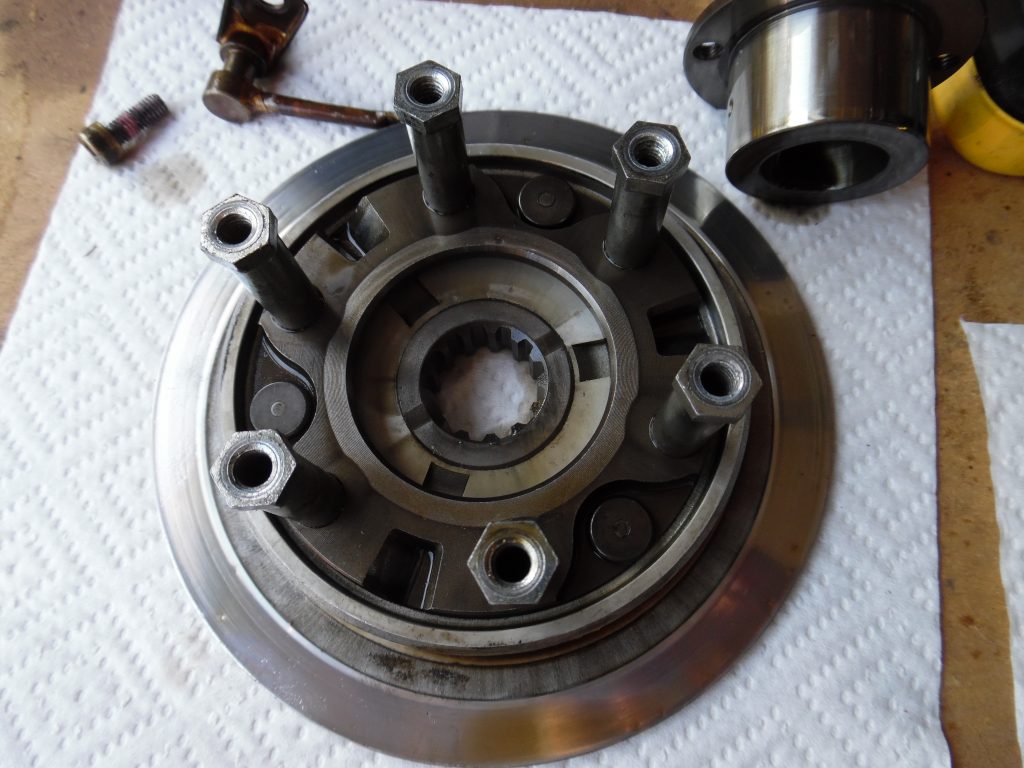
The clutch hub is spring loaded, first you need to undo each set screw a so the pressure plate can be removed. Its best to loosen each one a small amount in turn and then remove them in alternate sequence.
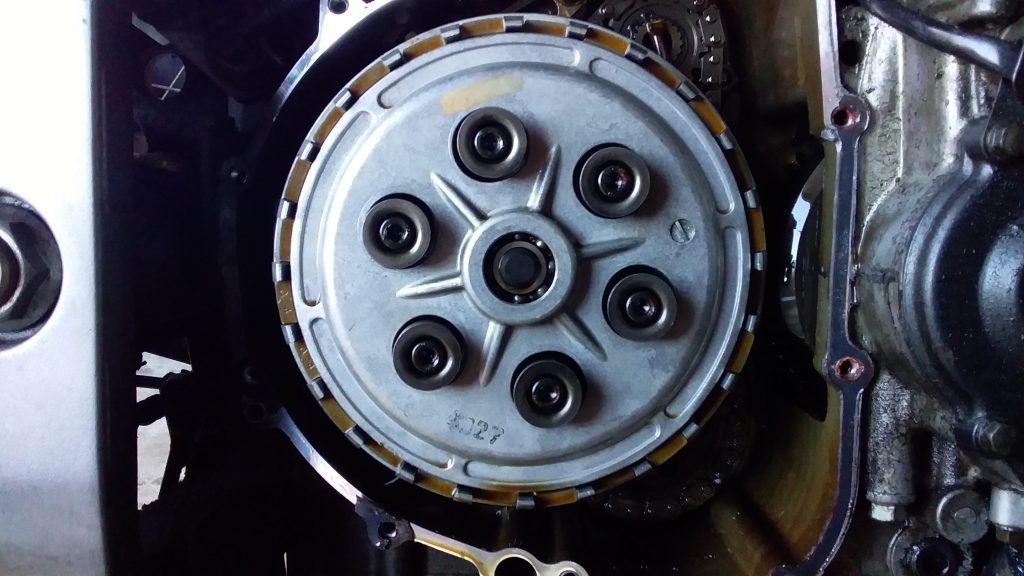
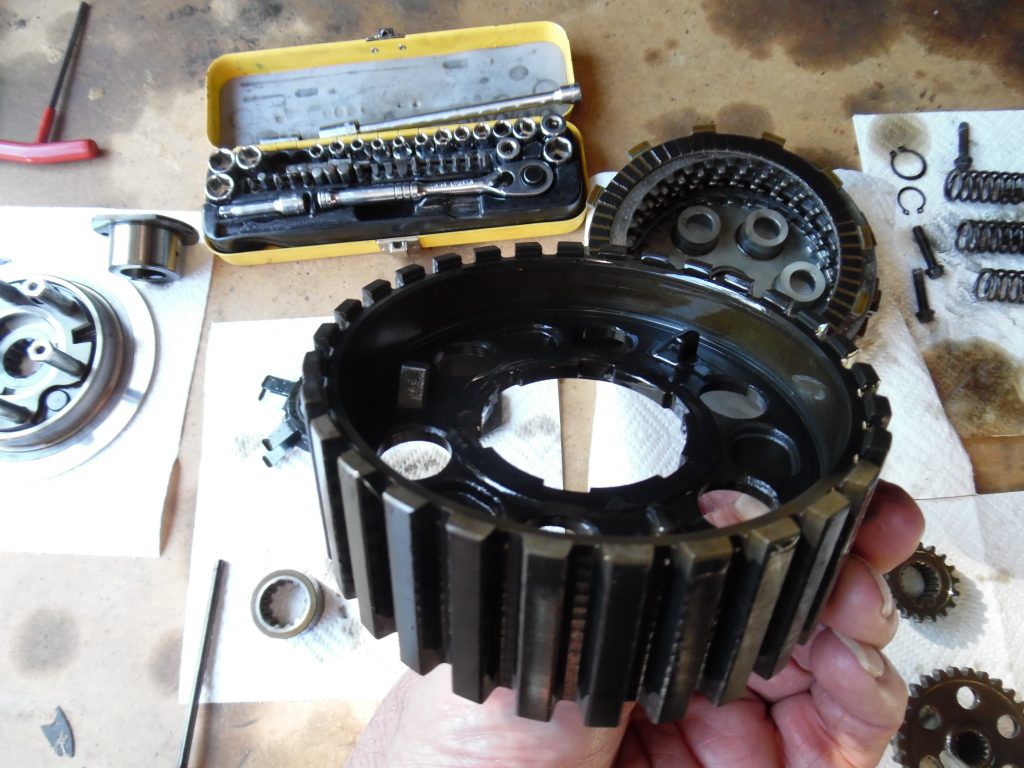
Once the pressure plate is removed you can see the springs that form part of the slipper clutch as well as the clutch plates. I had to get a 32mm impact socket to remove the large nut. For a quick win I removed the plates so I could inspect them for warpage and wear.
A closer look at the springs, they sit on top of each other applying pressure to the hub to keep it against the base of the hub.
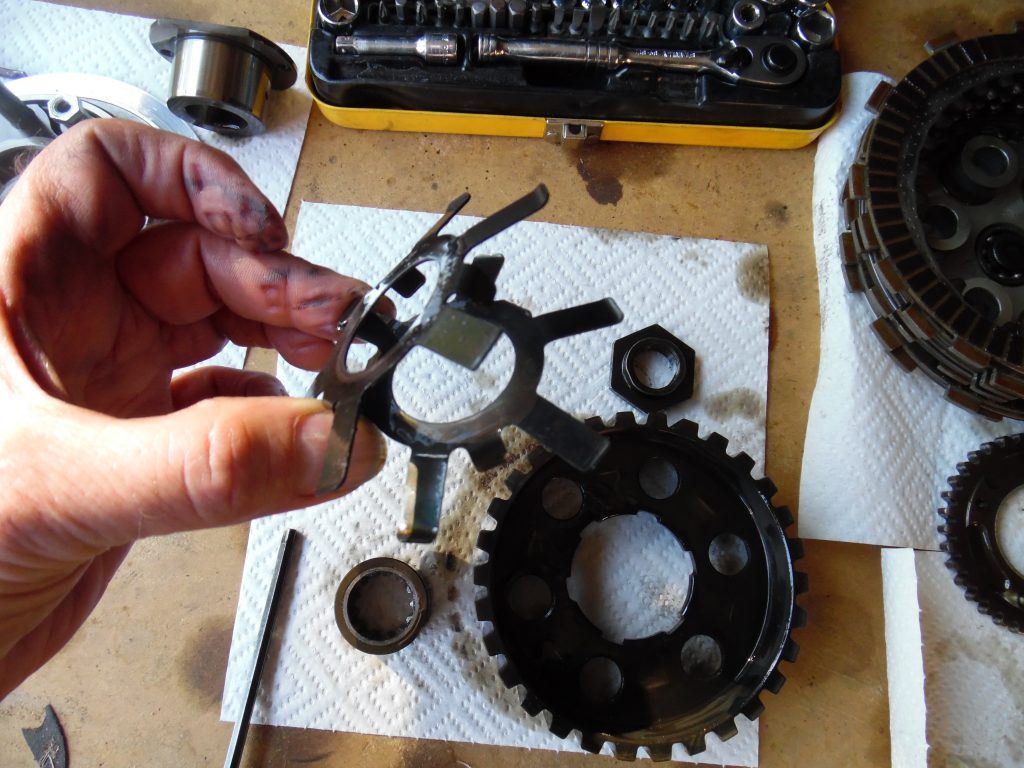
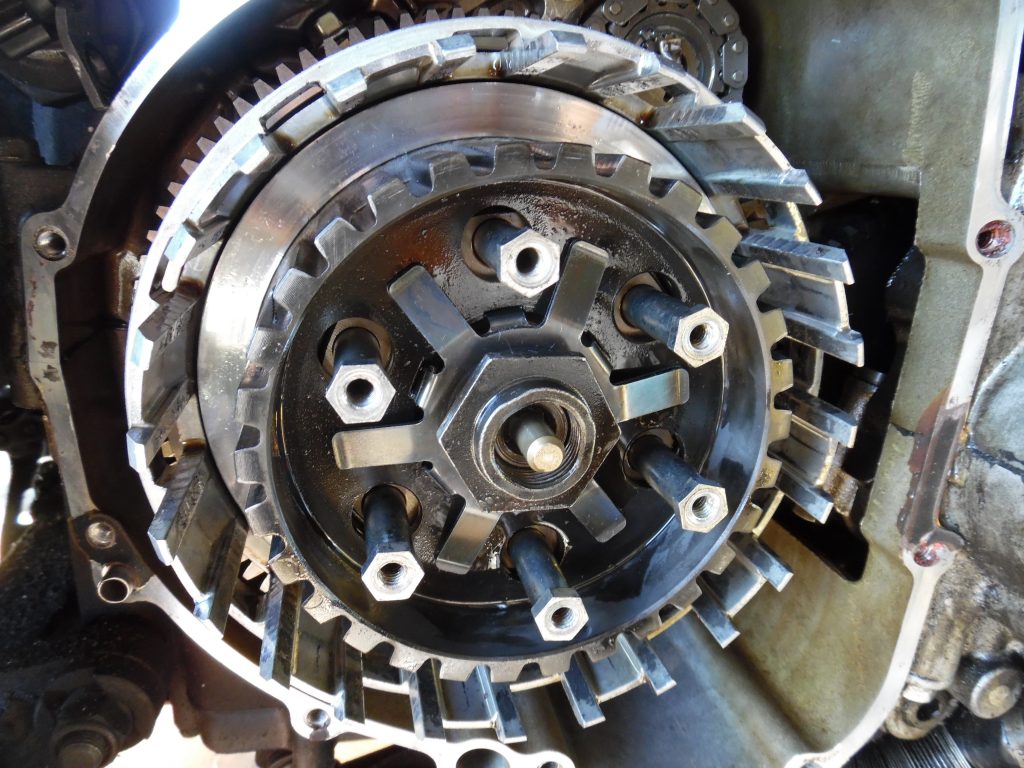
Normally the clutch hub and its base are one piece. In a slipper clutch they are in two part as shown in the following two photos. The hub has three tangs that slot into the base.
Once the hub is out you can see the chain and tensioners.
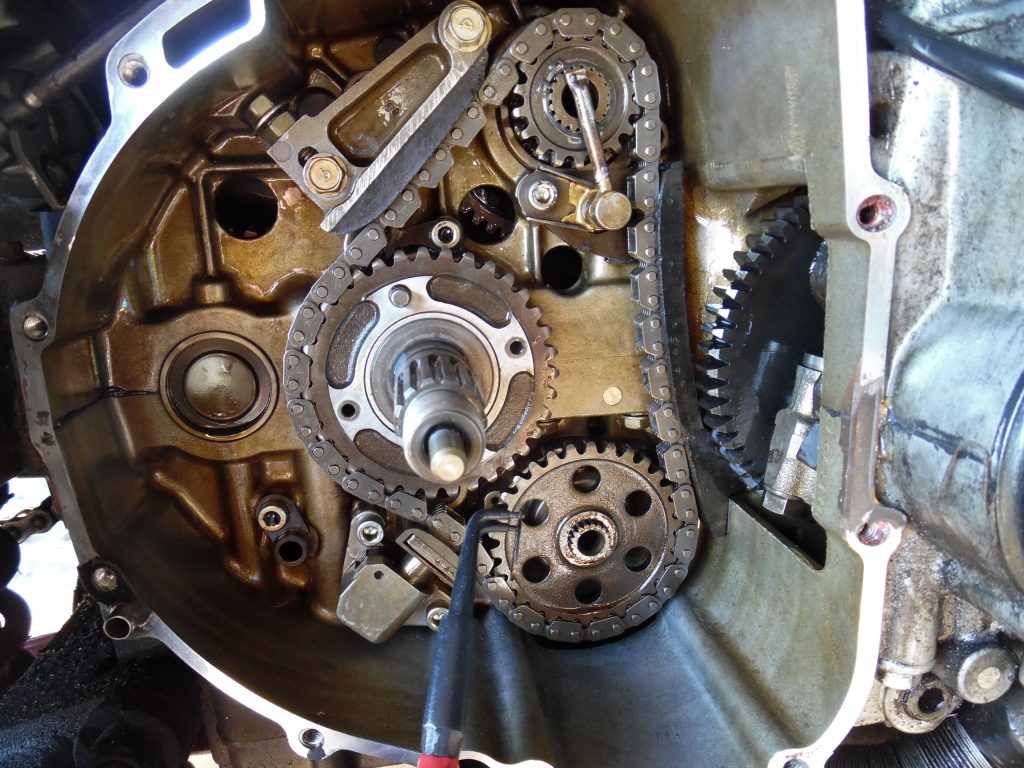
Slipper clutchers have a few more parts but they are esentially the same physical size as a “normal” clutch hub. Once the hub is removed you can see the Alternator chain and both the top manual adjuster as well as the lower automatic adjuster.
First thing I noticed were:
- The manual adjuster is fully screwed in at the original factory position.
- The automatic one is fully extended.
- The chain feels loose and
- The fixed chain guide looks ok.
The service manual does list a maximum wear length based on 20 links measured.
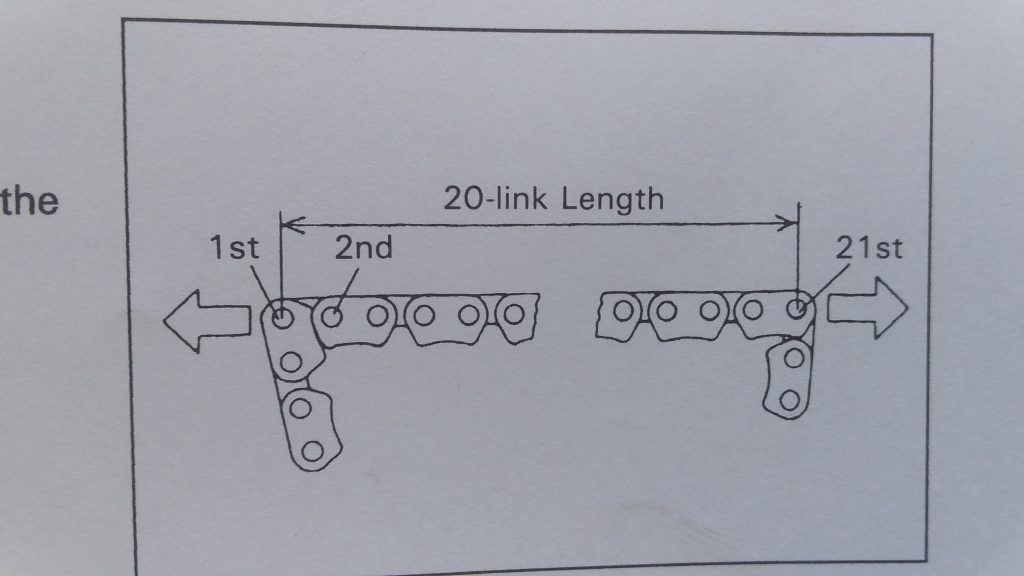
I measured the chain as best I could and it appears to be still in the service range, so I adjusted in the manual tensioner and reset the automatic one. After re-assembling the hub in the reverse order and fitting a new gasket, starting it up revealed no extraneous chain noise 🙂