Lacing a wire wheel is not something you do everyday, and certainly it’s not a skill you will use often, however its handy to know if you do plan to restore a lot of bikes. When I wrote my book on “How to Rebuild and Restore Classic Japanese Motorcycles” time and space prevented me from adding in every conceivable tutorial on rebuilding all the parts of a bike especially a tutorial on how to lace a spoke wheel. Hopefully if a second edition eventuates then I can add some of these tutorials in.
I decided to use my z1000A2 for the tutorial. Since I am (slowly) restoring it, the z1000 needed both rims re-chromed so it was an opportune time to also replace the spokes. Normally the Kawasaki factory spokes are plain steel, which eventually rust. For the rebuild which will head more towards the Resto-Mod end of the rebuilding scale, aftermarket stainless steel spokes would be a better choice.
Parts Needed
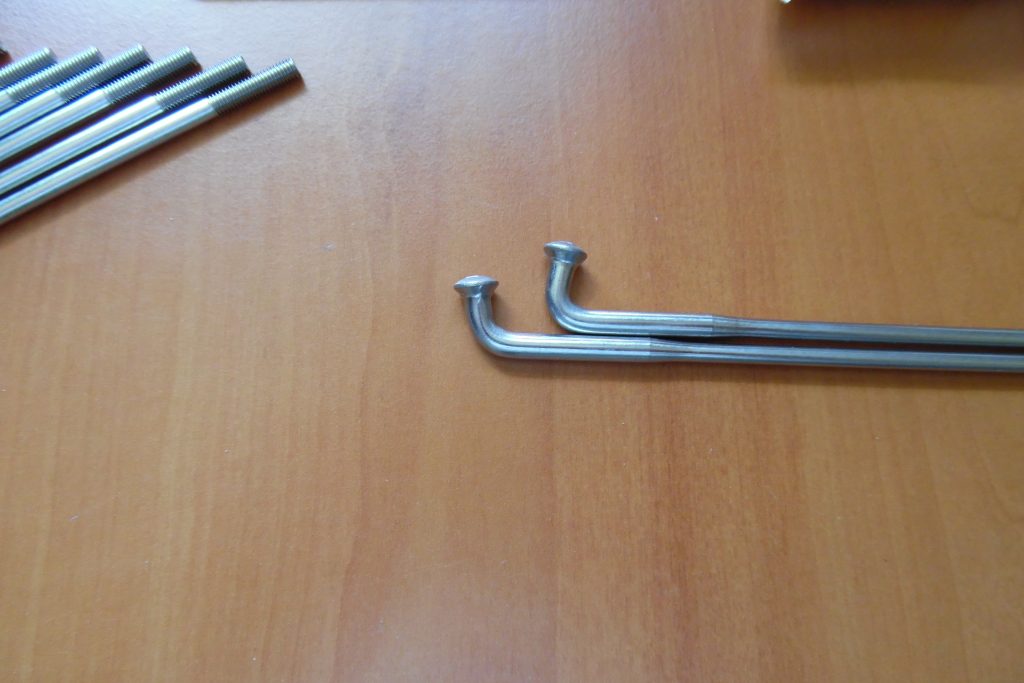
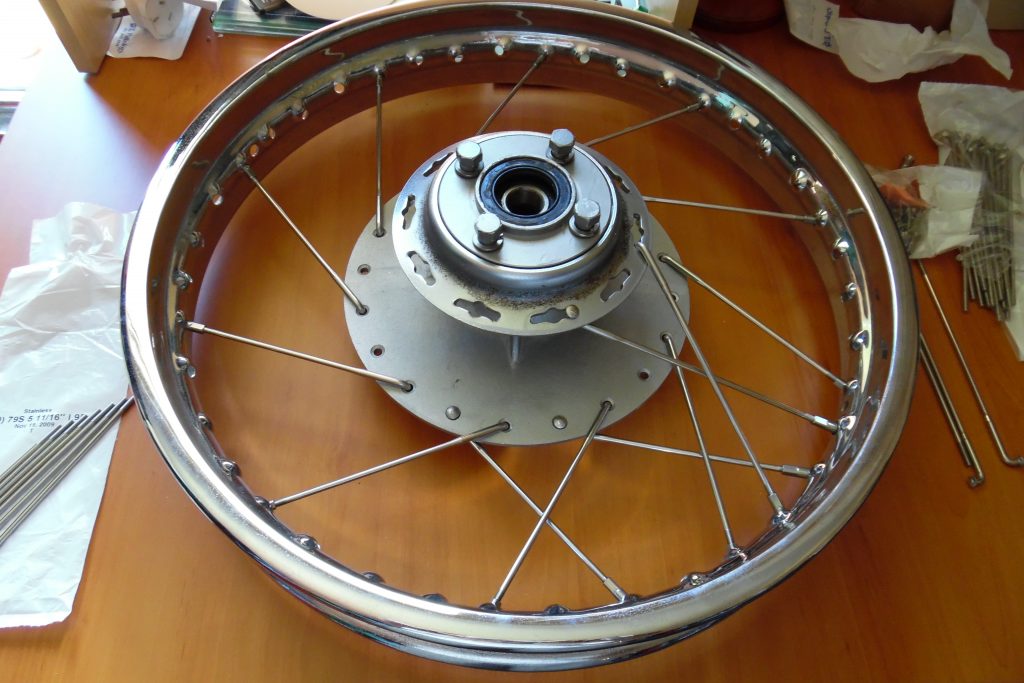
For the tutorial, I will show you the steps to lacing up the rear wheel as it has a disk fitted and so provides a slight variation you don’t get on a font wheel. The kit I ordered comes with the spokes, nipples and a thick lubricant.

Spoke Wheels usually have two distinct style spokes, they have slightly different bends that correspond to inner or outer position. If the hub is not symmetrical then there will be 4 styles of spokes used.
Getting Started
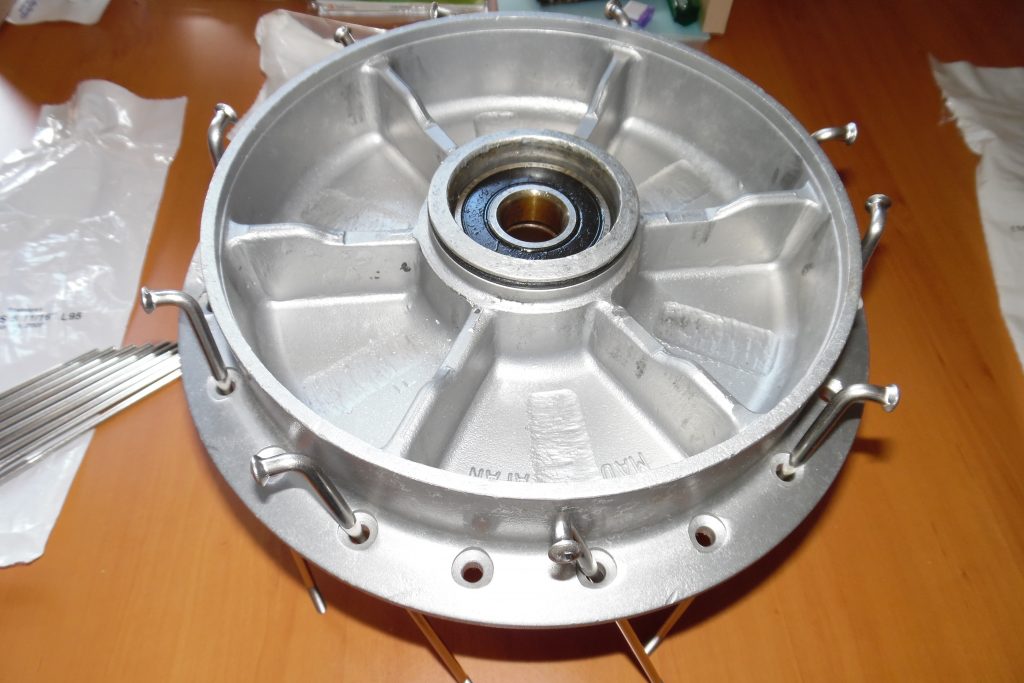
To get started, I have placed the short spokes into every second hole, then I need to orientate them towards the rim and match it to the correct nipple, which if you look carefully at the rim, has indentations in two directions. locate the correct spot on the rim to start from, place a nipple through a hole so it is pointing in the direction of the spoke. Keep in mind the spoke is usually at an angle and the hub is centered in the middle of the rim at all times. Do one side first and don’t forget to lube the threads!
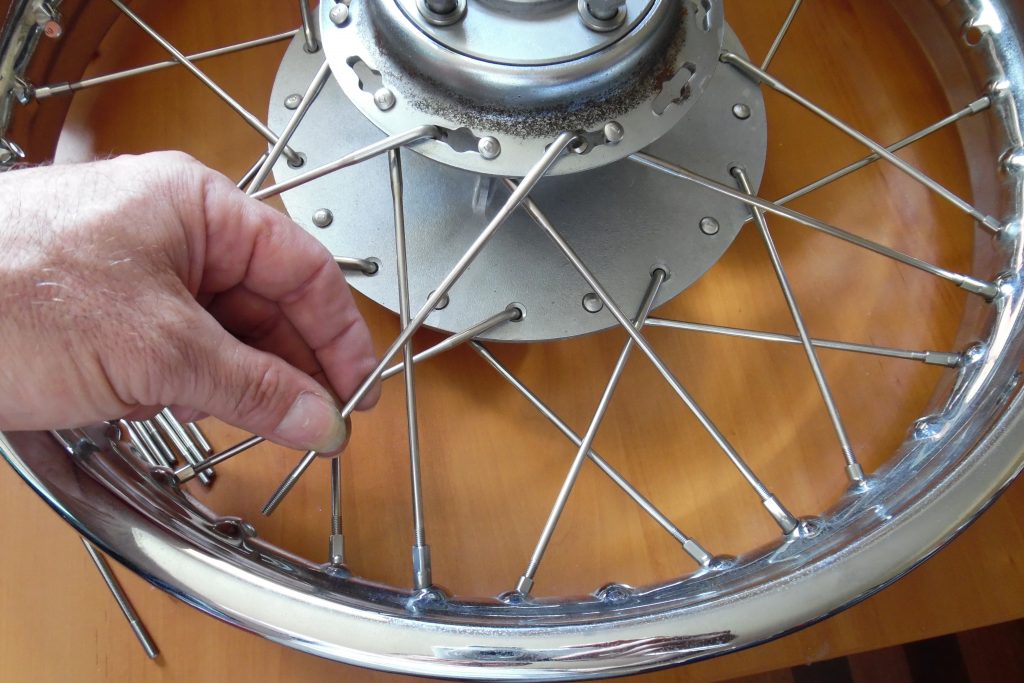
Flip the rim over and do the inner spokes for the other side, don’t forget to lube the threads! make sure you get the direction correct. I have shown some outer spokes in position crossing over the inner spokes so you get the idea.
Once all the inner spokes are done for one side of the hub, do the outer spokes, they will position over the top of the inner spokes. Lube the thread and screw a nipple on it. Flip the wheel over and do the outer spokes on the other side. Spokes should never touch but can be very close.
The z1000A1-A2 models have a steel carrier for the spokes. It has a larger hole in the middle of each pair of spokes to put the spoke through, normally you have to feed it up from underneath.
Truing your Wheel
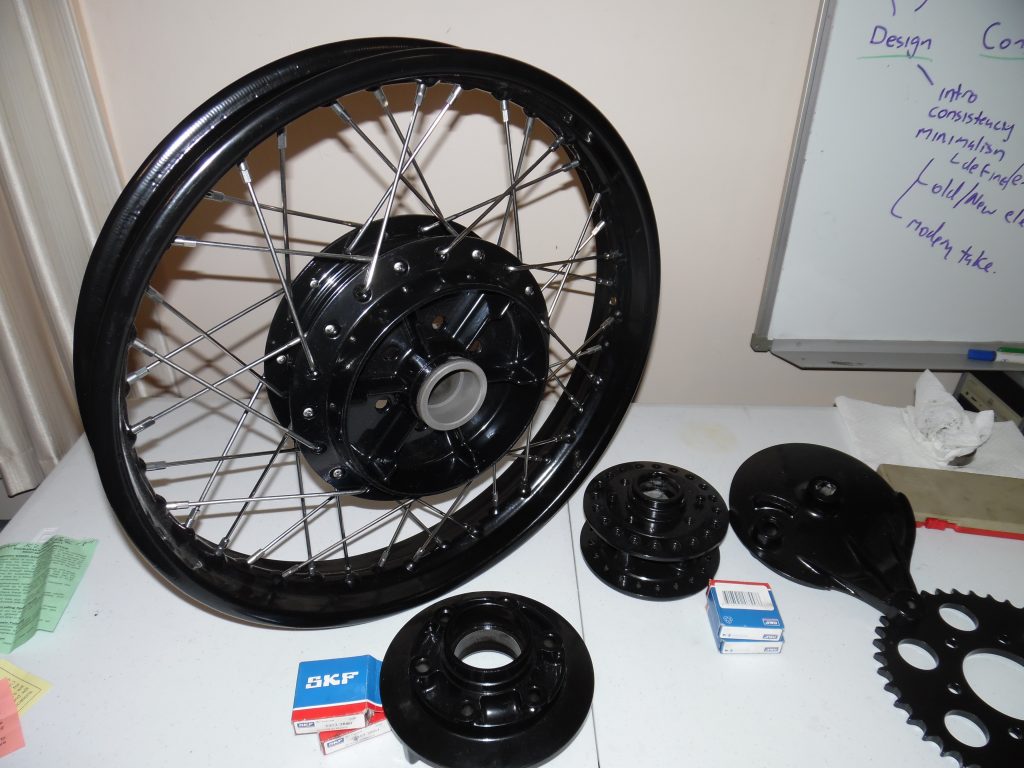
This wheel is for a special project (my z650 Cafe Racer), notice the bearings are not installed! Press the bearings in BEFORE you start lacing the wheel, this makes assembly easier.
Truing is an art but the basics are to get left to right movement to within spec, maybe 1mm and out of round movement (up/down) to within specs also.
You should use a dial gauge for accuracy but you can do it by eye using a fixed pointer as a reference.
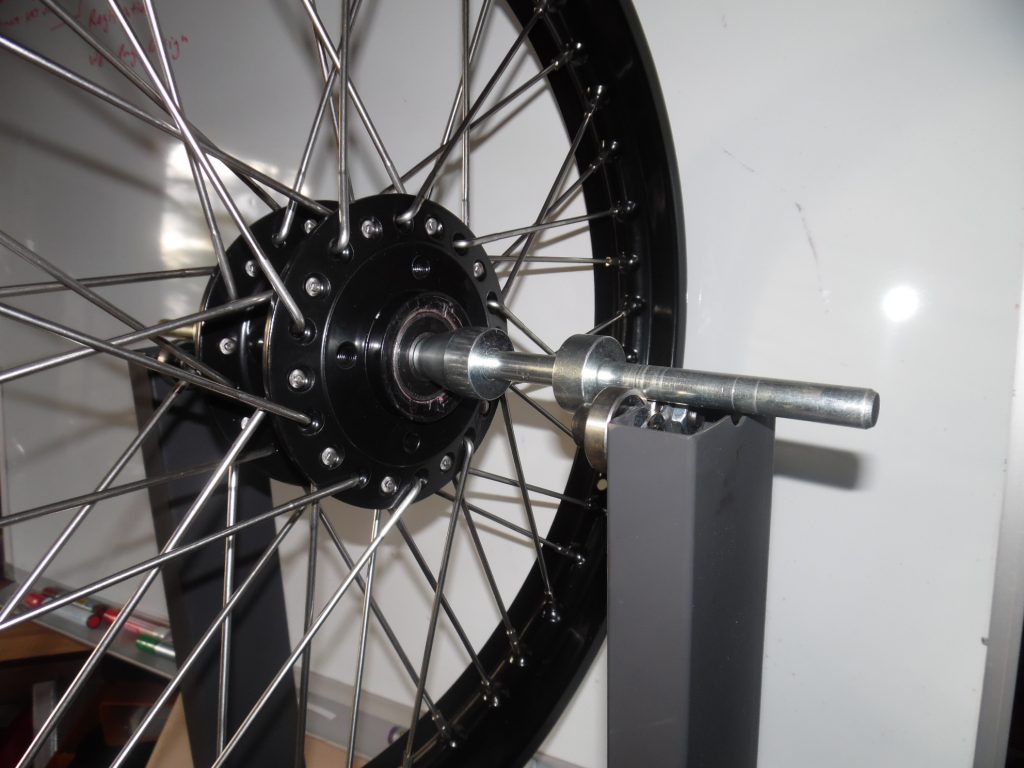
The wheel is positioned in the truing stand using the spools provided with the stand so it is spinning on its natural bearing arrangement .
Spin it a few times before you start adjusting anything so you can see the runout and stopping point, and setup the fixed reference.
Hints
For left to right truing, if the wheel is too far to the left measured at the bottom then you need to tighten the spokes on the right (opposing) side at the bottom, otherwise you can tighten the spokes on the same side at the top.
For up/down truing, if the wheel dips down you need to tighten the bottom and loosen the top. You also need to adjust the spokes spanning to the side as this will force the wheel out of round at another place.
-oOo-