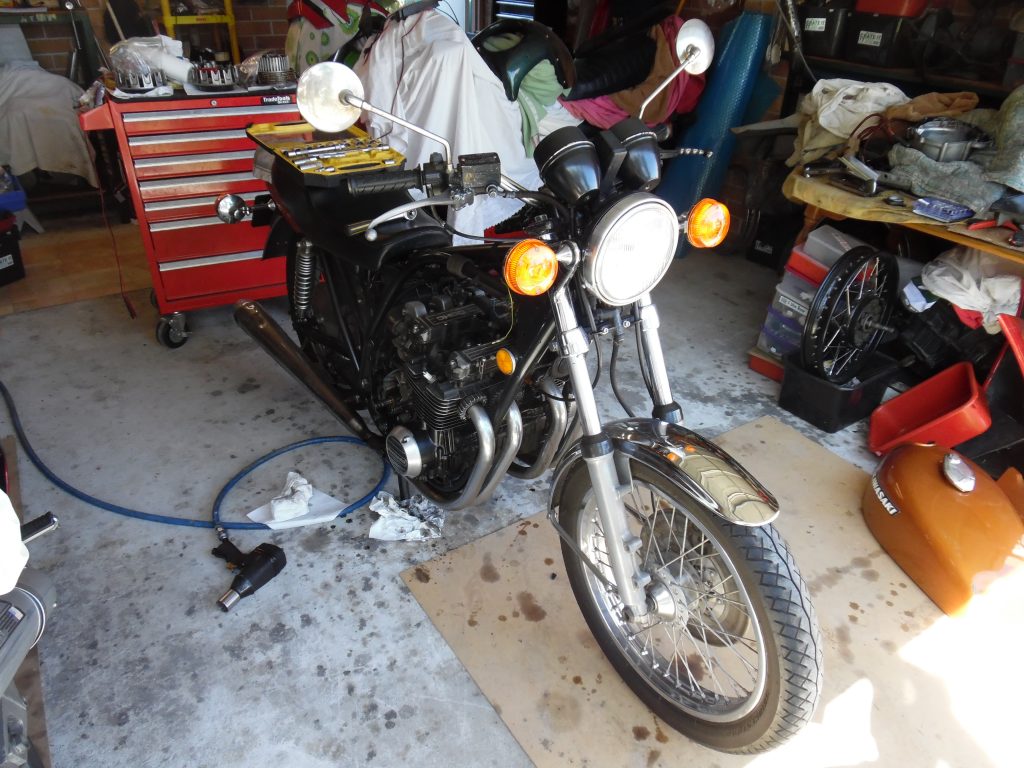
The Kawasaki z650 is one of those fantastic classic bikes that have come back into vogue as z1/z900/z1000 models become highly sought after and are now priced out of range for many enthusiasts young or old. Unless its in mint condition, fully restored or been immaculately maintained, then like any classic motorcycle passing 4 decades of life its going to have some mechanical issues. The z650 has two predominate issues that appear after a few decades, one is the dampening rubbers in the clutch, the other is the Starter Clutch.
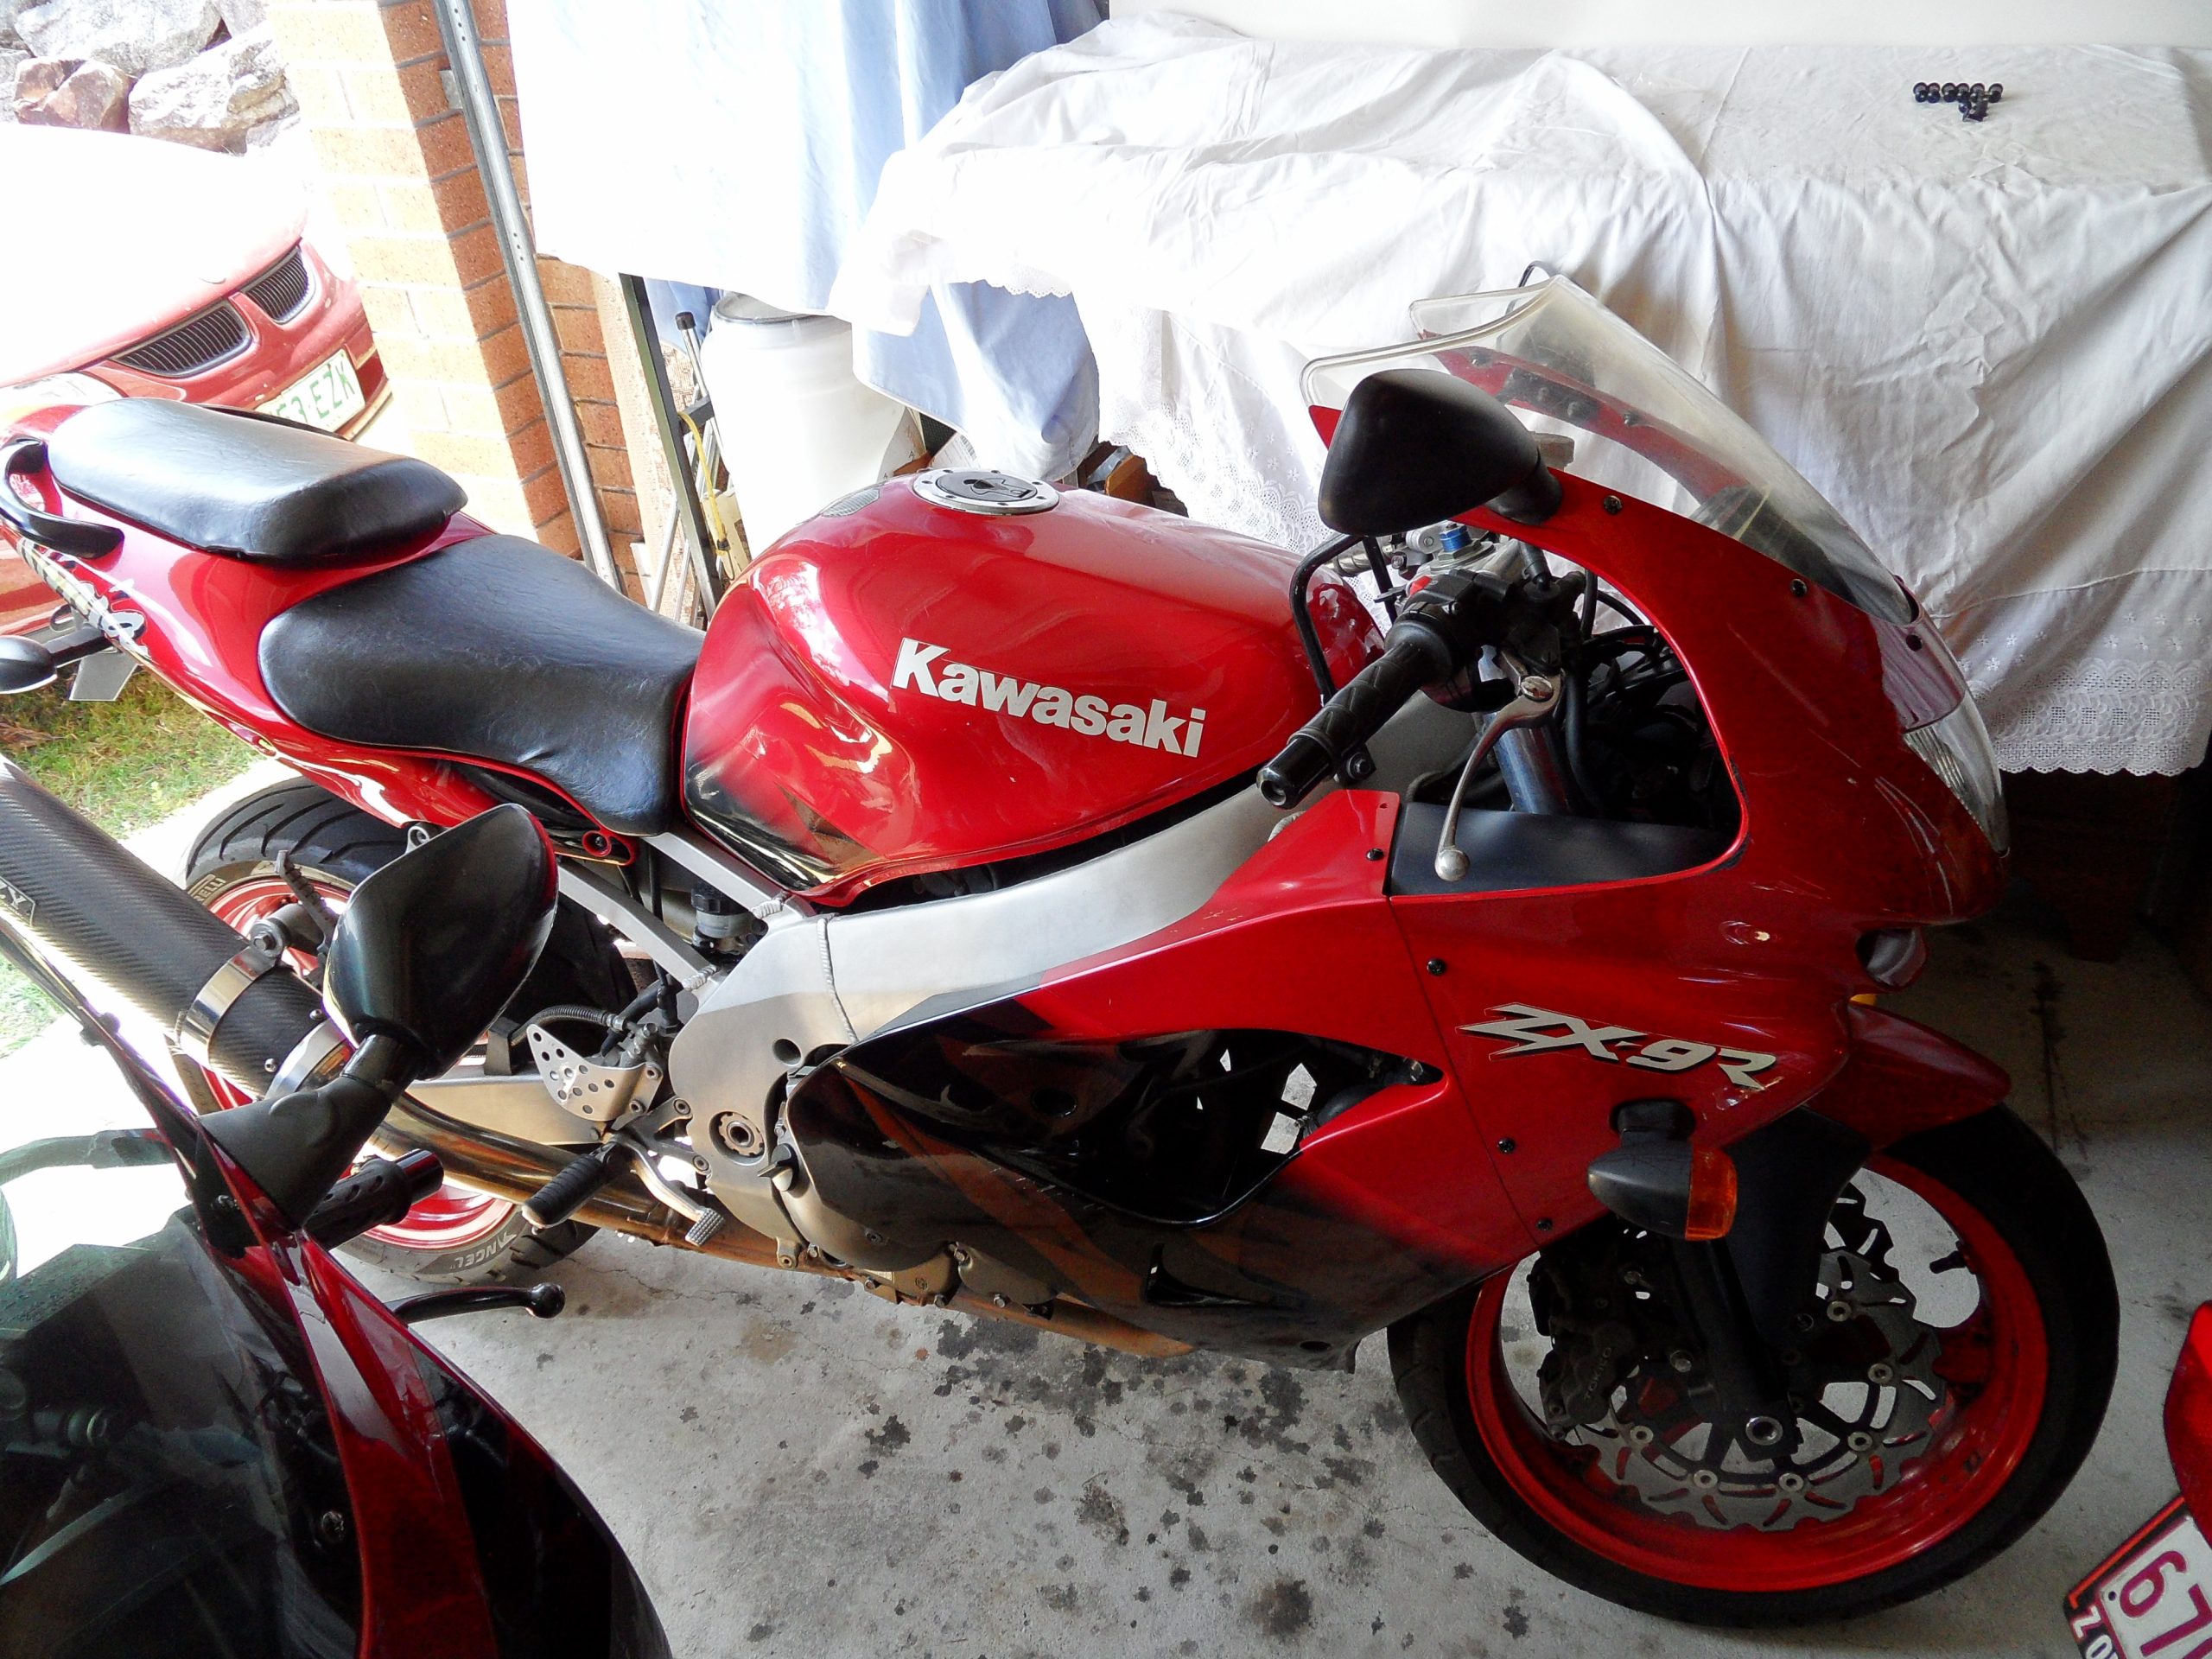
Its not the only bike to suffer from Starter Clutch Failure, the GPz900R also has Starter Clutch issues and its a lot more complex to remove and repair.
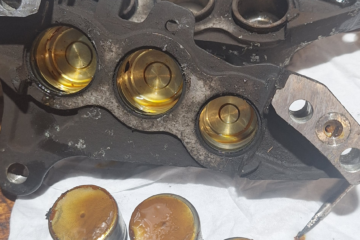
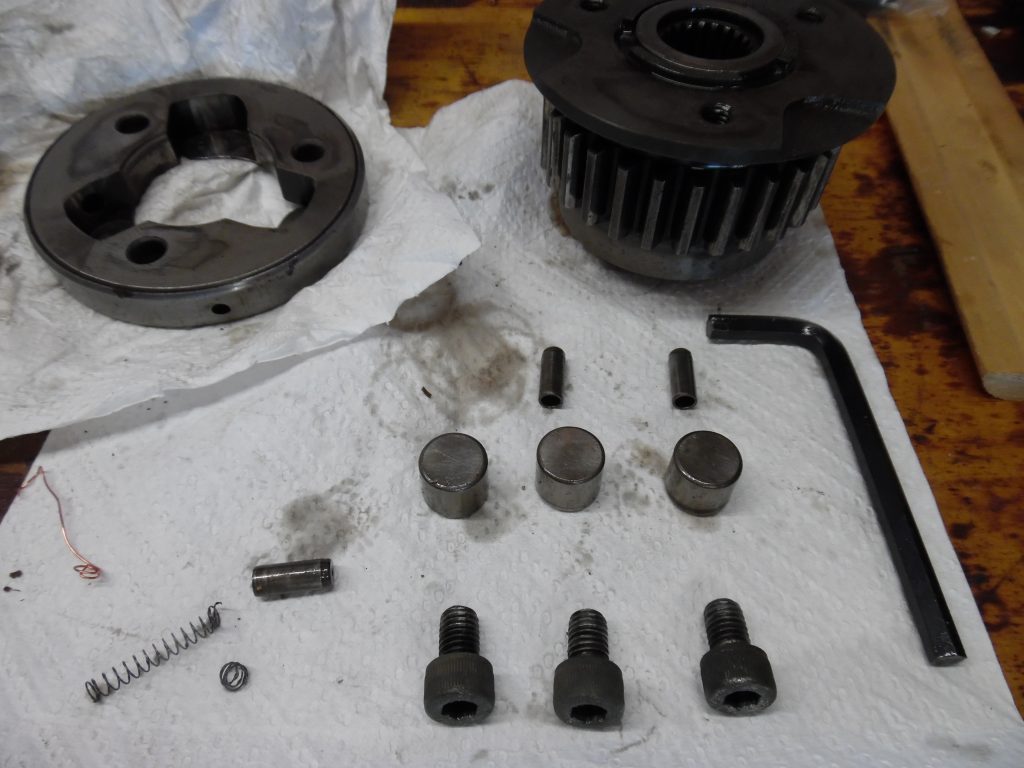
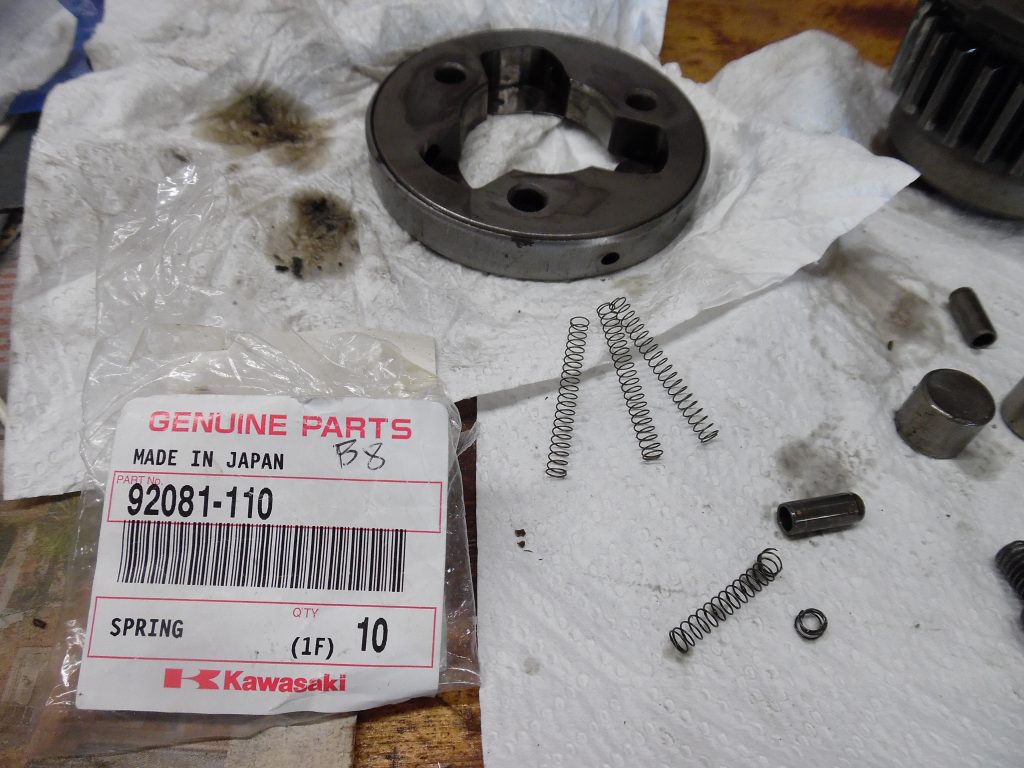
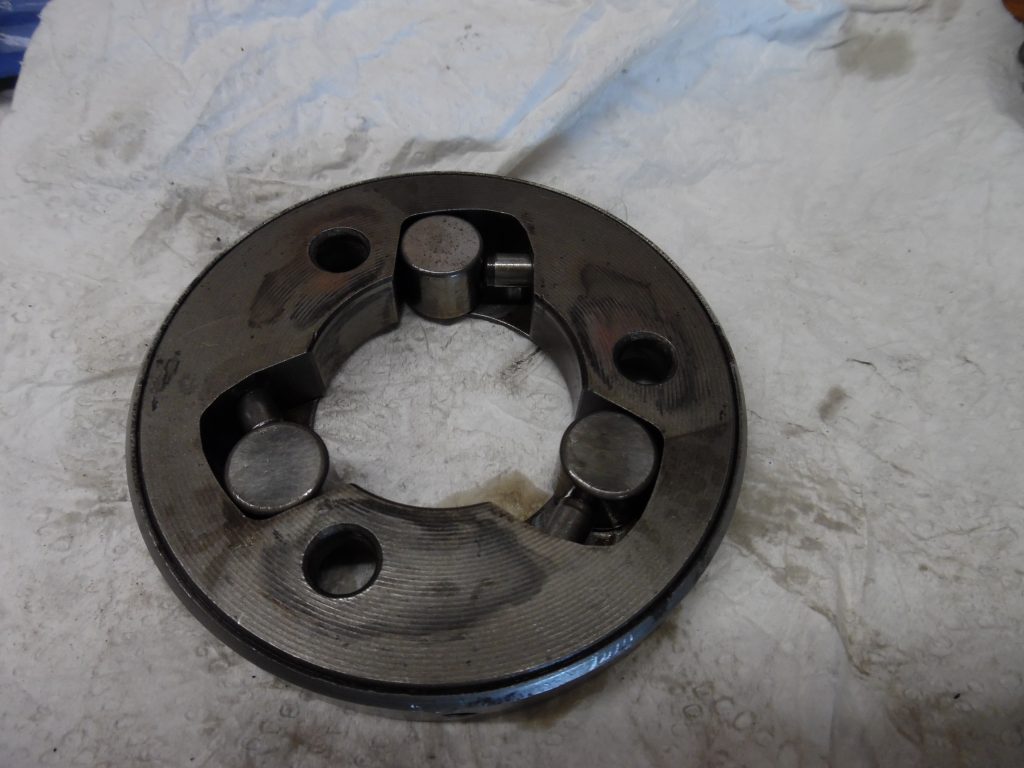
The primary issue with the Starter Clutch is the springs wear out and distort, causing the rollers in the free rolling clutch to not fully engage, thus when you hit the starter button, the Starter Clutch “free spins” rather than engaging fully, or intermittently it partially engages, either way its a pain and needs to be fixed. Worse case issue, is the housing is cracked and requires replacement, but this is rare and usually three (3) new springs does the job for another 20+ years.
Parts and Supplies
The basic parts you need are:
- Sump Gasket – Part #16112-006
- Clutch Cover Gasket – Part #14046-035
- 3x Sump O-Rings – Part #92055-077
- Starter Clutch Springs (minimal) – Part #92081-110 ( or full kit )
Note: Part Numbers can change over time.
Getting Started
Despite being located in the center of the engine the Starter Clutch can be removed with the engine in the frame, this is achieved by laying the bike down on its side and accessing the Starter Clutch via the sump once the required covers and parts are unbolted and removed. You will also need to have sufficient clearance around the exhaust system to get the sump off.
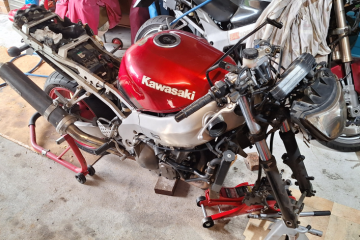
First, strip the bike of its fuel tank, side covers and stand the bike on a flat surface (where it can eventually be laid over without damage). Next, drain the oil out of the engine and remove the oil filter.
The Clutch Cover needs to come off, but to do that, you need to take off the foot peg, foot brake and kick starter (if you still have one). Remove the set screws that hold the clutch cover (keep them in order), place an oil tray underneath as oil will be sitting on the inside of the cover ready to pour out.
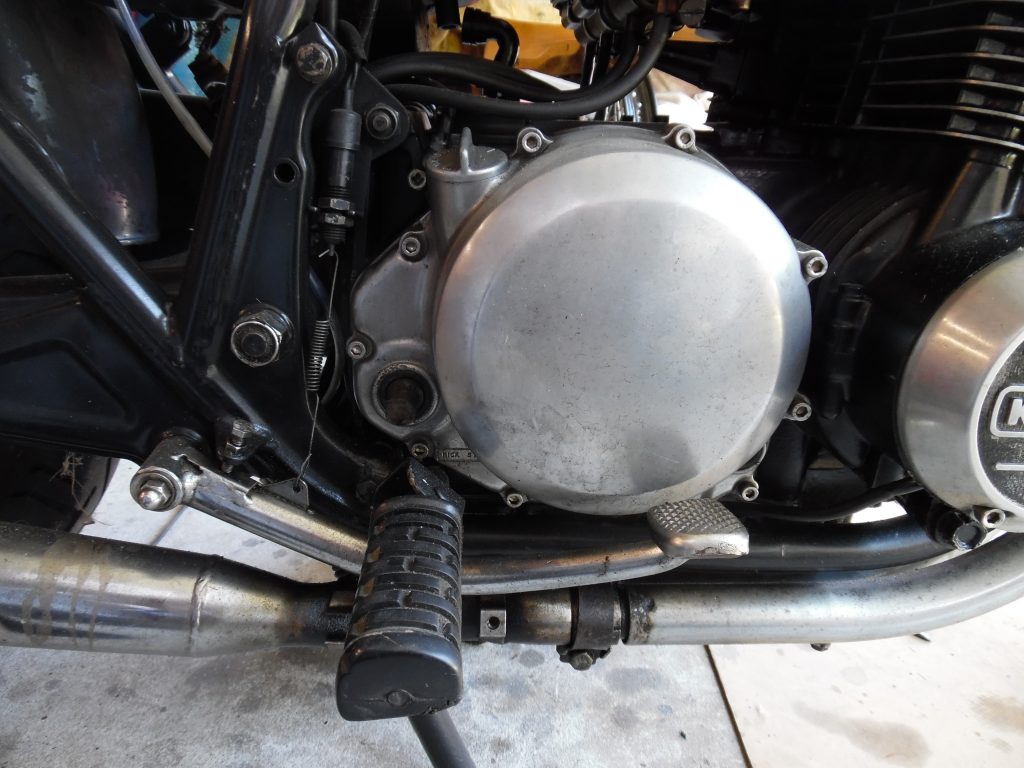
Remove the clutch cover, the gasket will need to be replaced on re-assembly so all the bits of the old gasket will need to be cleaned from the mating surfaces prior to re-assembly.
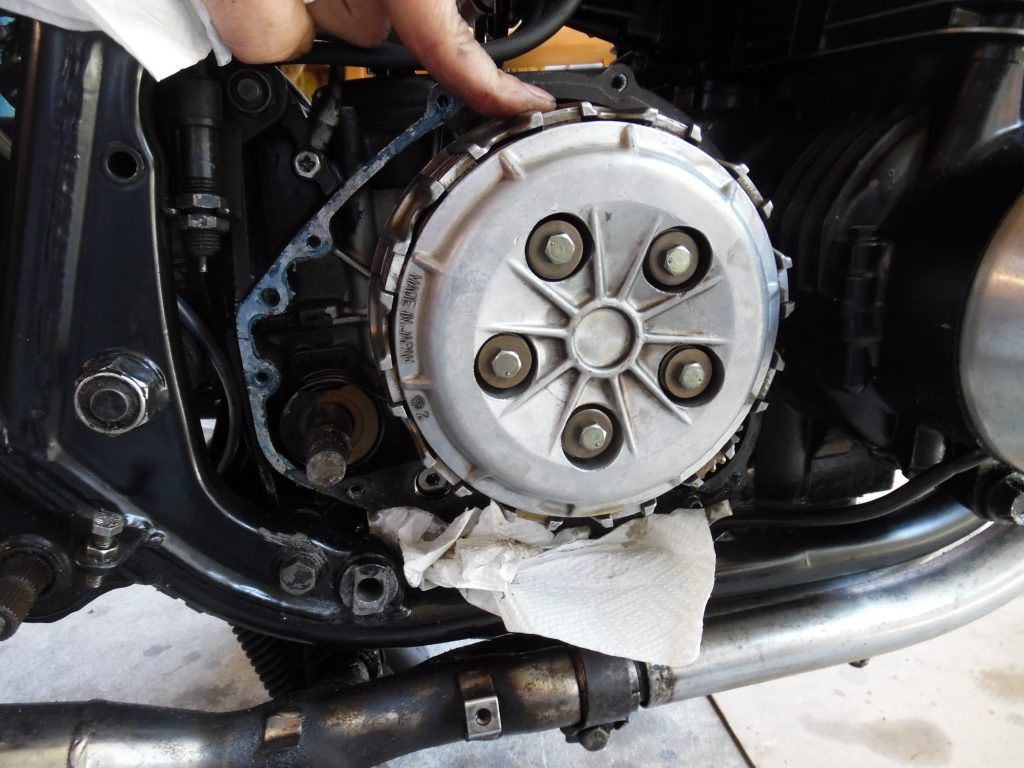
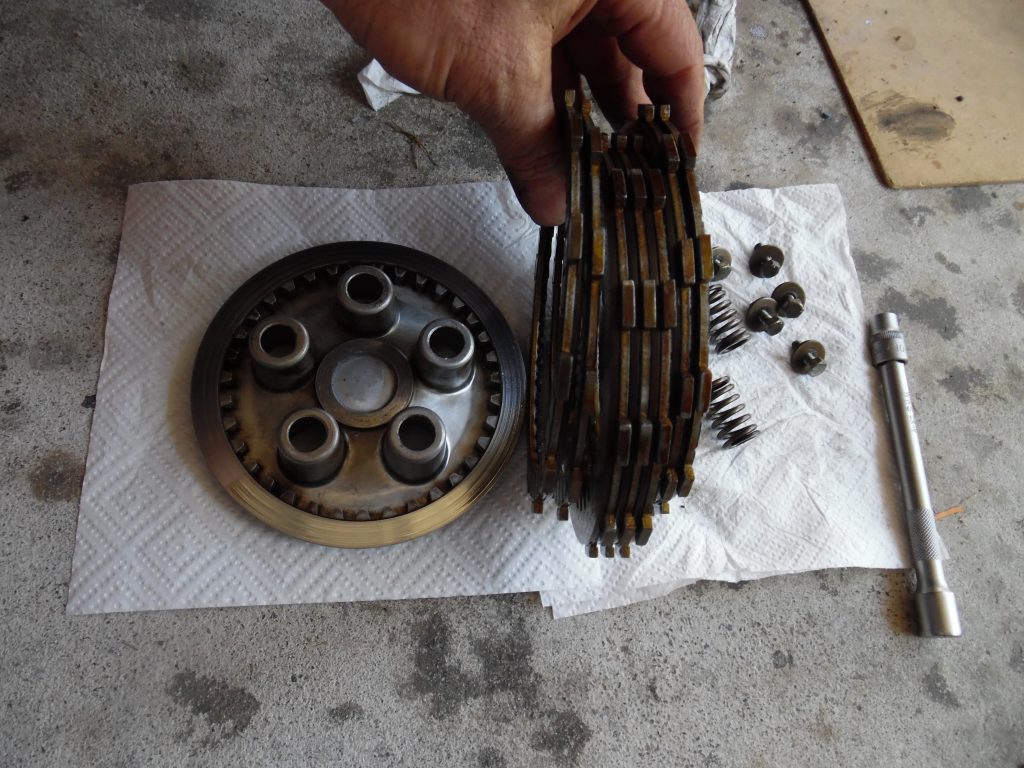
Next we need to remove the Clutch Basket Pressure Plate, its held in with five (5) set screws and spring loaded. Undo them in turn, a little at a time, check the pressure plate for cracks while you are at it (and give it a really good clean).
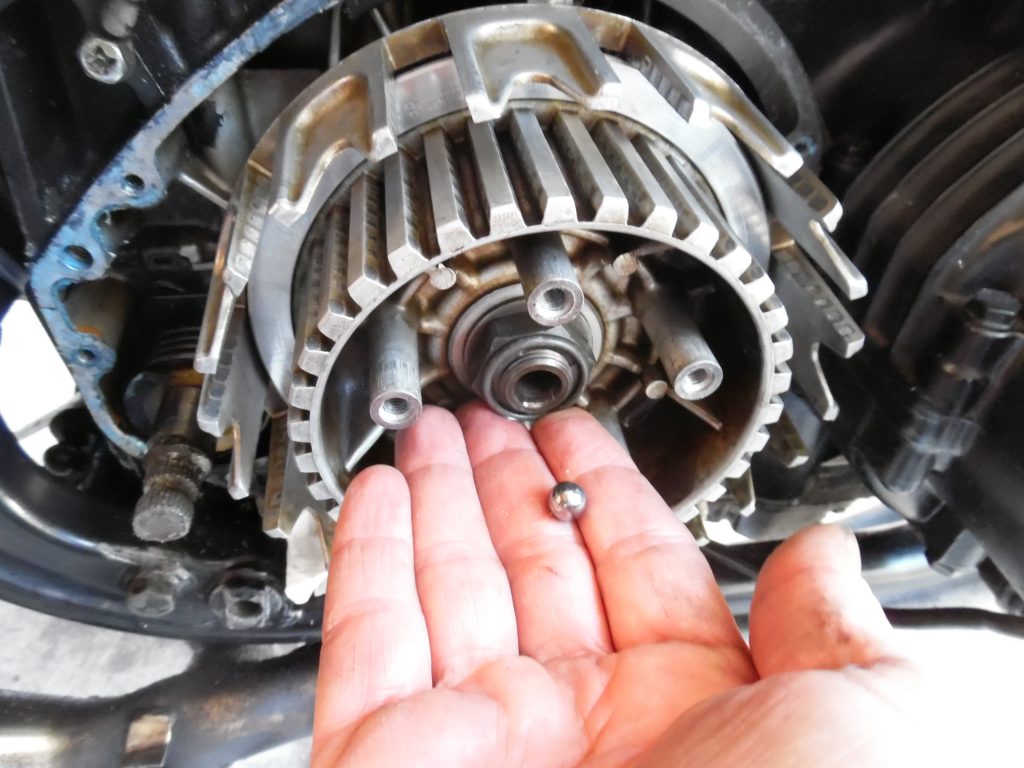
Once the Pressure Plate is off, there is a piece in the center to the hub that looks like an short cylinder head valve, it is part of the clutch rod “pusher” assembly and behind it is a ball bearing you need to remove. You can also remove each friction and steel plate at this time, keep them in order to aid re-assembly (while you have them out, measure them and check they are in factory service range).
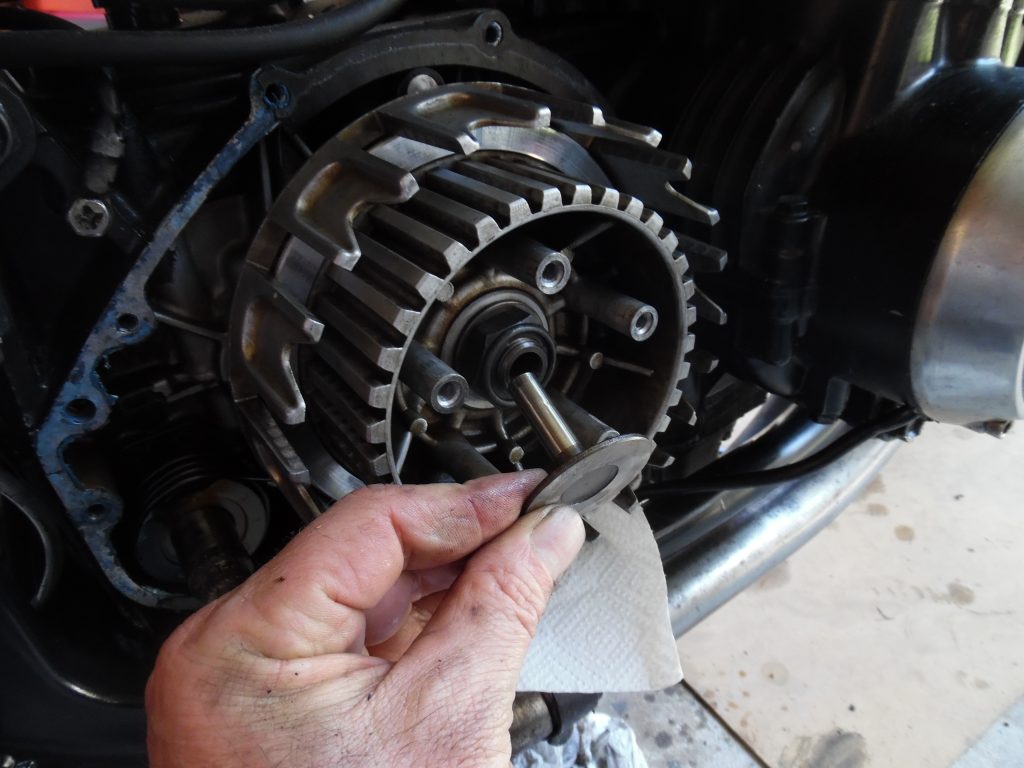
The ball bearing sits between the pusher and the clutch push rod (that is actuated by the clutch lever from the other side of the engine).
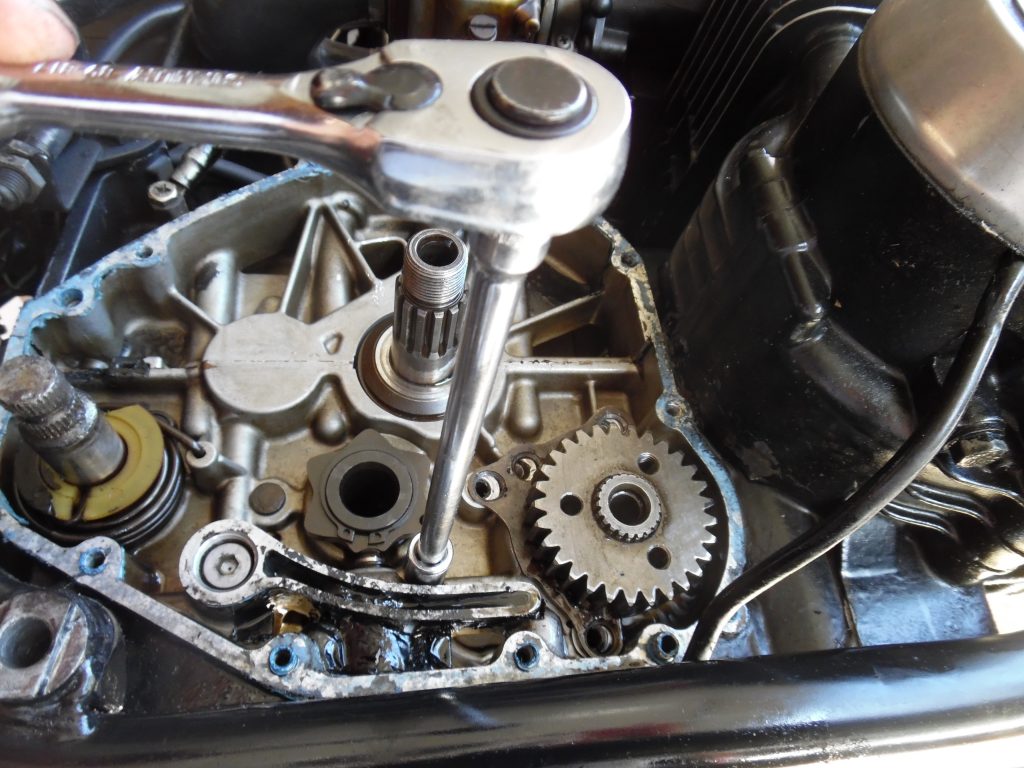
Remove the 20mm nut, using a rattle gun, I have never owned any special clutch holding tool. You can hold the clutch basket quite safely with a screw driver. Under the nut is a special washer (on some models it may have the word “Outside” written on it), make note of its orientation. Place everything onto a clean sheet of paper and clean it of excess oil and grime.
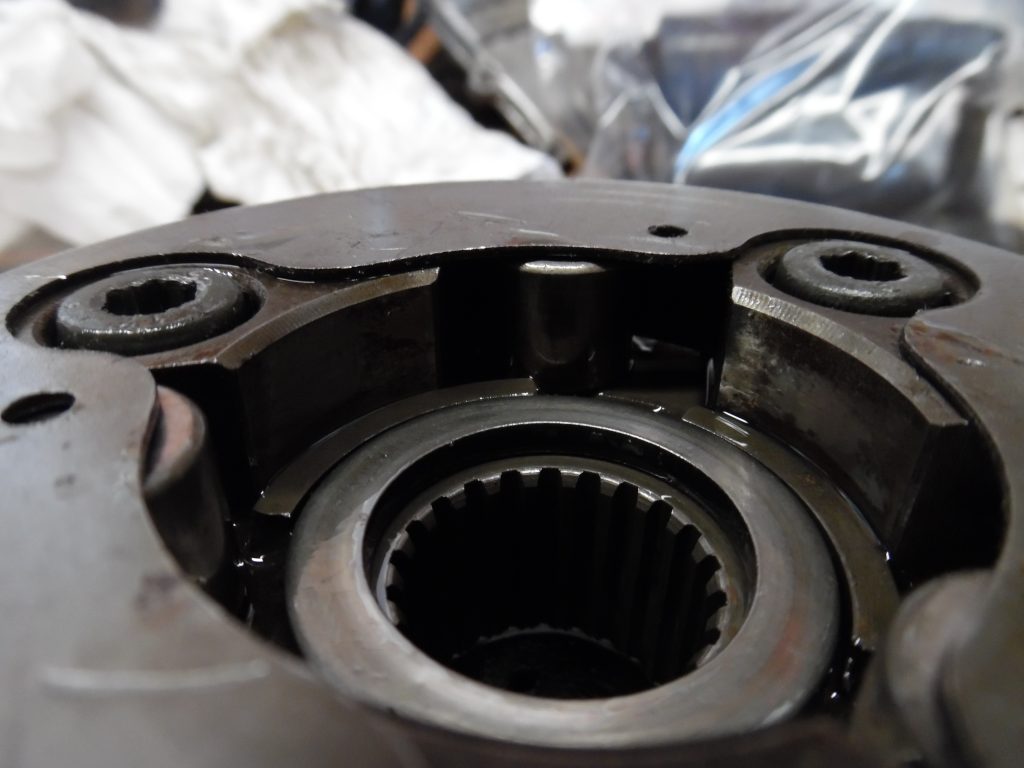
Once the nut and washer are free, the basket will lift off to reveal the following..
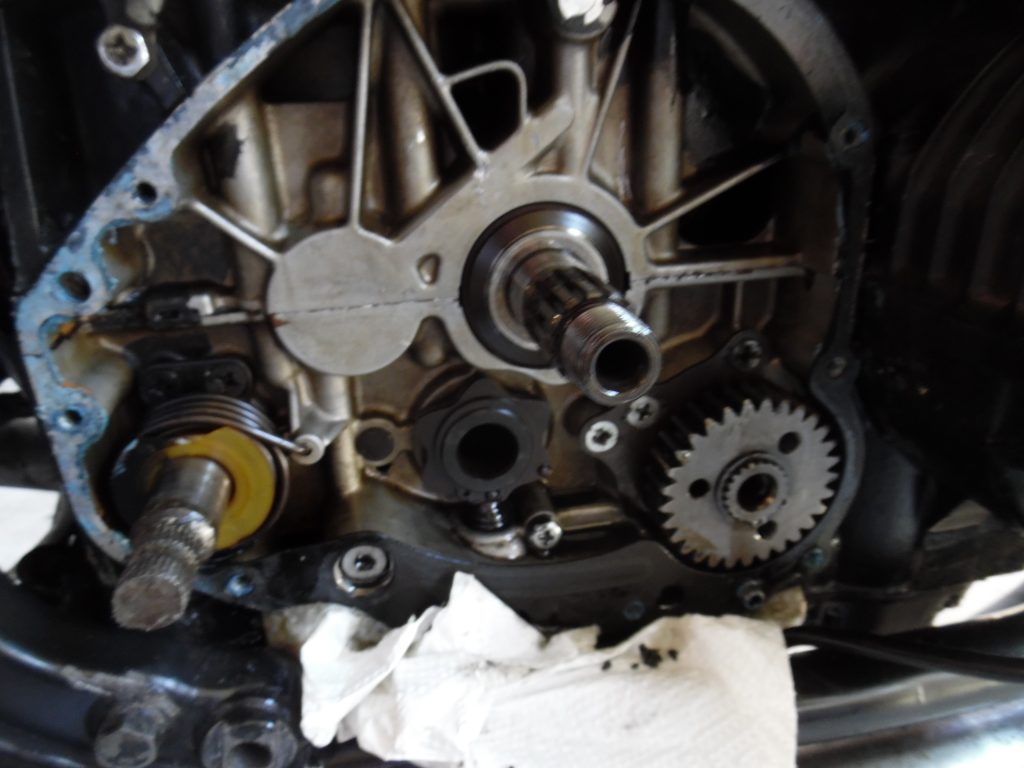
We need to remove the three screws that hold the secondary shaft in place. Looking at the image below, you can see there is some damage, hopefully yours’s are perfect AND you will keep them that way, if not, plan to get some replacements from a fastener supplier. The three screws hold a retaining piece that holds the secondary shaft in place.
Remove the bracket.
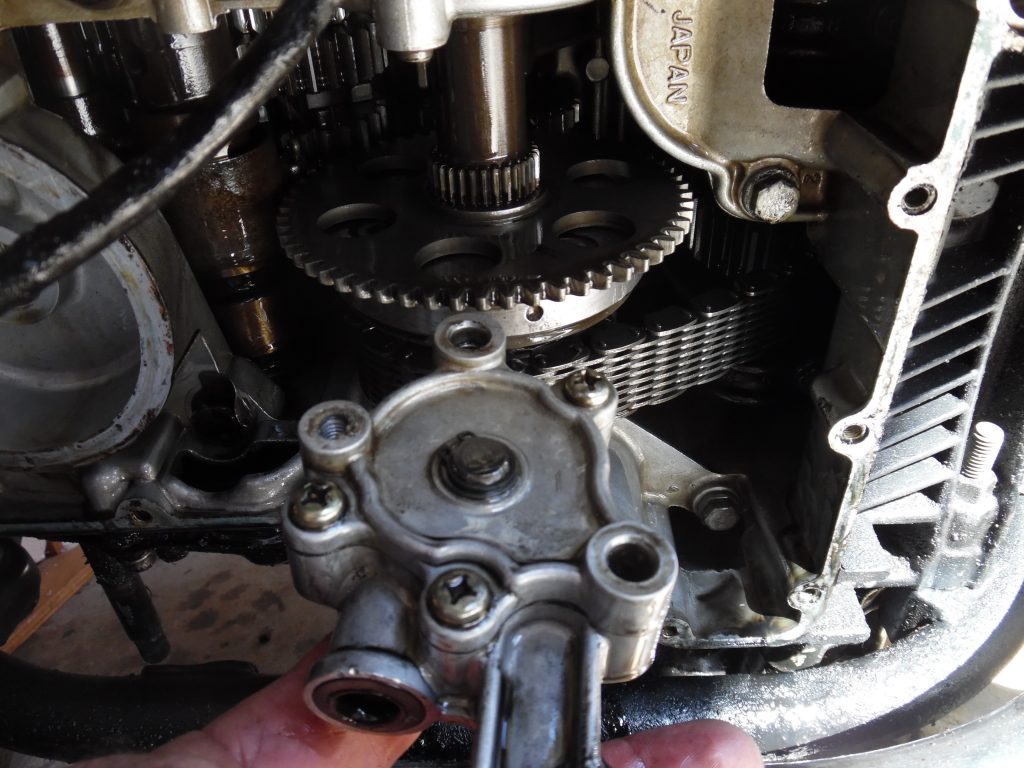
Using a socket, undo the set screw that attaches to the Oil Pump, it holds the oil pump which needs to be removed to give us easy access to the starter clutch assembly. The oil pump should have three (3) screws holding it.
Accessing the sump
Now is the time to lay the bike over so you can easily access the sump.. do so carefully and preferably with someone to help you. A couple of old tyres might help cushion the bike.
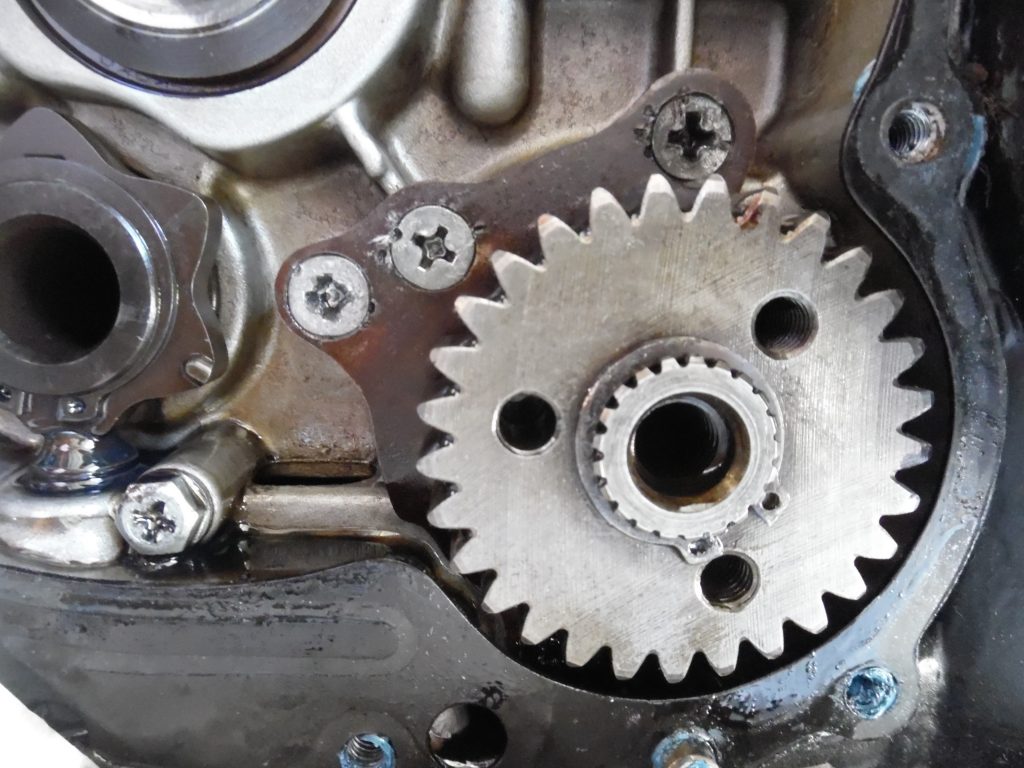
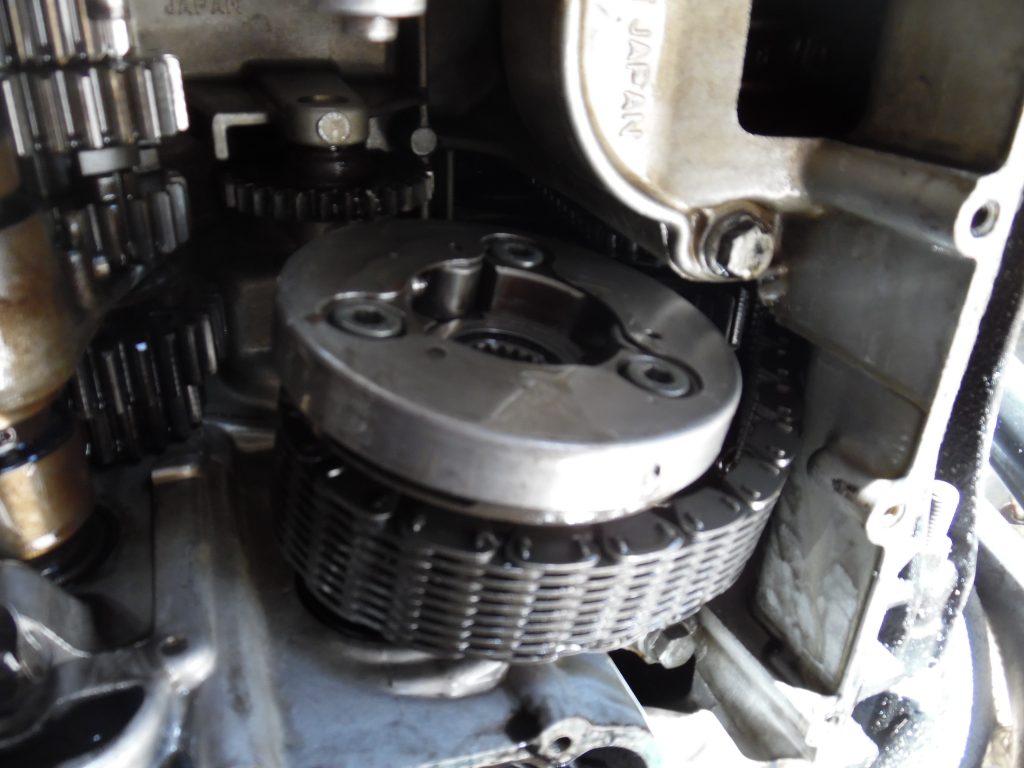
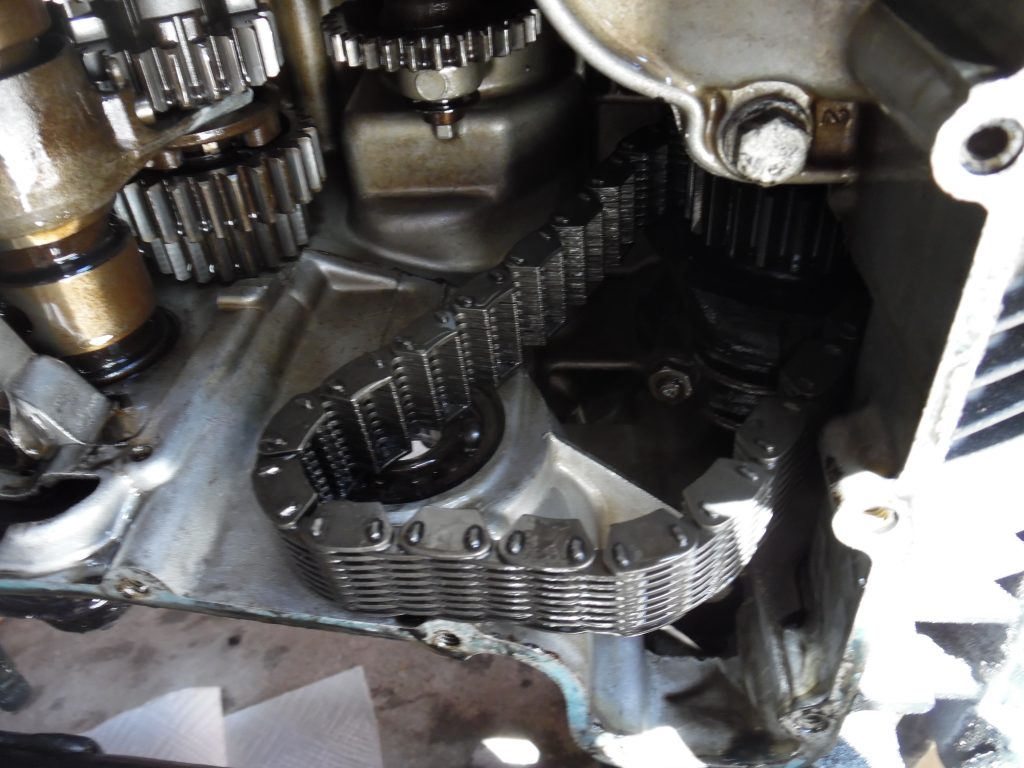
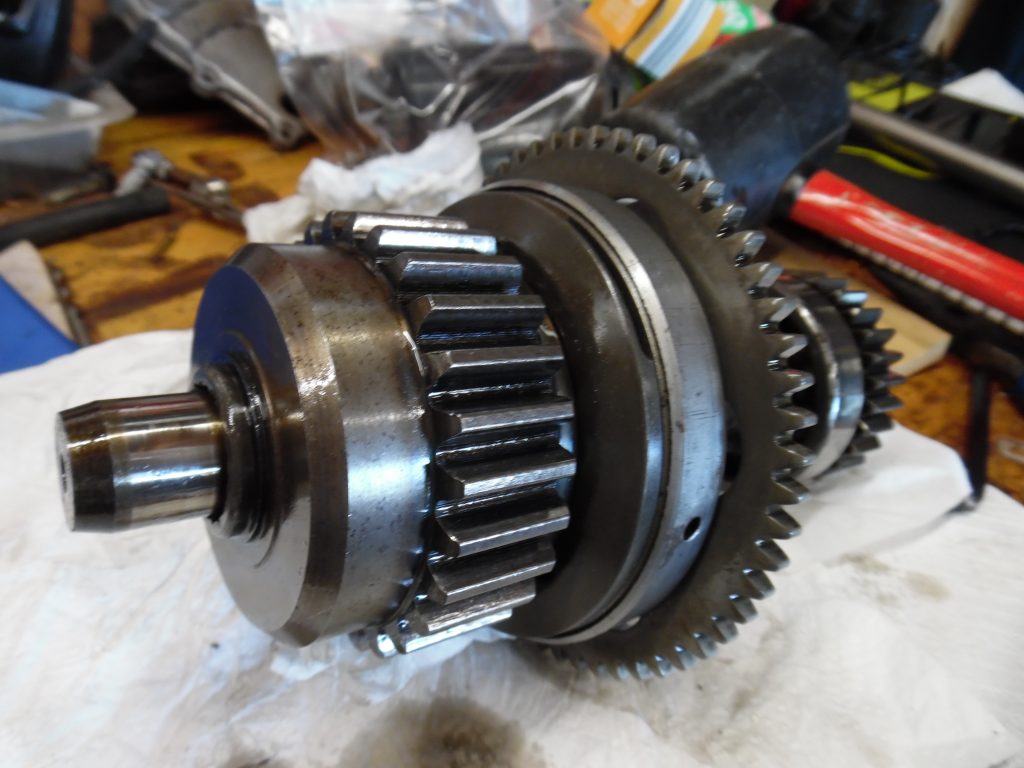
Looking into the engine we can see the secondary shaft with the free running gear installed into the starter clutch under the oil pickup.
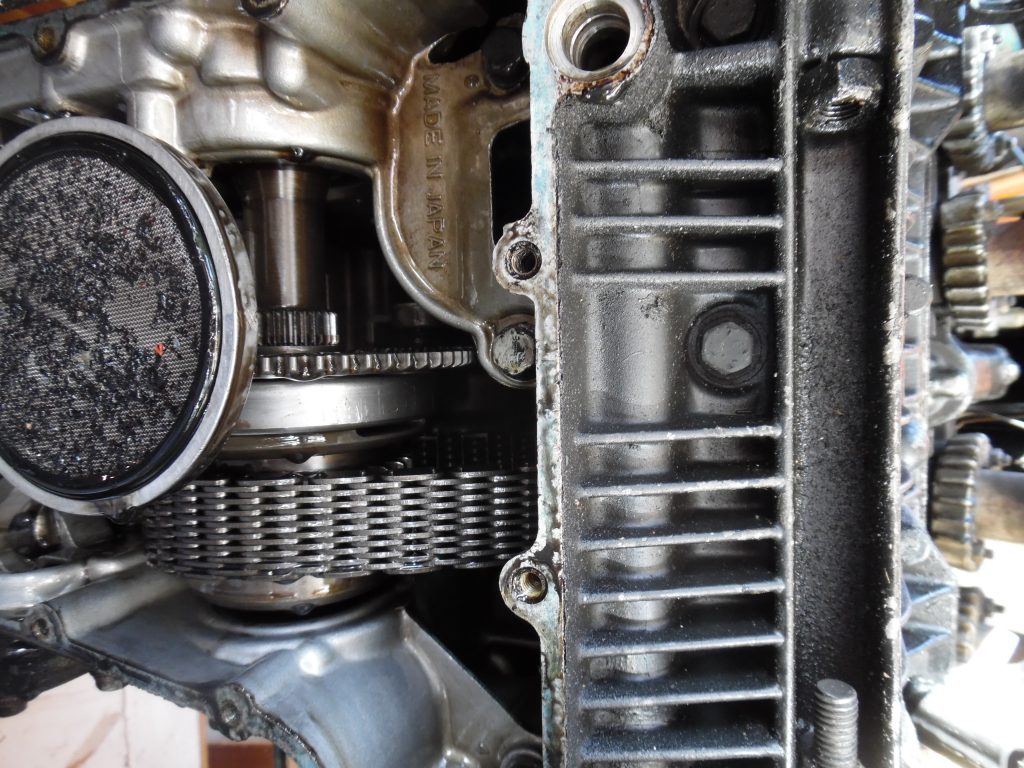
Remove the oil pump and filter to gain access to the secondary shaft and starter clutch. It should be held in with three (3) long set screws. One removed form the outside and the other two from inside. its driven off the Idler Gear attached to the Starter Clutch so it has to come out.
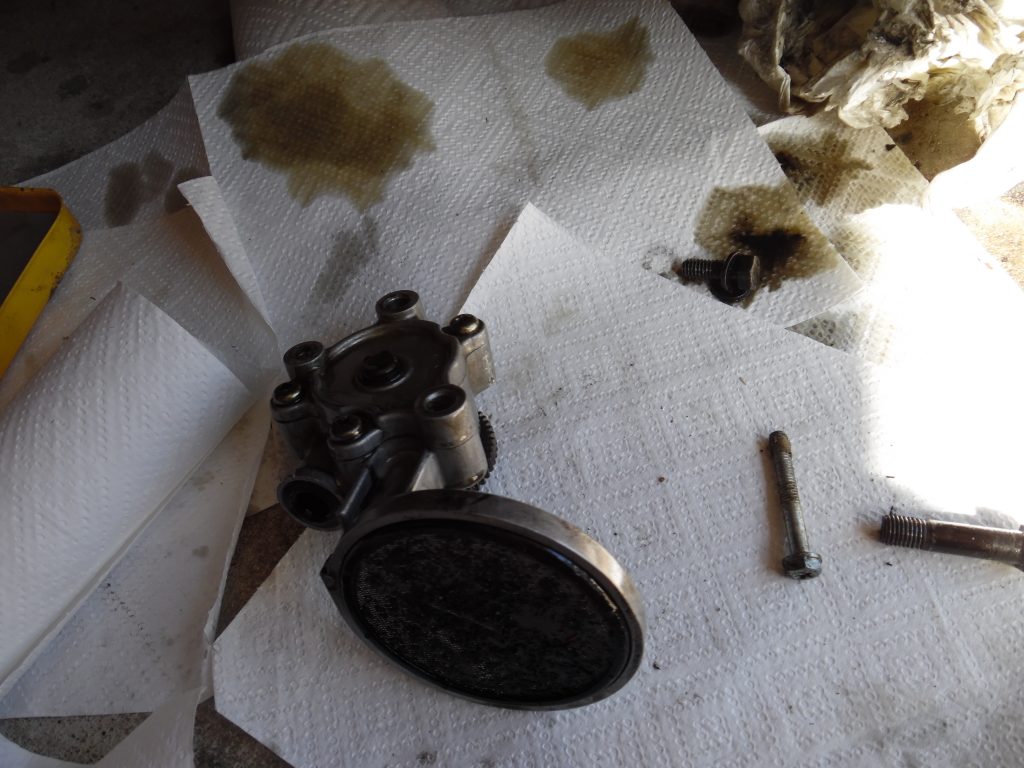
While you have the Oil Pump out, inspect it for any cracks and clean the gauze of any debris.
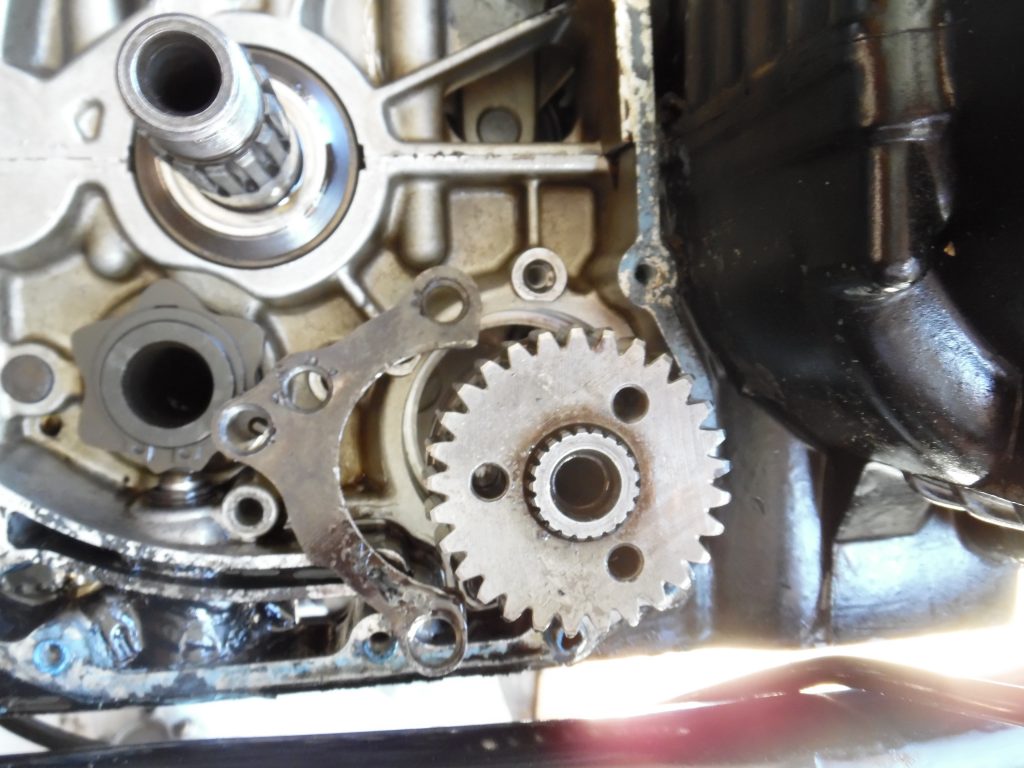
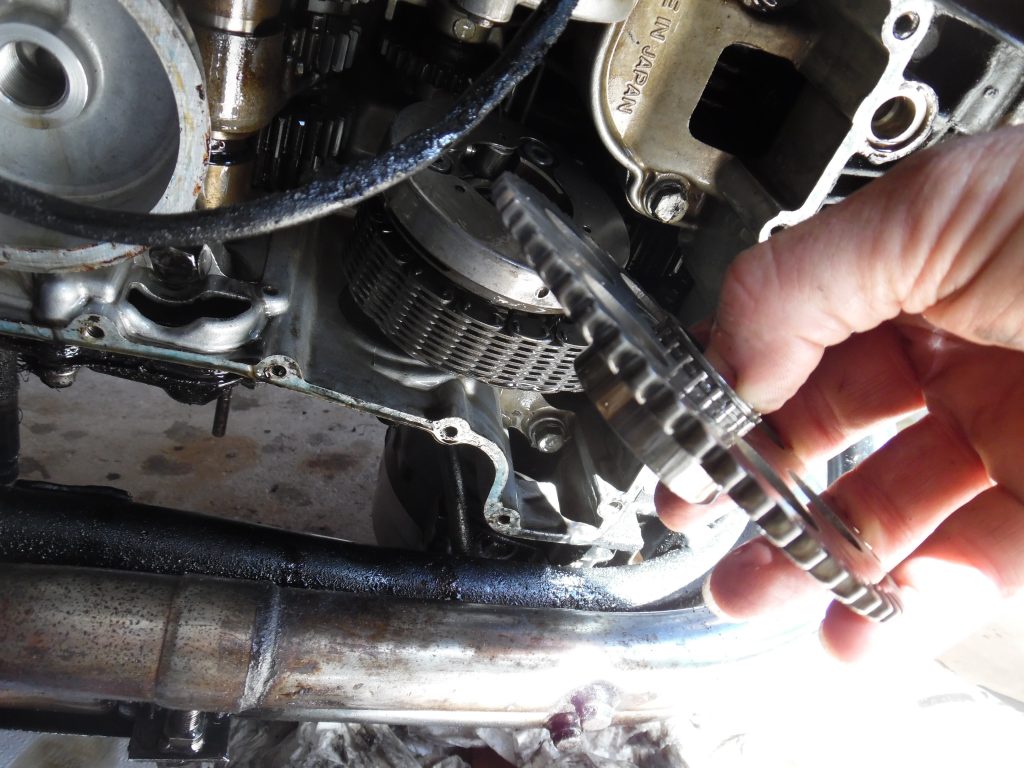
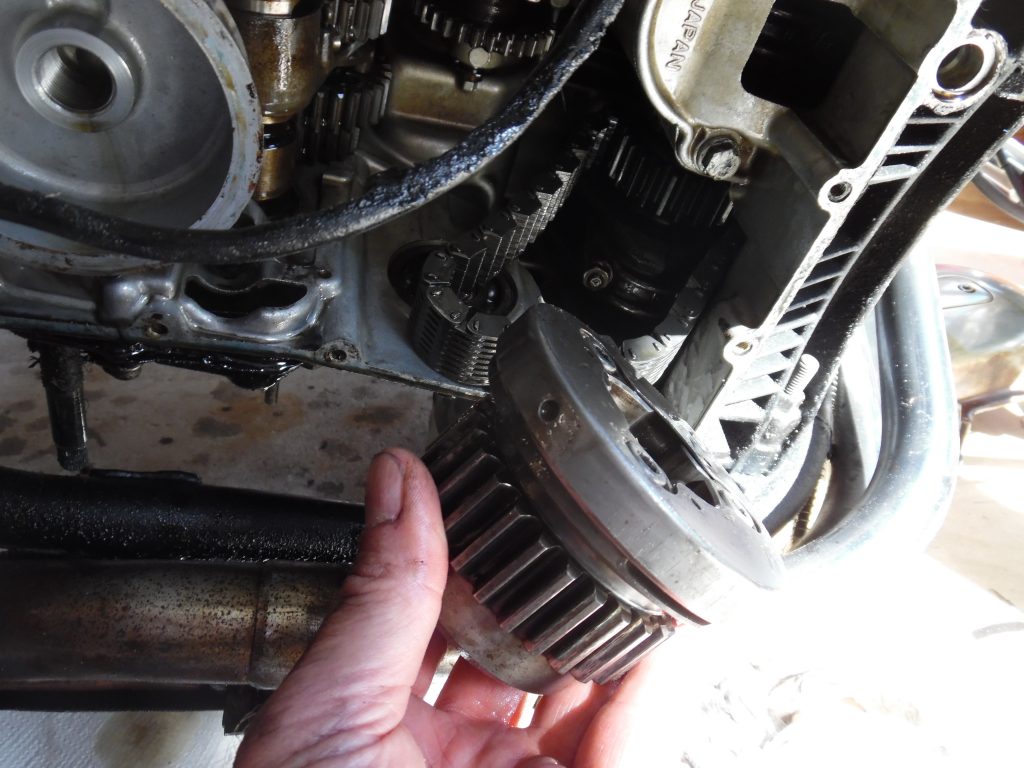
If you pull the Secondary Shaft back, you should be able to disengage the Idler Gear, leaving only the Starter Clutch still attached to the HyVo Chain.
Repairing The Starter Clutch
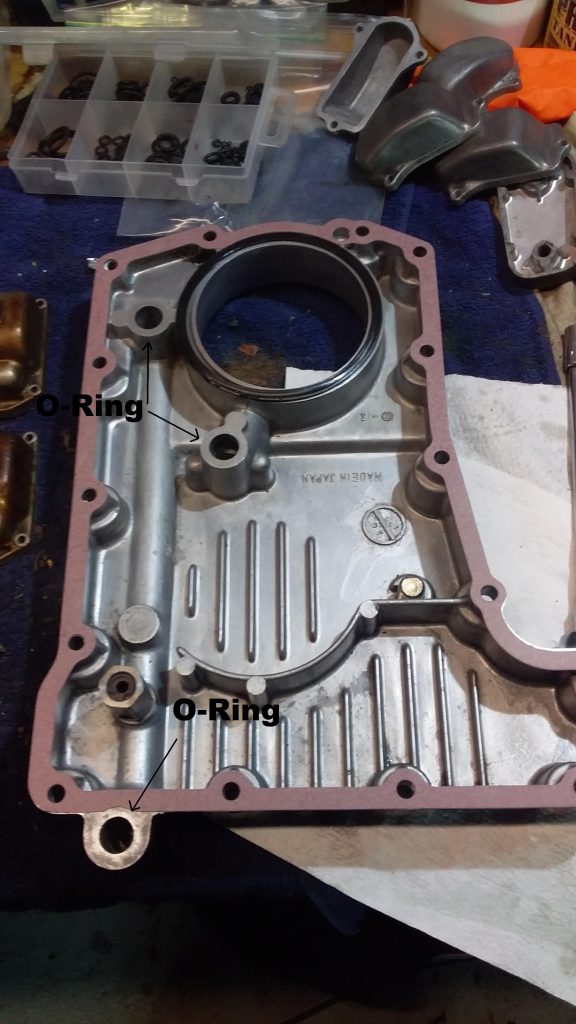
Re-Installing the sump
There are no tricks to installing the sump, the only thing to be away of are the 3 O-Rings and their location as show below:
Alternative Starter Clutches
Over the years many people have experimented with replacement Starter Clutches, mainly when the component is cracked! I’ve received emails from people telling me the Zephyr 750 starter clutch is a direct swap which is handy to know, I’ve not verified it myself.
I’ve also been told that a zzr1100 Starter Clutch can be used but the Idler gear needs to be changed.