Fork seal replacement is one of those jobs where the right tools and a bit of know how will result in a stress free maintenance task being completed within next to no time. In fact fork seals are so easy to replace that most of your time will be taken with actually removing and re-installing the forks (Quick Tutorial Coming).
Disassembly
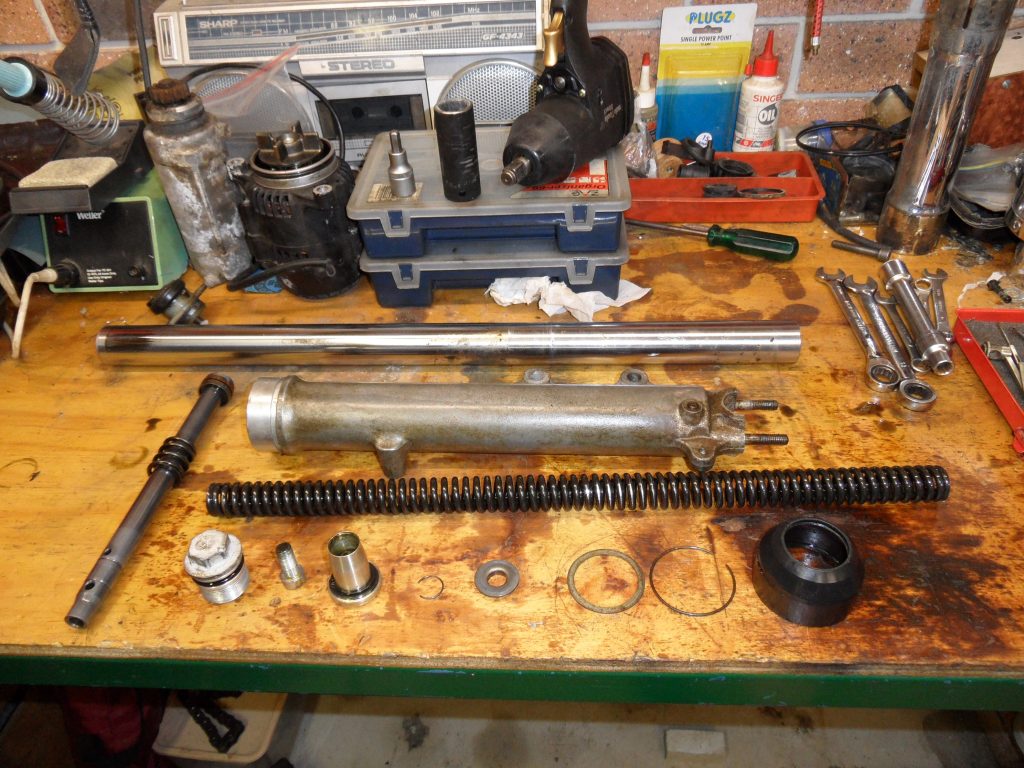
The trick to disassembling any motorcycle fork leg is to have the right tools (and a bit of know-how). All the early classic 70s bikes usually have an 8mm set screw in the base of the lower fork leg that fastens the damper to the lower leg. The damper assembly is spring loaded into the base of the fork tube, keeping it together. The seal itself is usually a push fit into the top of the lower leg and retained by a circlip or expanded spring clip and covered with a dust cap.
Lets first remove the dust cap to reveal the circlip retaining the fork seal.
Next tip the fork leg upside down to expose the set screw in the base.
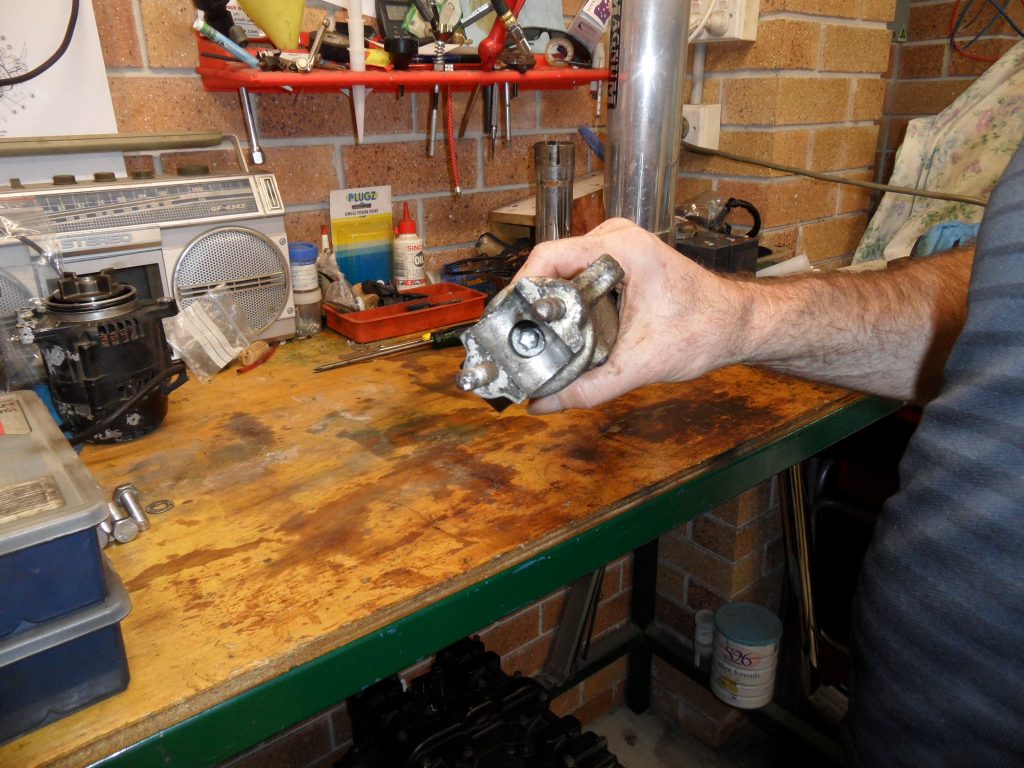
Sit the fork leg on a block of wood on the floor to avoid damage. Using an 8mm hex. head socket attached to a rattle gun, undo the set screw by pressing down hard and holding the lower fork leg.
You should not have to apply pressure for any more that 60 seconds to loosen the set screw.
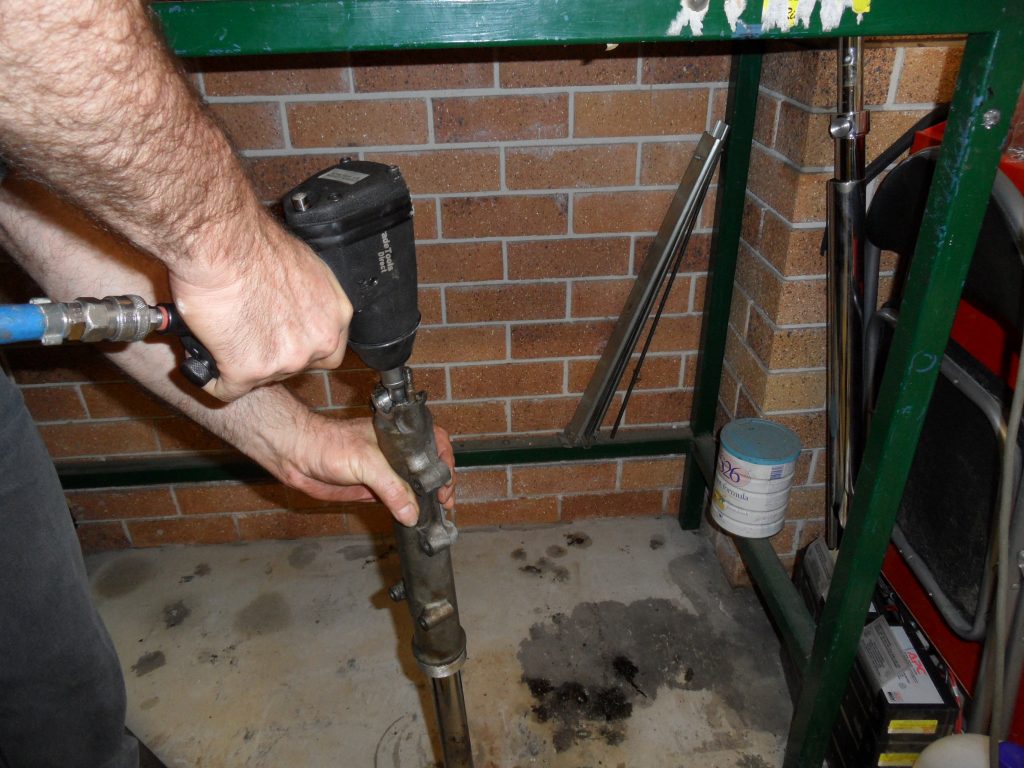
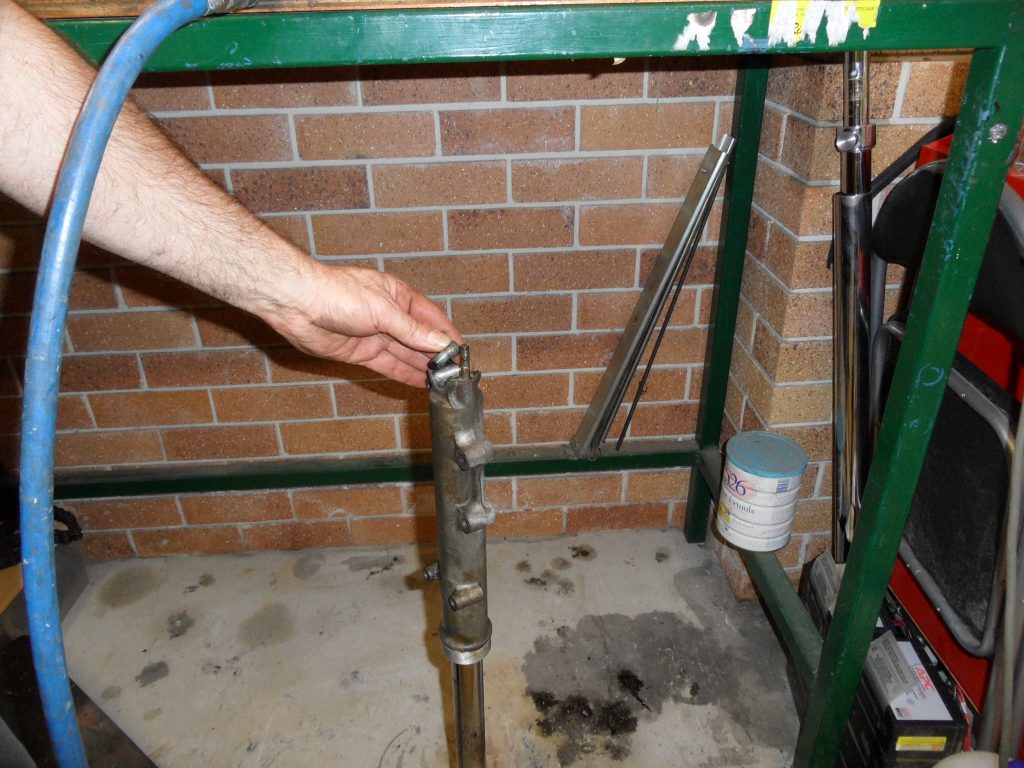
After a few seconds the set screw loosens and its out.
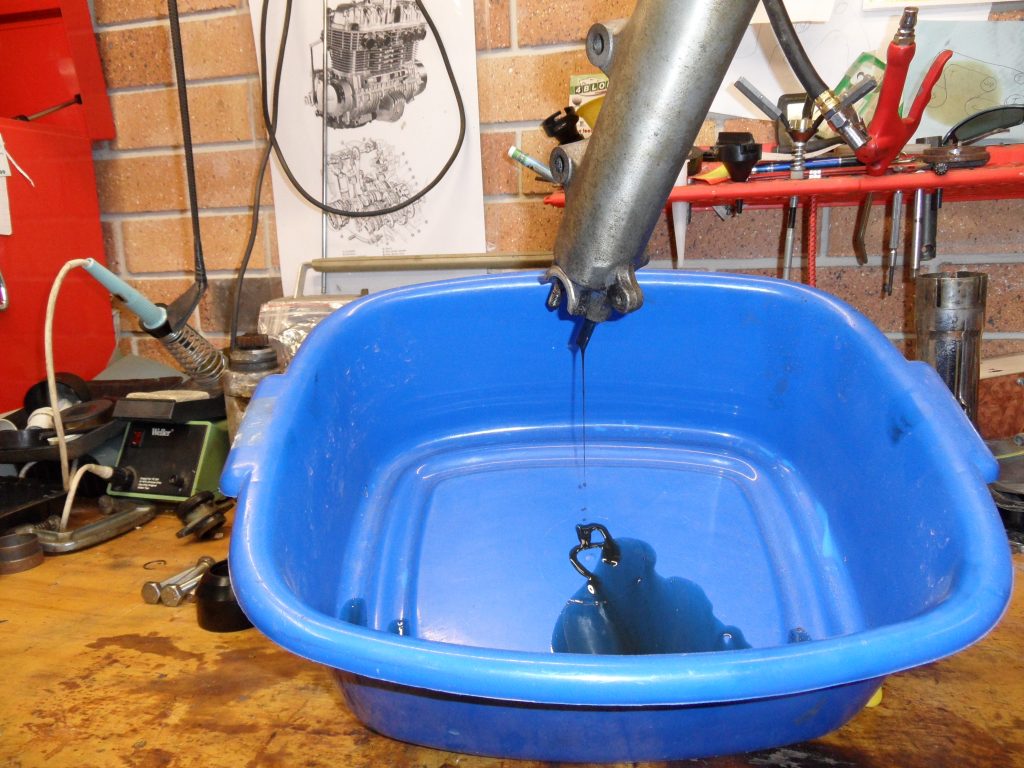
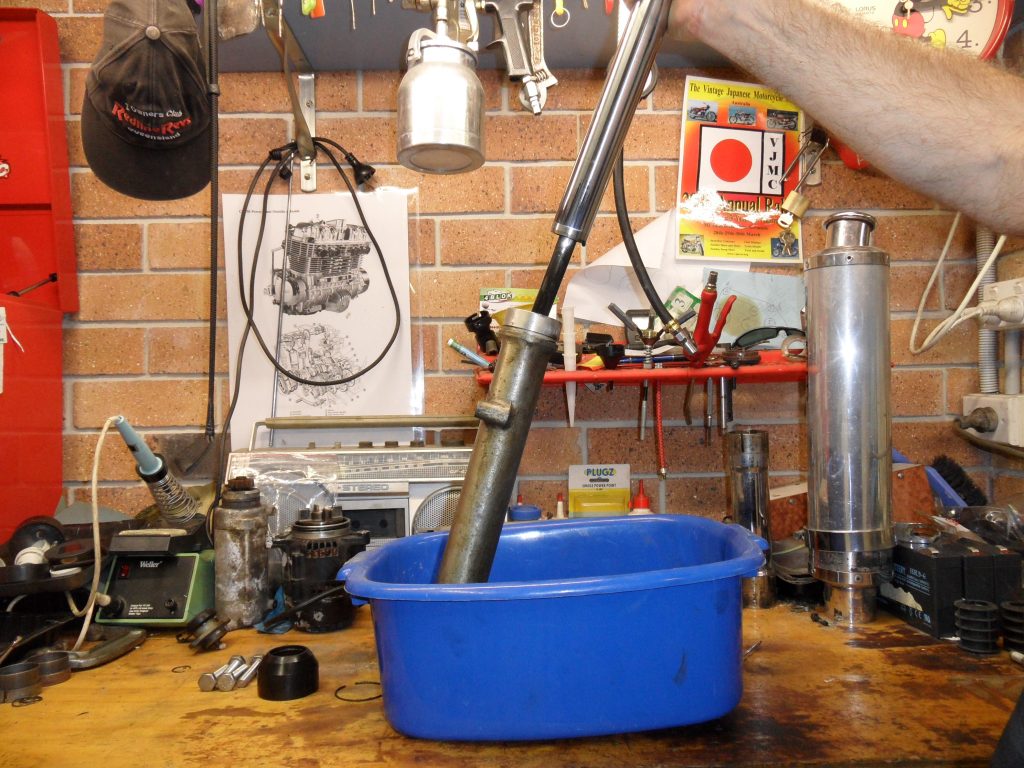
Now get an oil pan ready and tip the fork over it so that you can drain the oil out. Don’t rush the oil and when the oil stops flowing try compressing the fork slowly. This should force oil out from the damper.
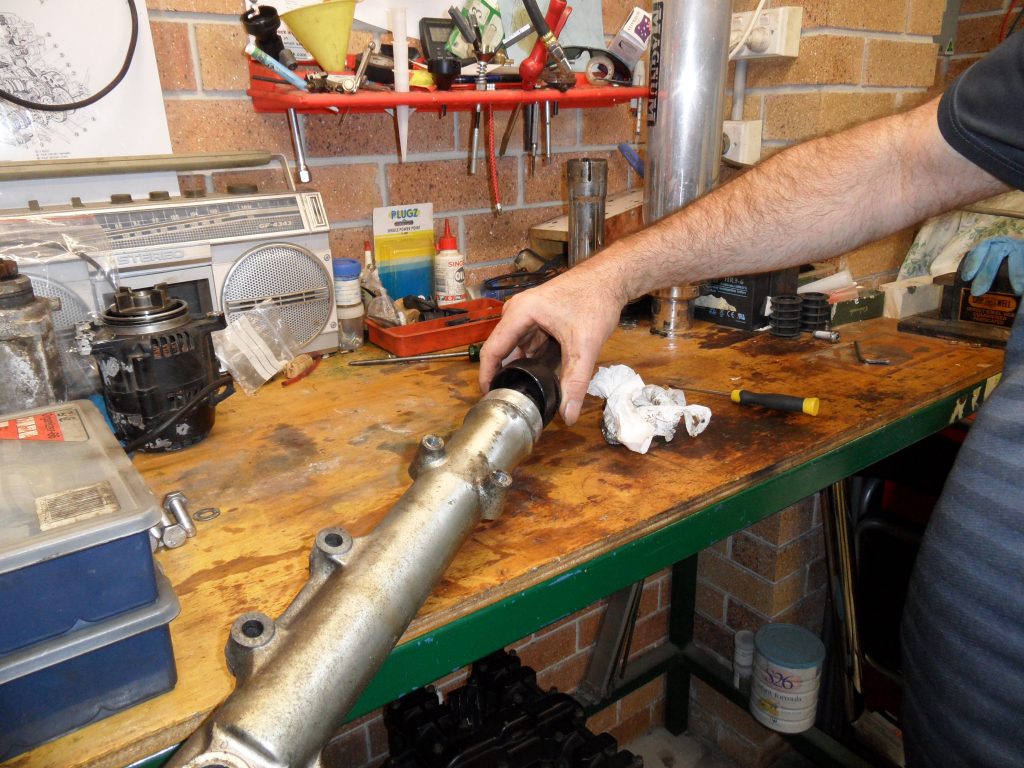
When all the oil is emptied, grab the lower leg in one hand and the upper tube in the other and pull them apart with a quick opposing force. The seal should pop out when the two components separate.
With the fork leg separated the seal usually pops straight out and sits on the tube. This is usually due to the lower bronze bush being seated into the fork tube. If the design of your fork leg does not have the bush slotted into the base of tube, then you can use a small screw driver to gently pry it out, it should just pop out with little effort. Be careful not to damage the surrounding alloy.
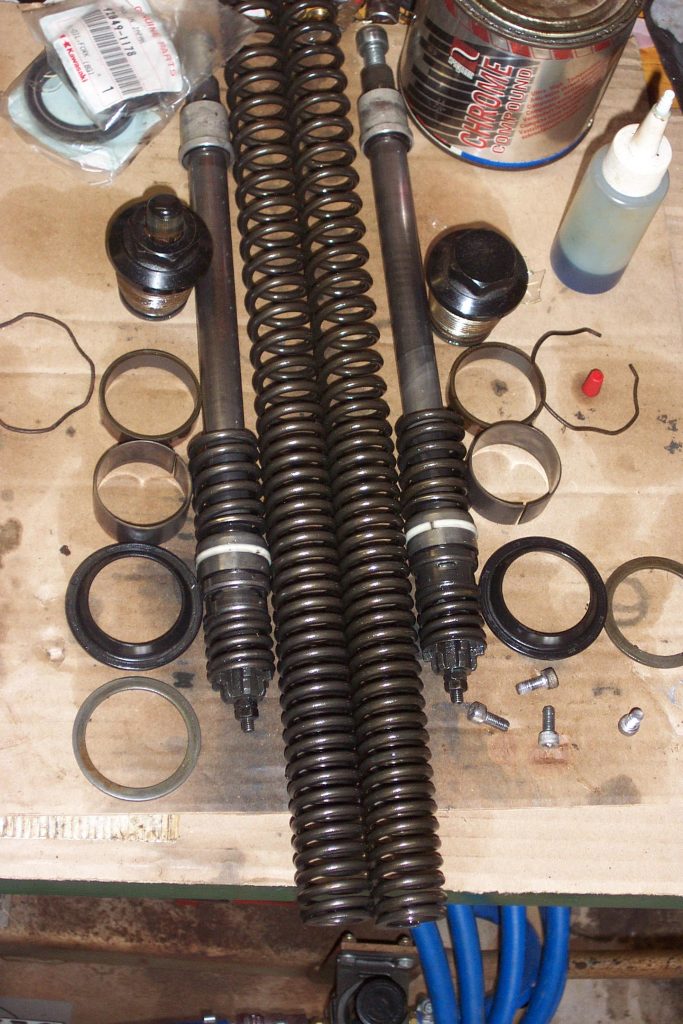
Fork design varies considerably as shown above with the Gpz900R and its Anti-Dive system (not shown) and below a standard z650 with a fairly basic design. Regardless of the design, with everything apart give all the parts a good clean and push a new seal onto the top of the fork tube. When you reassemble it into the lower leg you can then push the seal into the recess and secure it with the flat washer and circlip.
Seals, dust caps and replacement parts are still available
Re-assembly
The key points of re-assembly is to ensure the seal is not damaged putting it back in and the fork tubes are not scratched or damaged also. You therefore need to inspect all parts, measure the spring free lengths against the service manual for your respective model and ensure you have the right type of oil (usually 5, 10 or 15 weight oil).
You also need to make sure you refill the correct amount of oil, so a check of the service manual is mandatory, most classic bike have around 300ml of oil as a very rough guide.
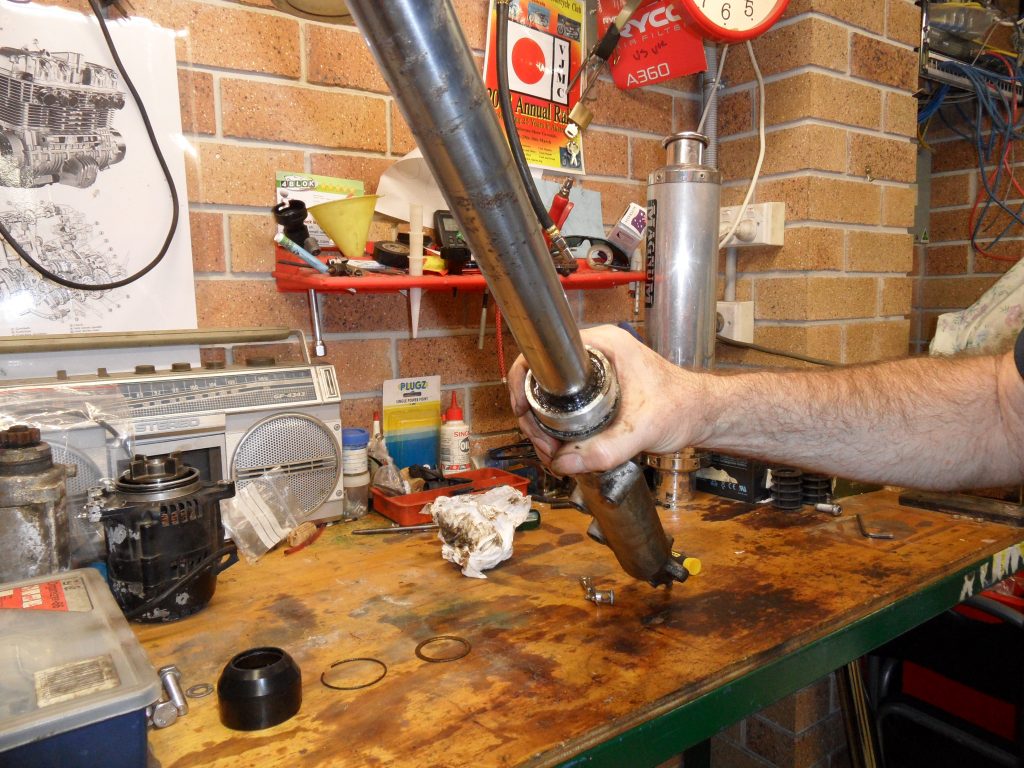
First assemble the damper back into the fork tube, next push the large spring in and as a temporary task, screw down the top retaining nut a few turns to secure the spring. Place the seal over the tube if you have not done so and insert the tube into the lower fork leg, grease up and slide the seal down into position.
To assist in seating the seal down you can use a plastic tube slightly larger in diameter to the fork tube so it sits on the body of the seal and not the lip that seals against the fork.
PICTURE – Plastic Tube over top fork leg.
When the seal is seated to the correct depth, place the washer and retaining clip (spring, circlip spring clip etc).
Make sure you fasten down the bottom retaining set screw! Also check if it has a copper washer under it, some fork legs do.
When everything is assembled you are ready to refill the oil. Refer to the service manual for the correct weight oil (5, 10 or 15 weight is most common). Secure the leg and unscrew the top cap, its spring loaded so make sure you are ready for the release pressure.
I use a small laboratory flask with a printed scale on it to precisely measure the oil and then slowly pour that into the top of the fork. Once done, secure the top screw down to the right depth and re-fit into the motorcycle, do the final torque with it installed if needed.
Ensure both forks are exactly level to each other, refit the wheel, Speedometer drive,, brakes, guard etc and double check everything.
-oOo-